We may earn revenue from the products available on this page and participate in affiliate programs. Learn More ›
Hardwood floor refinishing and sanding is unforgiving work. Make a mistake, and it will show. However, a refinished floor can bring beauty to a room like no other project. To hire a pro to sand, seal, stain, and apply several finish coats of an oil-based poly will cost $4 per square foot or more. This means it will cost around $8,000 for the labor and materials to refinish the hardwood floors in a 2,000-square-foot home. Doing it yourself can save at least half of that. Think you’re up for it? Check out some helpful tips below about how to refinish hardwood floors.
Are you undertaking this home improvement project yourself? Expect that some prep work, such as fixing gouges in the wood, as well as the actual process of staining and refinishing hardwood floors to take about 4 days of work and cost around $700. Ahead, we address the materials, work, and process to refinish hardwood floors, including:
- Choosing DIY-friendly sanding equipment
- Avoiding injuries
- Using personal protective equipment (PPE) such as a respirator
- Choosing the appropriate sandpaper and floor sander
- Being careful sanding tight corners
- Controlling dust
- Applying sealer
- Applying wood stain evenly
- Applying polyurethane
- Having an exit strategy
As you will see, refinishing your home’s floors will take some time and effort. But if you pay attention to each step and use the right tools, you will have like-new hardwood flooring in under a week. If you think you’re ready to get started on this project, read on for some helpful tips about refinishing hardwood floors.
10 Tips for Refinishing Hardwood Floors
Recoating hardwood flooring is an excellent project for homeowners to undertake, whether you’re renovating a single room or you want to breathe new life into the flooring throughout your home. This advice will help you achieve the best results.

1. Choose DIY-friendly sanding equipment.
Random orbital sanders are the best choice for do-it-yourself hardwood floor refinishing. They take longer to remove old finishes than drum sanders, but they do not require a lot of experience to use and are less likely to damage your wood floor. With a random orbital sander, you can move with or against the wood grain.
It’s important to keep the sander level at all times, as even an orbital sander can “run away” from you and cause sander markings that are difficult to remove. With some patience, however, it’s possible to use a random orbital sander for good results.
Be sure to prepare your home before sanding and refinishing wood floors.
- Clear the area: You will want to remove rugs, furniture, and other items from the hardwood flooring area that you will be working on.
- Thoroughly clean the sanded floor: You need to clear the entire floor of dust and debris before applying the new finish.
- Secure floorboards: Use finishing nails to secure any loose floorboards before recoating your hardwood flooring.
Sanding your floors properly is one of the most critical steps involved in refinishing hardwood floors. This is because it removes the old stain and turns your entire floor into a blank slate.
2. Be careful when lifting equipment and working on the floor.
As for any other home improvement project, you will need to take precautions to avoid back injury when transporting sanders from the rental store to your house (or upstairs) by always having a helper. Use ramps to move the machine whenever possible. Similarly, get help moving heavy furniture out of the room. (A room has to be completely emptied before you begin.) You also need to use proper form when bent over sanding, applying varnish, or cleaning up throughout the project.
3. Use the right safety equipment.
Hardwood floor refinishing and sanding generates a large amount of dust and fumes. Stock up on dust masks and earplugs and, when applying sealers and oil-based polyurethane, wear a National Institute for Occupational Safety and Health (NIOSH)-approved organic vapor respirator, neoprene or vinyl gloves, and eye protection with splash guards.
You will also need to put up plastic sheeting to prevent the spread of dust throughout your home. Be sure to choose the right type of plastic based on the desired durability, and cover up vents to keep dust at a minimum.

4. Choose the right sandpaper and floor sander.
Begin with coarse-grit sandpaper sufficient to remove the old finish and most surface scratches. Avoid using grits coarser than 60; this will help prevent you from damaging the flooring. Proceed with abrasives that are gradually finer until you reach the desired degree of smoothness. (My preferred progression for a hardwood floor such as oak begins with 60-grit abrasive, goes to 80-grit, and finishes with 100- or 120-grit.)
Move the floor sander as though you are mowing the lawn. Proceed row by row, overlapping runs by half the sander’s width. You will have to make numerous passes with each grit.
5. Remember the corners.
A palm sander may be used to sand near baseboard moldings, but use a sharp scraper or putty knife to remove any old finish areas the sander may miss. Scrapers allow you to get into recesses (along board edges and at butt joints) without having to remove a lot of material with the sander.
6. Clean up dust and hair.
When you’ve finished sanding, remove all dust by vacuuming and wiping the sanded areas with a tack cloth. If you find a stray hair embedded in dried polyurethane and you still have at least one coat to go, lightly sand over the hair with a very fine (320) abrasive. Carefully dig out the hair with a pin or fingernail, if possible. Then resand with the same very fine abrasive, taking care not to breach the stain layer. Upon recoating with polyurethane, the hair mark will all but disappear.

7. Apply sealer.
A sealer coat is not typically needed, but if your floor takes stain unevenly, it will help ensure a more consistent stain coverage. Test for this by applying stain to an area that will not be visible once the furniture is moved back into place. It is essential to apply the sealer evenly. Otherwise, skipped areas, stop marks, and lap marks (stripes) may show through after staining hardwood floors.
8. Apply wood stain evenly.
Applying wood stain evenly, especially over a large area, isn’t as easy as it might seem. We recommend that you try applying the stain with an applicator to one small area at a time (about 18 inches by 3 feet), and rubbing off all excess with a rag. Avoid letting the leading edge of your job dry; you will end up with lap marks. Oil-based stains stay workable longer than water-based stains.
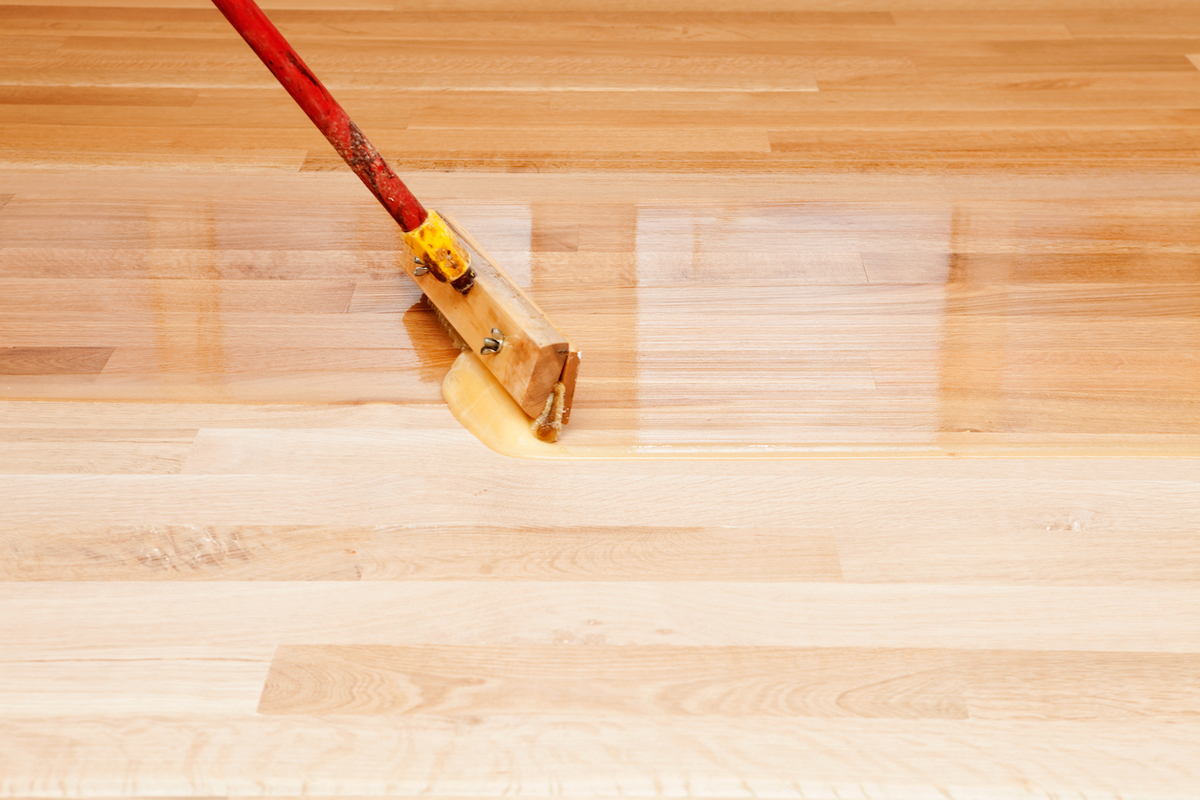
9. Carefully apply polyurethane.
Many pros pour polyurethane along the floor and then spread it with an 18-inch lamb’s wool applicator, but this is likely to result in a layer that’s too thick for the novice. A better way for the DIYer is to roll on the polyurethane using a foam roller, preferably a high-density foam roller. The coat will be thin, even, and will quickly dry to a glassy smooth finish. Use a good brush for cutting in around the room perimeter.

10. Have an exit strategy.
Begin your applications along the wall opposite the door you intend to exit. Work in rows parallel to the door toward the wall with the door. When you get close, you will have to change your work pattern and work from the end walls toward the door. This makes it tough to achieve uninterrupted smoothing strokes, so apply a little extra poly and count on its self-leveling properties for a smooth finish.
FAQs
Refinishing your hardwood floors may seem like a difficult task, but with the right equipment, knowledge, and time you can save a lot of money by doing this project yourself.
Typically, a professional contractor will charge between $3 and $4 per square foot for preparation, sanding, and other steps needed to refinish hardwood floors.
If you are looking for a DIY home improvement project, this one will take you about 4 days and cost approximately $700.