.
POP Projects is a collection of new and classic projects from more than a century of Popular Mechanics. Master skills, get tool recommendations, and, most importantly, build something of your very own.
Welding is a skill that looks intimidating but can be easy to learn, and the best first project most new welders is a practical one—you need a shop cart to hold that new welder and warehouse the accessories.
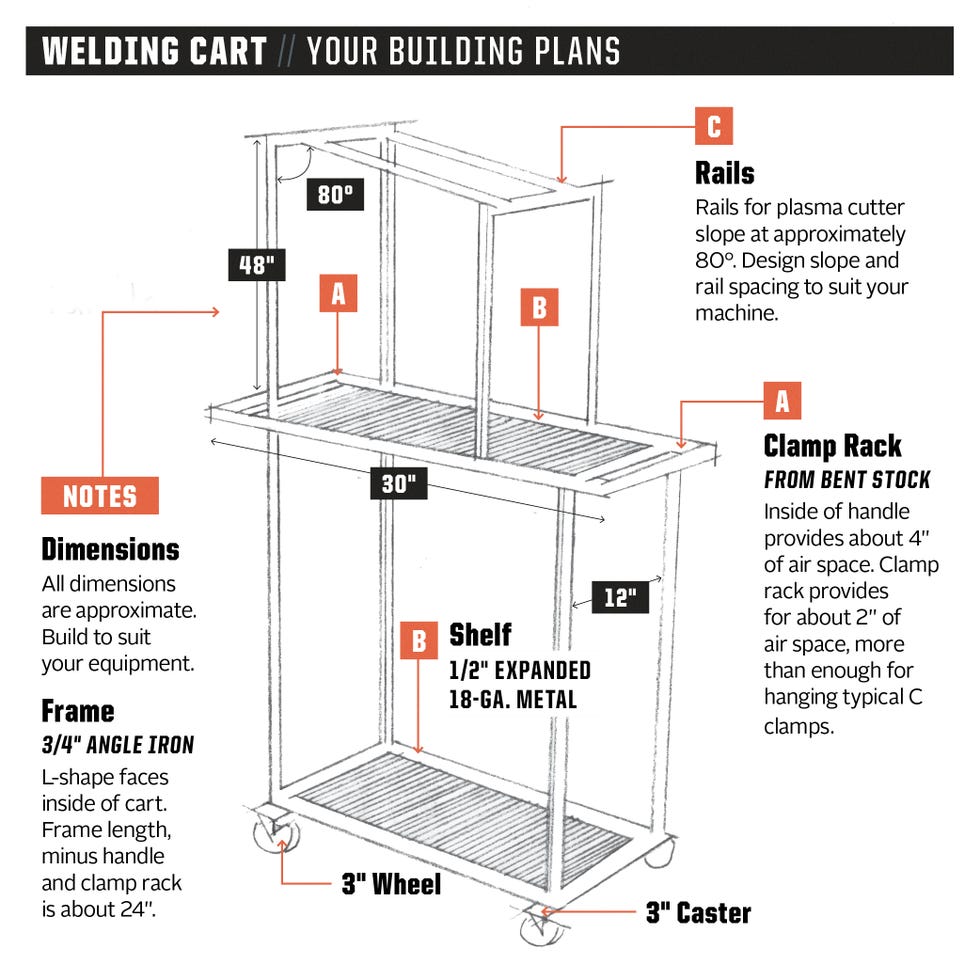
Our cart took only a few hours to complete. It has a rack along the back for C-clamps, a couple of coat hooks for hanging helmets and wiring, and an upper deck to hold a plasma cutter.
The design is simple, so you can customize it for your own needs. Expand on these simple techniques to make patio furniture, repair bicycle frames or build that junkyard sculpture that's been rattling around in your head for years.
💡What's the best way to learn welding skills? Sign up for a course at a community college or vo-tech school. You'll learn proper safety procedures, have access to different types of welding machines, and get plenty of practice.
These Tools Will Help
Black Stallion MIG Welding Gloves
Now 24% Off
Credit: blackstallion.com
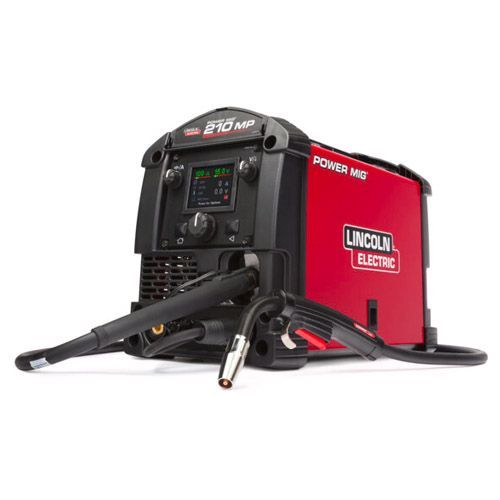
Lincoln Electric Power Mig 210
Credit: lincolnelectric.com/
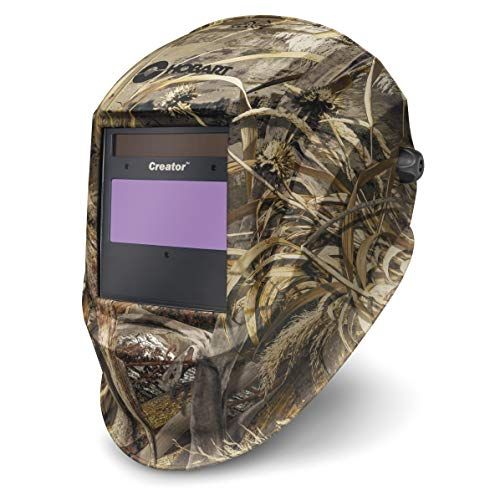
Hobart Auto-Darkening Welding Helmet
Credit: hobartwelders.com/
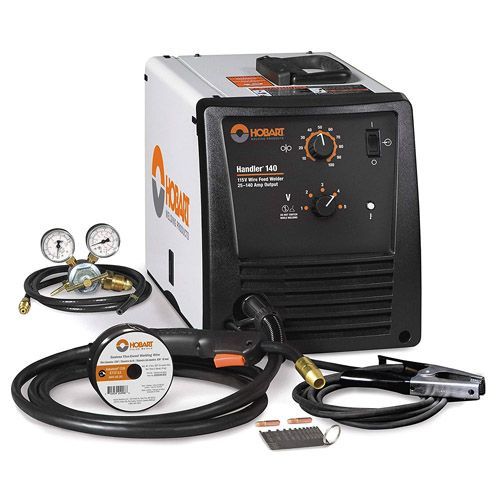
Hobart Handler 140 MIG Welder
Credit: hobartwelders.com/
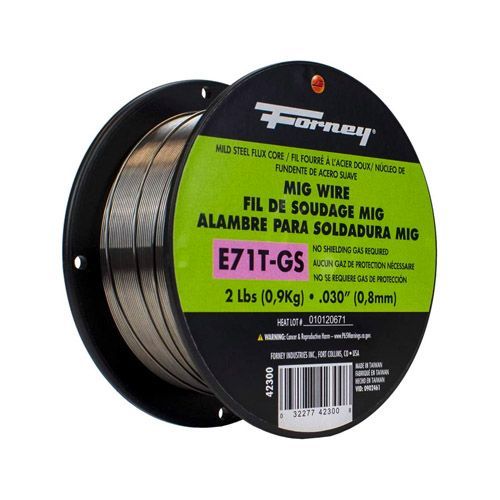
Forney Flux Core Mig Wire
Credit: forneyind.com
Plans and Materials
Staff
Welding and Cutting
STEP 1
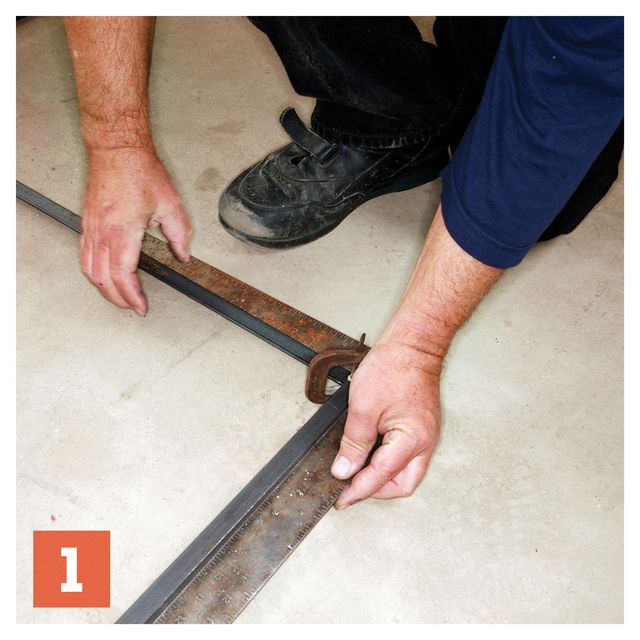
Lay the project out on a flat, noncombustible surface—the shop floor. Now square up the pieces of the frame and lightly tack-weld them together. Some clamps or weights will hold everything in place
James Westman
STEP 2
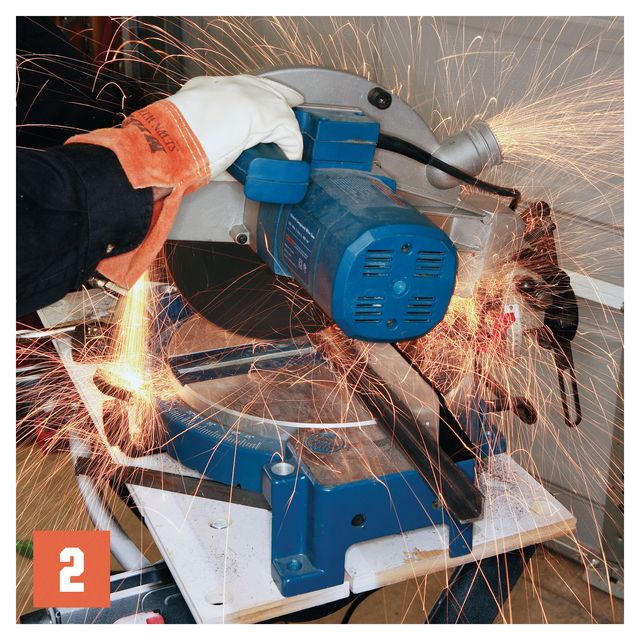
You can hacksaw these pieces of ¾-in. angle iron easily enough, but you can save some time by using a chop saw with an abrasive metal-cutting blade. A slow, steady feed cuts fast without making excess heat.
James Westman
STEP 3
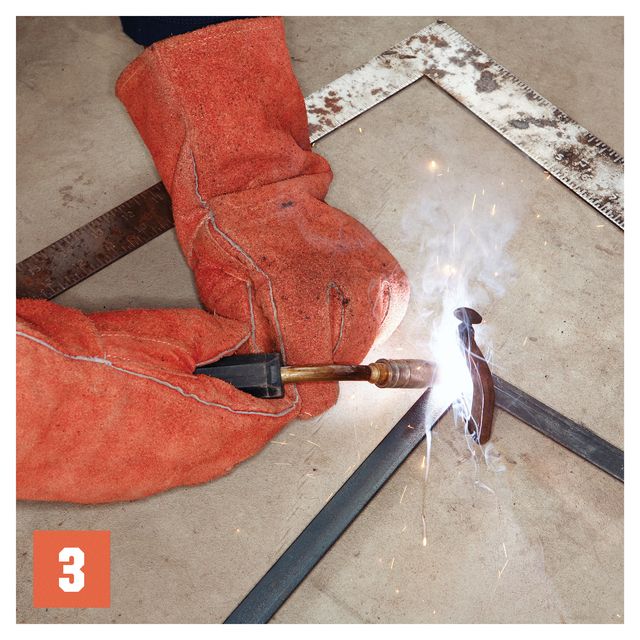
Weld just enough to tack the parts together. As you add more parts, adjust to keep everything square. Never finish-weld any joints until you have a fairly complete subassembly that's well tacked; measure diagonally to square things up.
James Westman
STEP 4
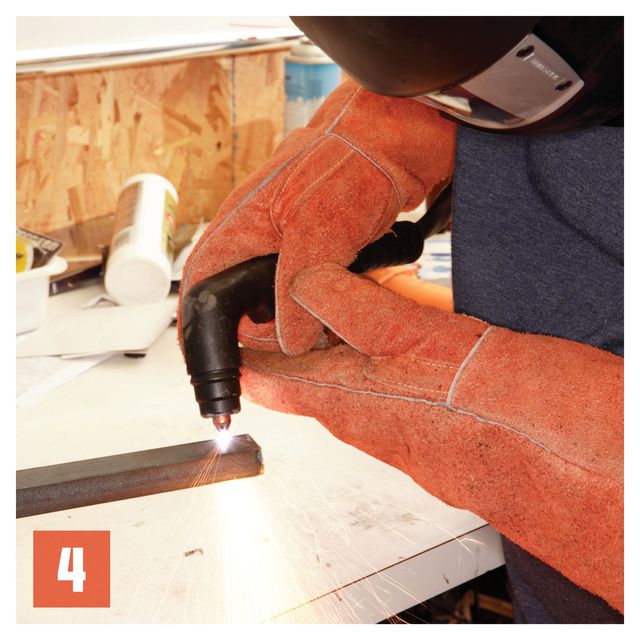
We used a plasma cutter to trim part of the angle iron at the joints. This is known as coping, and it allows the pieces to fit more closely. You can achieve the same thing with a grinder or even a hacksaw.
James Westman
Featured Processes
TIG Welding
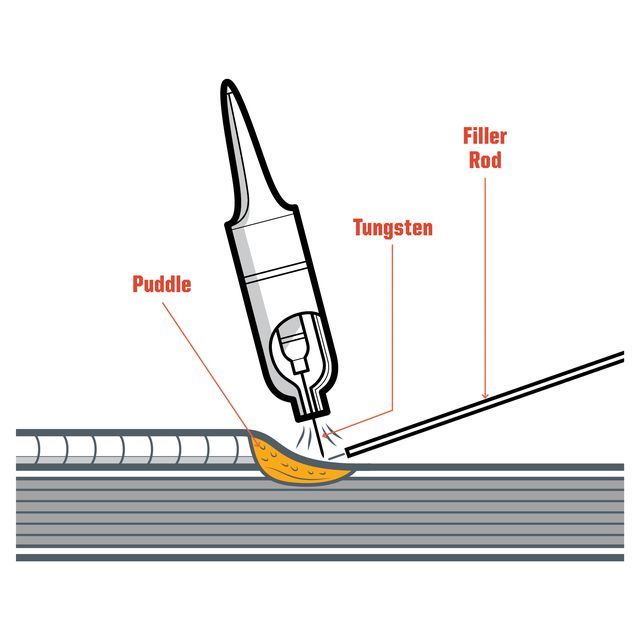
Instead of a consumable electrode, which conducts current and melts into the metal, a TIG (Tungsten Inert Gas) machine has a nonconsumable tungsten electrode to strike the arc and establish the puddle of molten metal. A separate filler rod, held in the welder’s other hand, is added to fill the puddle.
Gabriel Silviera
MIG Welding
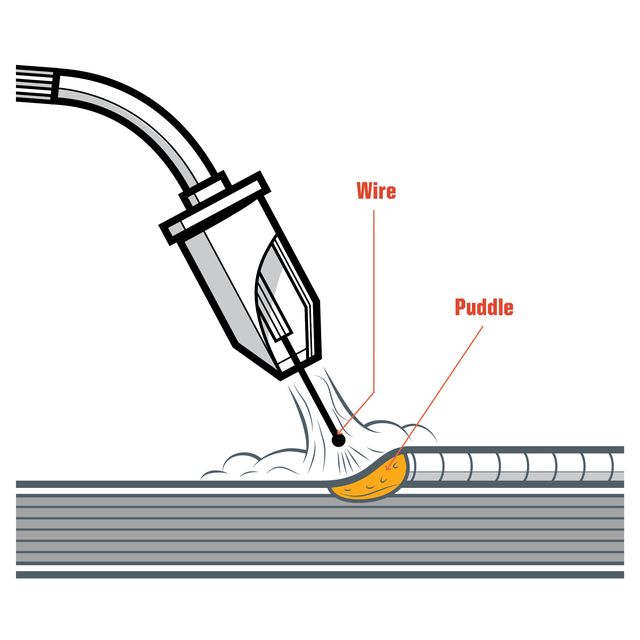
Use a solid-core filler wire, surround it with an inert gas like argon or CO2, and your wire-feed welder becomes a MIG machine (Metal Inert Gas). It leaves a cleaner, slag-free weld and can be used on stainless steel or aluminum.
Gabriel Silviera
Stick Welding
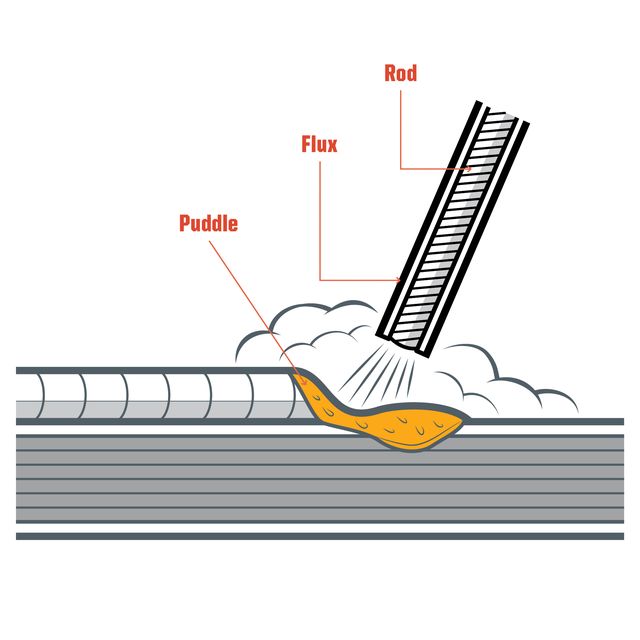
A flux-coated metal electrode that melts into the puddle and fills the bead is faster for welding thicker pieces. But stick welding is overkill for a lot of household projects, and it takes practice to do it well.
Gabriel Silviera
Piecing Things Together

STEP 5
After you assemble the front and rear frames, add the horizontal frame elements. Another pair of hands can help here. Tack everything together, and check that it's all square before attempting full welds.
James Westman
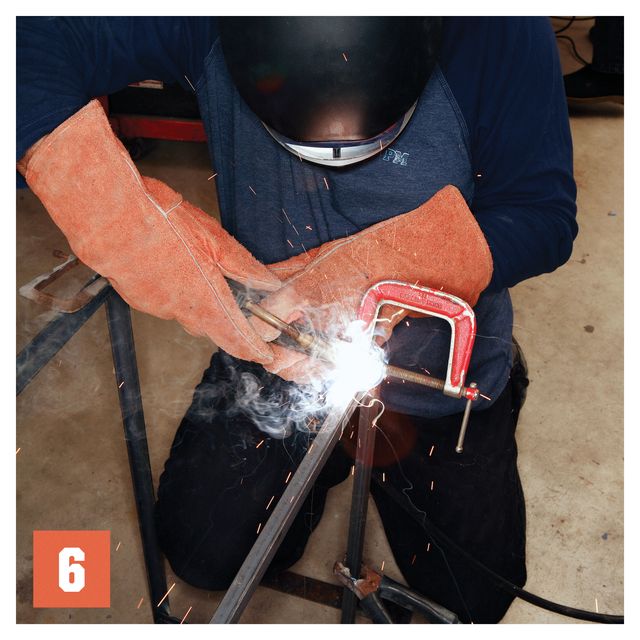
STEP 6
If you're not comfortable, the weld bead is going to wander. Use both hands to hold and steady the welding gun, and brace at least one elbow against your torso. Rehearse the movement in longer beads with the welder shut off.
James Westman
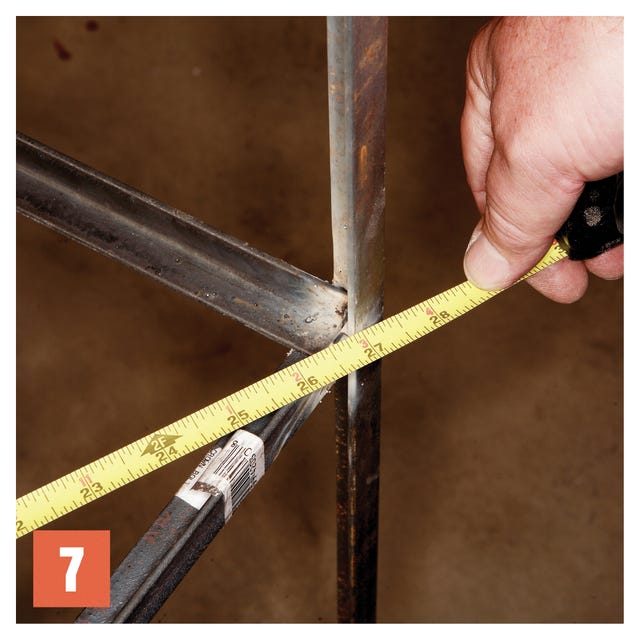
STEP 7
As you build up, constantly check the assembly for squareness by measuring across diagonals. Use a few light hammer taps to correct to within 1/8 inch before you finish the weld.
James Westman
Brad Dececco
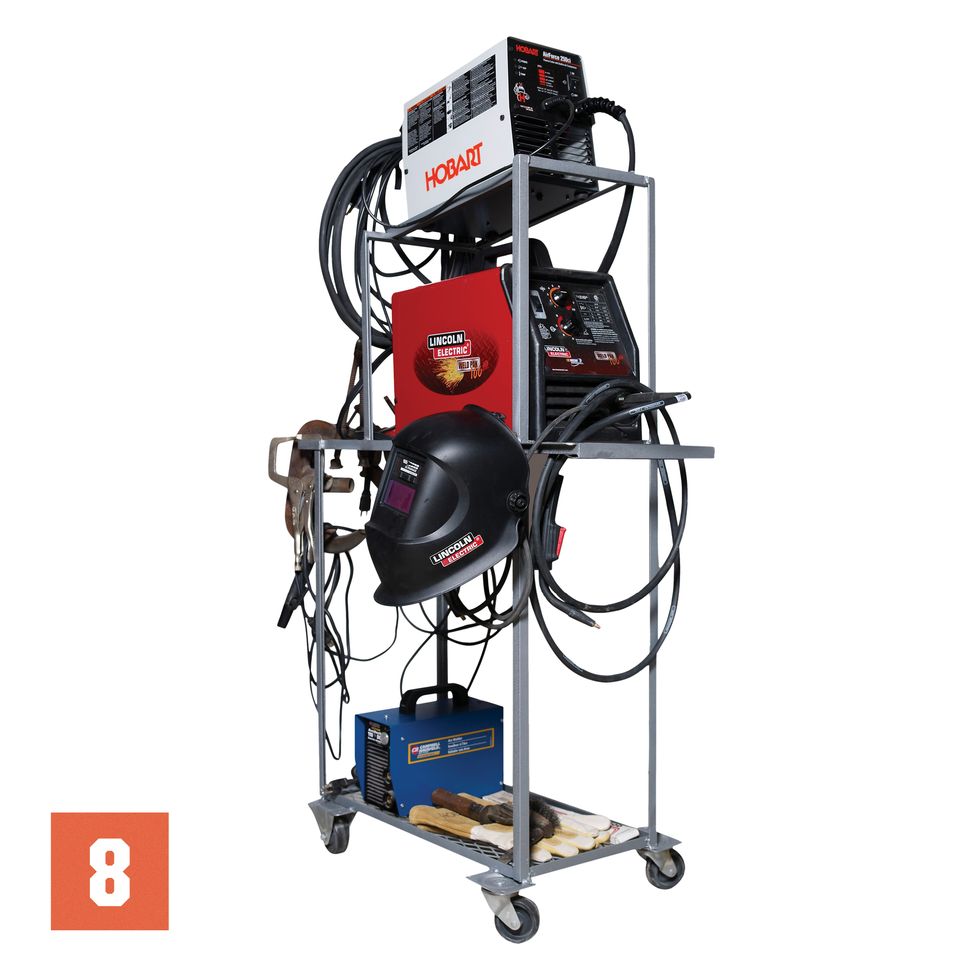
STEP 8
To finish the cart, we added a handle, a rack for clamps and ground cables at the rear and, of course, wheels and casters. Shelves are made of expanded metal, so they won't collect dust or slag. Then we sandblasted the slag off the welds and finished with Hammertone silver paint.
The cart is topped with a plasma cutter—one that cuts 1/4 inch-thick steel plate like warm tofu.


