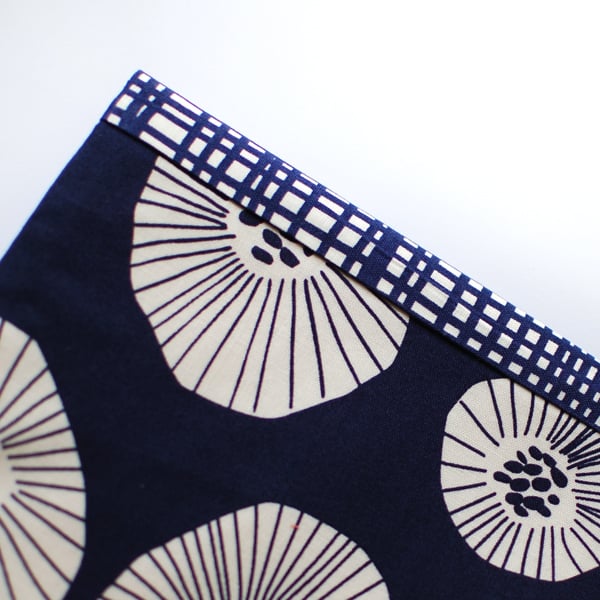
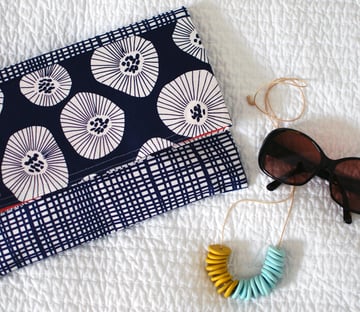
The Easiest Way to Make Your Own Gorgeous Envelope Clutch


With this easy tutorial you can whip up a simple but stylish clutch purse in less than an hour. There are no fussy zips and no scary techniques - just simple straight sewing.
Supplies
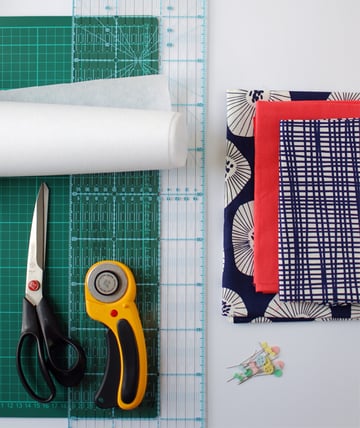
- Quilting weight cotton fabric - 2 fabrics for the outside and one for the lining.
- Mid to heavy weight fusible interfacing.
- Self-healing cutting mat.
- Ruler.
- Rotary cutter.
- Scissors.
- Pins.
- Sewing machine.
- Iron.
Step 1: Measure and cut the fabric
For the main outside fabric (mine is the cross-hatch design), cut one piece measuring 12.75 inches x 19 inches.
For the fold-over flap fabric, cut two pieces measuring 12.75 inches x 5.5 inches.
For the lining, cut one piece measuring 12.5 inches x 28.5 inches.
For the fusible web, cut one piece measuring 12.75 inches x 29 inches.
Step 2: Piece the outside together
Place the long side of the flap fabric and the short side of the main fabric right sides together. Match up the edges and sew them together with a quarter inch seam. I tend not to pin simple pieces together, but pin them if you are a beginner to make sure they stay aligned.
Join the second piece of flap fabric to the other end of the main fabric in the same way. You will now have a long piece with the flap fabric on each end and the main fabric in the centre.
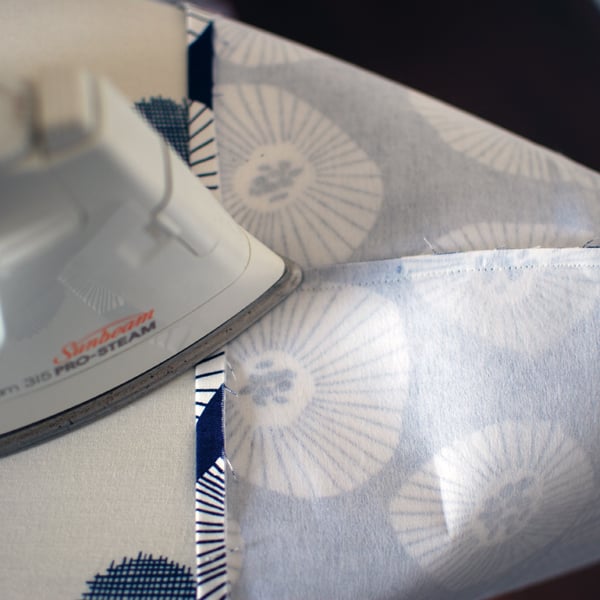
Open the pieces out and press. Press the seams flat.
Step 3: Iron on the fusible web
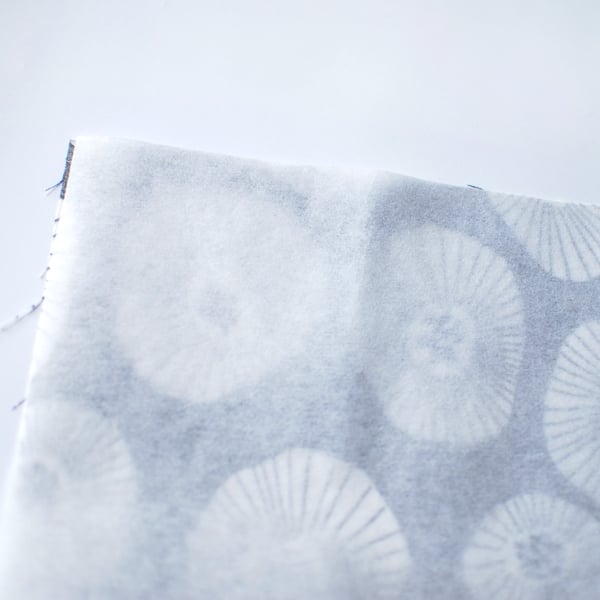
Place the fusible web shiny side down on top of the wrong side of the fabric piece you just made.
Press it so it adheres to the fabric.
Step 4: Sew the side seams
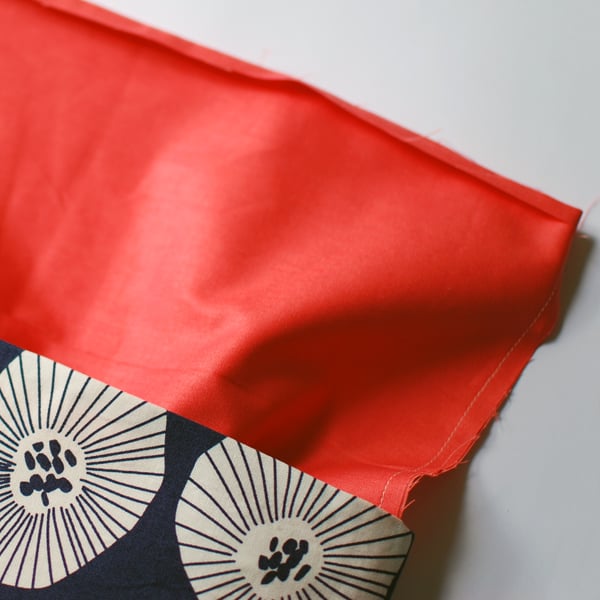
Fold the fabric in half, right sides together, and sew the two side seams with a quarter inch seam.
Fold the lining fabric in half, wrong sides together, and sew the two side seams with a quarter inch seam.
Step 5: Turn over the top edges
Turn over the top edge of the clutch by a quarter of an inch. Press it in place. Press the side seams of the clutch over to one side.
Repeat with the top edge of the lining.
Step 6: Assemble the clutch
Turn the outer piece of the clutch out the right way and press it. Leave the lining as it is - inside out.
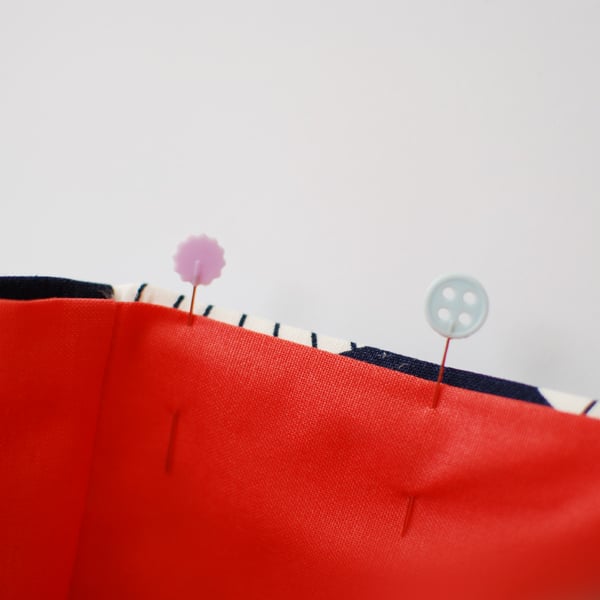
Place the lining inside the outer fabric. Put your hands inside the lining piece and with your finger make sure the bottom corners of the lining are pushed right down into the corners of the outer piece. Smooth the lining out so it's sitting flat.
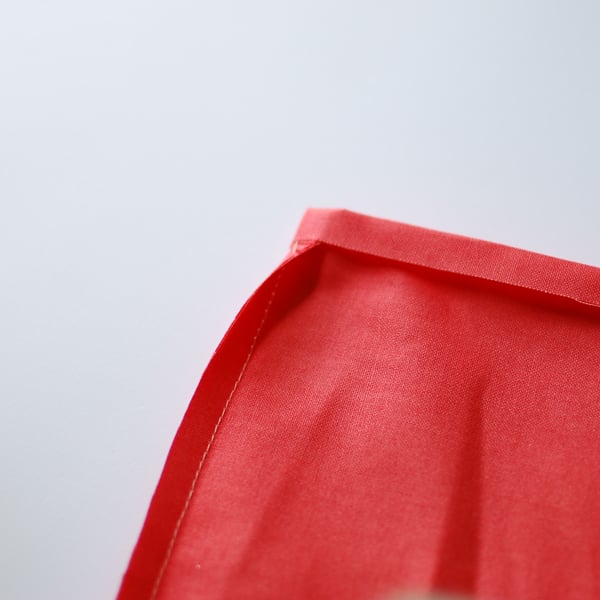
Position the lining so it sits about an eighth of an inch below the top edge of the outer piece (see photo below).
Align the side seams of the lining and the outer. Pin the two pieces together, starting with a pin in both side seams. Work your way into the centre.
Step 7: Sew the lining into the clutch
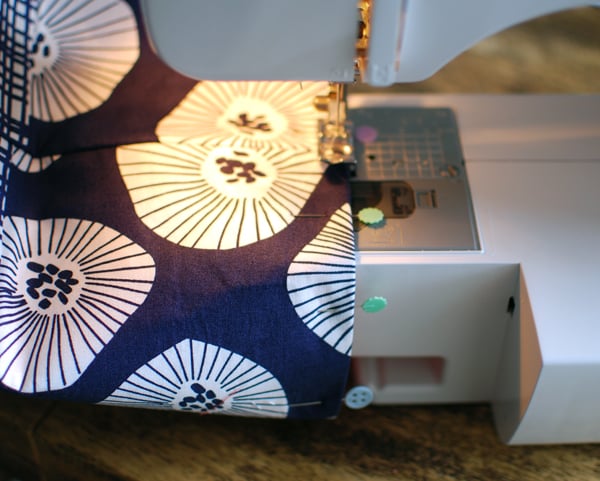
Place the clutch over the end of the sewing machine. Starting at a side seam, top sew along the top edge. Your line of top sewing should be less than an eighth of an inch from the fabric edge.
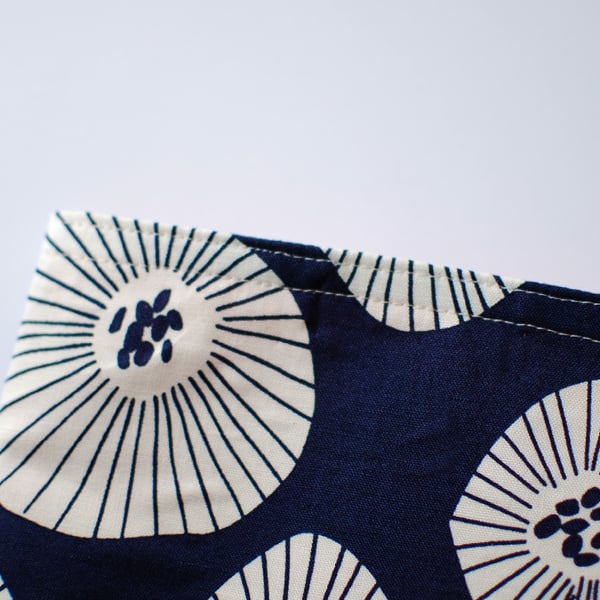
Sew a second row a quarter of an inch from the fabric edge.
Step 8: Fold and finish
Fold the clutch over so you can see about three quarters of an inch of the main fabric at the top.
Press the fold and you're done.
Do you think you might try this simple sewing project? Let us know if you have any queries in the comments below.


