Ideas for An Outdoor Fall Party
How our serene autumn dinner for a few guests turned into a sprawling annual event for more than a hundred. (And how you can do it too.)
J.M. Hirsch is the national food editor for The Associated Press. He is the author of several cookbooks, including “Beating the Lunch Box Blues.” He blogs about the trials, tribulations and triumphs of his son’s lunches at LunchBoxBlues.com.
Four recipes to get you started are included at the end of this piece or click here for fruit-infused vodka chillers, fig and manchego puff pastries, feta cheese drizzled with honey, walnuts and oregano and feta crostini with tomato, bacon and apple jam.

J.M. Hirsch and his wife Holly Ramer exhibit the peaceful demeanor that only comes from being well prepared for hosting duties before the party begins. |
It was supposed to be a simple affair. And that first year, it was.
A half dozen similarly childless couples gathered on our patio for an autumn dinner. I cooked a forgettably simple menu. Some wine was opened.
The crisp fall evening made everything delicious — the company as well as the food. But it wasn’t supposed to become a tradition. It wasn’t supposed to grow.
Except the following year we did it again. And then again. And again.
And because wonderful things are better when shared, each year we added a few couples. The food got a little more elaborate. We decorated more.
By the fifth year, some of the childless couples weren’t. So the party started earlier and included pre-dinner apple picking and visits with farm animals.
By the seventh year, our own son was in the party mix. Play date and preschool circles were added to a guest list now clocking in around 40.
The food changed too. A little more kid-friendly, a lot more do-ahead.
And still it grew. By the time we hit 90 guests, we abandoned the apple picking. Crafts and sack races were added for the kids.
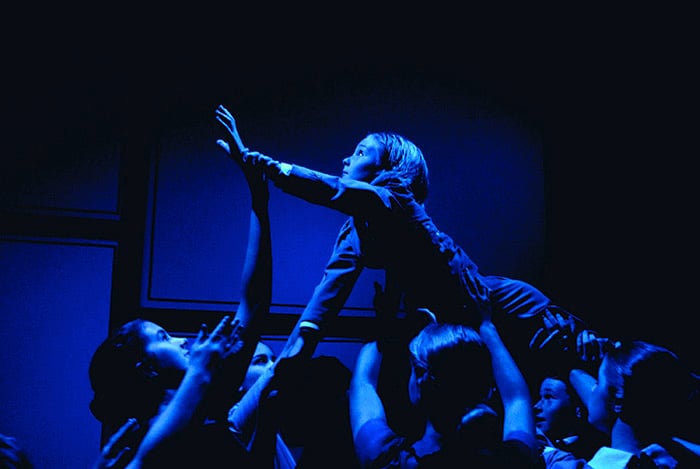
And still it grew. A band replaced the stereo. A DIY bar was added, as were light sticks for the kids, now outnumbering adults and running in feral packs.

A variety of choices makes sure that no one leaves hungry. |
Last year — our 15th — some 140 guests milled about our yard. The “dinner” party started at 2 p.m. and ran until … so very late. The music was loud and live, the drinks plentiful. There were crafts and a photo booth for the kids. See how to make your own photo booth here. Guests sat on hay bales, food came in an endless stream from the kitchen.
Freshly baked bread, pulled pork sliders with tomato-bacon relish, homemade crackers with apple butter, rosemary fried chicken and a mashed potato bar. Oh, and freshly fried cinnamon-apple doughnuts. Just because.
Excessive? Of course! But we do just one party a year, so why not go all out? And though we never intended it, it is our tradition, a part of our family history and future that we think and talk about all year.
Though the character of our party has changed from our more sedate dinner days, the deliciousness of gathering together and enjoying so many of the people we care about has not.
Hosting a party of this scale isn’t easy, but it isn’t nearly as difficult as it sounds. Nor nearly as expensive. Over the years, my wife and I have become masters at pulling it all together with minimal fuss and cost.
You may not be ready to embrace quite so large a crowd (rumor puts this year’s list at 150), but we’ve discovered that the principles of a great carefree party are the same no matter the size.
Plan your space
Start by assembling your guest list. This determines how big a space you need. I geek out and use a spreadsheet to track invites and calculate a running tally of responses, including a count of children vs. adults and notes of any special diets to account for.

Seasonal tastes and decorations combine to set the mood. |
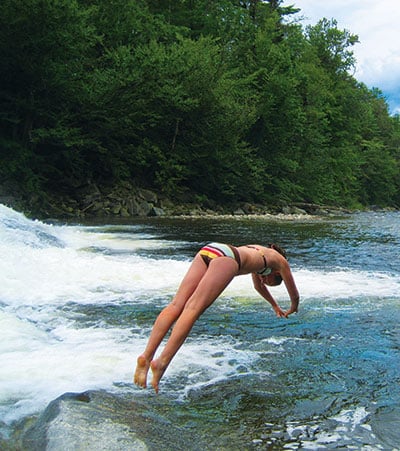
We’re firm believers that outdoor parties are best. We don’t need to clean as much before or after the event. And even though our yard is just an acre, we can fit far more people there than in the house.
Of course an outdoor party is weather dependent, so you need to have a Plan B (ours is to reschedule to the following weekend). We always do our party in early October, so we’ve had some chilly, overcast parties. But we’ve also had sunny, hot ones. And yet in 15 years, we’ve never been rained out.
You also need to arrange for adequate parking. Nothing spoils a party like cars being ticketed for blocking the street. We get permission for guests to park at a nearby school. Alternatively, ask neighbors if guests can use their driveways. Whatever the arrangements, be sure to spell them out on the invitation.
Set the stage
This means two things: decorating and creating social zones.
No matter what size your party, you don’t want everyone clustered in one spot. You also don’t want to spend the party herding people around. The solution is to use seating, food and drink to create zones guests will naturally gravitate to.
We start by arranging seating in groups of two or three — a mix of hay bales, Adirondack chairs and short benches — all over the yard. A self-serve drinks station is set up in a central, but separate location, and food is in yet another location. A table with activities for the kids is stationed away from the flow of traffic. Same goes for the fire pit.
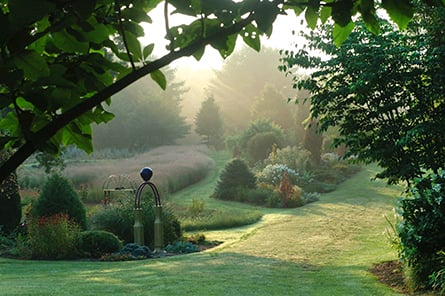
Once you have your zones set, then you can choose which and how to decorate. We don’t go crazy; autumn in New Hampshire tends to provide its own decorations. My wife usually makes simple, but elegant banners, garlands and centerpieces with which to decorate the drinks and food tables. We also string white outdoor holiday lights along the roof of the main patio.
Plan the menu
Before planning the menu, sort out how much help you’ll have in the kitchen. This determines what you can serve.
When our party was much smaller, I did all of the cooking, and I did it the night of the party. This was a mistake because it kept me in the kitchen instead of outside with our guests.
As the party grew, this wasn’t workable, so we switched to foods we could prep ahead, then just heat and serve. One year, we had a variety of empanadas. Another year, it was a selection of warmed sandwiches wrapped in parchment and tied with twine. We’ve also done chilies and stews, and baked potatoes with DIY toppings.
At some point, we outgrew even that system. That’s when I brought in professional chefs. This is different than a catering service, which would cost far more.
Instead, I hire local chefs to come in and cook my recipes in my kitchen. I do the shopping and help with the food prep the night before. But on the day of the party, I stay out of the way. The final cost is moderate (a few hundred dollars). This not only frees me up to enjoy my party, it also lets me serve foods that can only be done on the spot (such as last year’s freshly fried chicken and doughnuts).

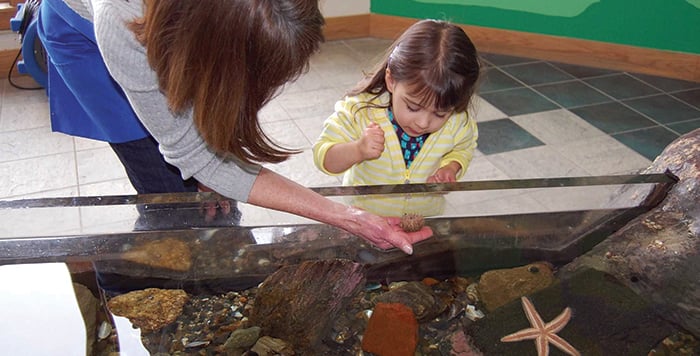
Games don’t have to be complicated. Kids can make anything fun. |
Once you’ve determined who will be in the kitchen and how much of the food will need to be heat-and-serve vs. freshly prepared, decide how the food will flow from the kitchen. Do you want all of the food to come out at once buffet-style, or do you want it staggered? We prefer the latter because it keeps the party moving; there is always something new and delicious coming out.
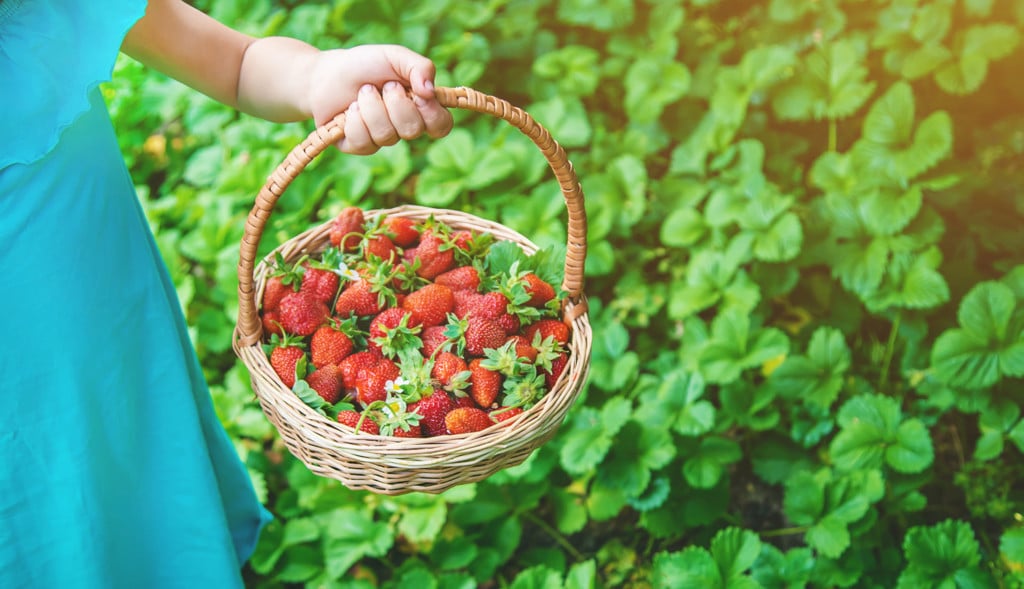
However you do it, be sure there is something for guests to enjoy as soon as they arrive. We keep it simple with platters of cheese, fruit and bread. To save money (and get a better quality), I order a 5- to 10-pound wheel of whatever cheese I’m enjoying at the time.
Depending on how child-friendly the menu is, we sometimes have a special grab-and-go item for the kids. We usually fill paper lunch bags with popcorn, then add a cheese or peanut butter sandwich to it. Kids can take one and eat it whenever they like without having to wait for the rest of the menu.
For drinks, we set up a simple DIY bar. We start with a couple cases of wine, which we set up on a table with corkscrews and an army of inexpensive wine glasses. We also offer one ultra-easy cocktail. One year, it was fruit-infused vodkas with ginger beer (see recipe). Last year, it was bourbon and an apple cider mixer.
On the ground around the table, we set up giant ice-filled stainless steel tubs. One has juice boxes for the kids, another has cans of seltzer water.
Plan the entertainment

Jordan Tirrell-Wysocki |
When we stopped going apple picking as a prelude to the party (coordinating 140 people to and from our house to the orchard just wasn’t viable), we wanted to add something fun. That’s when we ditched the iPod and brought in live music.
A band adds a fresh, exciting vibe to the party, and kids love sitting in the grass watching the musicians. We hire a phenomenal local Celtic rock band led by fiddler Jordan Tirrell-Wysocki. But if a legit band isn’t in your budget, you could do a lot worse than hiring the local high school would-be rock stars. The point is, you don’t need to lock down the next Rolling Stones to liven up your party.
For the kids, my wife sets up a craft table. She keeps it fun and easy, and the projects never take more than a few minutes. One year, it was tiny snow globes out of baby food jars. Last year, toilet paper tubes were converted into poppers that sprayed confetti. See how to make your own here.
She also used an old refrigerator box to create a fun photo booth that everyone enjoyed. An iPad mounted on the side of the box with a photo booth app fed images directly to a printer. It was a hit with adults and kids. See how to make your own photo booth here.
The point of the activities isn’t to keep the children entertained the entire party. Once a critical mass arrives, they’ll all run off and play. It’s mostly intended for the first few hours.
We also like to put out some unstructured play stuff — inflatable balls, giant coffee sacks for races, and of course the light sticks. There’s no point in trying to structure their play. They don’t want it, and you have better things to do.
Don’t forget the paperwork
It’s always a good idea to check with officials well in advance. Some communities require permits for large parties, and most require it for live music. Getting the permits is easy, unless you leave it to the last minute.
And if your party plans include sitting around a fire pit — even a purchased one — don’t forget the fire permit.

Family affair: Still relaxed, J.M. Hirsch, his wife Holly and son Parker show off the signature fruit of their annual “apple party.” Hirsch, a food writer and editor for the Associated Press, also writes books on cuisine. His latest, “Beating the Lunch Box Blues,” was inspired by his efforts to keep Parker’s school lunches tasty, fun and nutritious. |
Recipes

Photo by Matthew Mead
|
Fruit-infused Vodka Chillers
Start to finish: 24 hours (10 minutes active)
Servings: 10
- 2 to 3 cups tender fruit (strawberries, blueberries, black currants, peaches, finely chopped pineapple, etc.)
- 3 tablespoons honey
- 750-milliliter bottle vodka
- Four 12-ounce bottles ginger ale
- Ice cubes
Start the recipe at least one day before you want to serve it.
In a wide-mouthed 2-quart container with a tight-fitting lid (a glass canning jar is ideal), combine the fruit and the honey. Use a long wooden spoon to partially crush the berries. Add the vodka, then cap the container, shake and refrigerate for 24 to 48 hours. Whenever you think of it, give the container a shake.
Alternatively, the fruit, honey and vodka can be combined in a blender. Pulse for 1 or 2 seconds, just enough to chop the fruit but not puree it. Transfer the mixture to the 2-quart container and proceed with the recipe.
After 1 to 2 days, the vodka can be strained. Place a mesh strainer over a large bowl. Pour the vodka and fruit into it, then use a rubber spatula to press the fruit pulp to extract as much liquid as possible. Discard the pulp.
Transfer the vodka to a clean glass container with a stopper (a wine bottle is ideal, but depending on how much juice was extracted from the fruit, you may need more than one). Refrigerate the vodka until ready to serve.
To serve, offer ice and ginger ale. The vodka can be sipped straight or cut with ginger ale. Either way, serve it over ice.
 |

Photos by Matthew Mead
|
Fig and Manchego Puff Pastries
These savory-sweet treats are simple to make, and the recipe is easily doubled (or more) to feed larger crowds. They also can be prepped entirely ahead, then baked as you need them. The easiest way to thaw puff pastry it to place it in the refrigerator overnight.
Start to finish: 30 minutes (10 minutes active)
Servings: 24
- 2 sheets frozen puff pastry, thawed according to package directions (each 17.3-ounce package contains 2 sheets)
- 6 ounces manchego cheese, cut into 24 pieces roughly ½-inch square
- ½ cup fig preserves
- Ground black pepper
Heat the oven to 400°F. Line 2 baking sheets with kitchen parchment.
One at a time, unfold the pastry sheets and use a paring knife to cut each into 12 2-inch squares.
Arrange the squares on the prepared baking sheets. Use a 1½-inch round cookie cutter to lightly press a circle into each square without cutting all the way through.
Place 1 piece of cheese in the center of each square, then top with a dollop of fig preserves. Bake for 15 to 20 minutes, or until the pastry is puffed and lightly browned. Season with pepper.

Photo by Matthew Mead
|
Feta Cheese Drizzled with Honey, Walnuts and Oregano
This is an easy starter to have out as your guests arrive. For larger crowds, just make multiple batches. You can even prep the platter in advance, but wait until serving to drizzle with honey.
Start to finish: 10 minutes
Servings: 12
- Two 12-ounce blocks feta cheese, cut into thin slices
- 2/3 cup honey
- 2/3 cup toasted walnut halves, crumbled
- Leaves from several sprigs fresh oregano
- 10 fresh mint leaves, cut into thin strips
- Grated zest of 1 lemon
- Two 12-inch baguettes, each cut into 12 to 14 slices
Arrange the feta cheese slices at the center of a large serving plate or platter. Drizzle the honey over the feta. Sprinkle the crumbled walnuts over the top of the cheese, then scatter the oregano leaves and mint over it. Sprinkle with lemon zest. Serve the cheese with the baguette slices.

Photo by Matthew Mead
|
Feta Crostini with Tomato, Bacon and Apple Jam
You’ll go crazy for this tomato, bacon and apple jam, so do yourself a favor and make a double or triple batch. And you can make it a week or more ahead and freeze until needed. This same jam also is great tossed with roasted pork or chicken instead of a more traditional barbecue sauce.
Start to finish: 30 minutes
Servings: 18 crostini
- ½ pound smoked bacon
- 28-ounce can diced tomatoes, drained
- 1 apple, peeled, cored and diced
- 1 small yellow onion, diced
- 1 cup sugar
- 2½ tablespoons cider vinegar
- 1½ teaspoons salt
- ¼ teaspoon ground black pepper
- 12-inch baguette, thinly sliced
- 8-ounce block feta cheese, crumbled
In a large skillet over medium-high heat, cook the bacon until just browned, about 5 minutes. Transfer to paper towels to drain excess fat. Crumble or cut into small pieces.
In a large saucepan, combine the tomatoes, apple, onion, sugar, vinegar, salt, pepper and bacon. Bring to a rapid boil and cook, stirring often, for 12 minutes.
Remove the pan from the heat and set aside for 5 minutes.
Arrange the baguette slices on a serving platter. Top each with feta and a dollop of warm tomato jam.
More Fun Details and How-tos
DIY Confetti Poppers
 |
This is a fun activity you can prepare in advance. Guests can then finish the assembly and decorate the confetti poppers with stickers, markers or whatever else you choose. Click here for a detailed tutorial from Smashed Peas and Carrots.
Here are the basics:
- Save up empty toilet paper tubes.
- Knot the ends of balloons as if you’d just blown them up.
- Cut the balloon in half.
- Fit the tied end of the balloon over one end of the TP tube. Secure it with tape (colorful duct tape would be fun. Most craft stores carry all sorts of colors and patterns).
- Guests can then decorate the tubes and fill them up with confetti.
- Then, holding the tube upright, you just pull and quickly release the balloon to launch the confetti.
DIY Photo Booth
 |
 |
Create the look and fun of an old school photo booth with an iPad, fun apps and a few props. For this particular “photo booth,” they used an old refrigerator box with an iPad mounted on the side of the box with a photo booth app fed images directly to a printer.
Some apps also allow you to instantly upload and share your photo strips on Facebook and other social media platforms.
Props, such as masks and mustaches, can be downloaded online and printed at home. Just attach them to dowels or other long items. You can buy packages of props that are ready to go from many online outlets including Amazon. Etsy is a nice source for printables.
Here are a few apps to choose from:
- Incredibooth by Hipstamatic
- PocketBooth (also available for Android, iPhone, Nokia and Windows phones)
- InstaBooth
- SimpleBooth