How to Whitewash Cabinets
Whitewashing can create instant appeal on your old kitchen cabinets. It can be a time-consuming project, but it's not difficult. You will need three to four days to complete the project, but most of that time is spent waiting for it to dry. Follow this step-by-step guide to make the project go as smoothly as possible.
Remove the Doors
Taking off the cabinet doors will make removing the old stain and applying the whitewash much easier. It will also allow you access to the cabinet frames and let you see more of what you are doing.
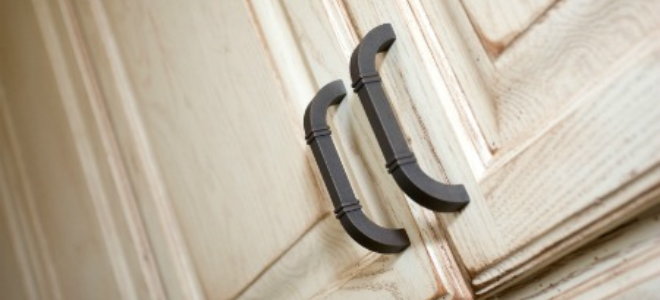
Remove the door hinges from the cabinet itself first and then from the door with an electric screwdriver. Do the same for the handles as well, and then place them in plastic sandwich bags for safekeeping, labeling each one according to the door they belong to. The hardware is already set to that particular door and it will help to decrease adjustments later when putting the doors back on.
Clean
It is very important that all the cabinet surfaces are suitably cleaned. Spray a heavy-duty degreaser on the front and back of the door, as well as inside and outside the cabinet and on the frame. Then, wipe it down with a clean rag, and lay them to dry on tarps or drop cloths.
Strip the Cabinets Down
In order to get the best bond between the whitewash and your cabinets, you will first need to remove the old stain or varnish. Purchase a high-quality stripper, apply it as directed on your product, and allow it to sit and work its magic. Then, while wearing gloves, wipe away the stripper and the old stain or varnish.
If you are working with a veneer-coated particle board cabinet, instead of removing the stain, you will actually need to use a quality primer to get the cabinets ready for paint. Start off by sanding the veneered surface so your primer has a better surface to adhere to.
Paint
You will need to apply three coats of paint to all surfaces that you want to achieve the whitewashed look for. Begin with the frames, as you will want them to be dry first once it is time to start reattaching the doors.
First, apply a white coat of paint and allow it to dry thoroughly. Twenty-four hours should be long enough, but it could be more in a humid environment. When dry, apply the second coat. This will be your accent color. Wait for this to dry, and then apply the third, another coat of white. Make sure you use a good quality paintbrush for all the coats; staining with a foam brush is not as thorough when doing large jobs.
Whitewash It
This is the step that actually achieves the whitewash look. Dip a rag into some denatured alcohol and rub it into the wood to remove some of the top paint layers. Follow the grain when you rub, and when your rag becomes tacky switch it out for a new one; you will need a lot of rags for this step. Use the same pattern on each cabinet. A good rule is to practice on a scrap piece of wood first that you have painted to match the cabinets. That way you will be able to practice your technique.
Hang the Cabinets
Once the cabinets have time to dry completely, hang the cabinet doors back in the right place. Even if two doors are the same size, they were not necessarily hung the same. Make sure you match your hardware as well and then adjust to make everything sit properly.
Whitewashing your cabinets is a fairly inexpensive way to modify your space with already existing cabinets. It does not take a lot of expertise, but it will take time and patience.


