Activity
Make a Duct Tape Wallet

Make a duct tape wallet and take duct tape to a whole new level! This activity provides kids great practice in following directions, and makes for a fun, homemade gift.
Related learning resources
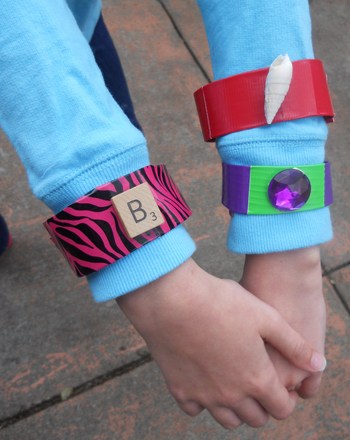
Duct Tape Bracelets
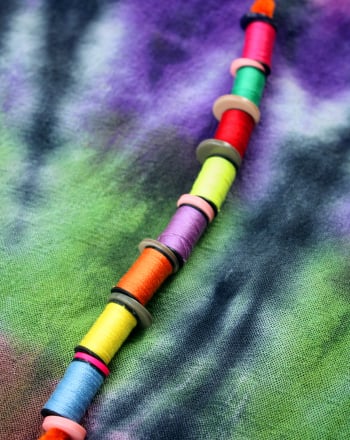
Activity
Duct Tape Bracelets
Make unique and pretty bracelets using that all-purpose mainstay of crafts and home repair: duct tape!
3rd grade
Arts & crafts
Activity

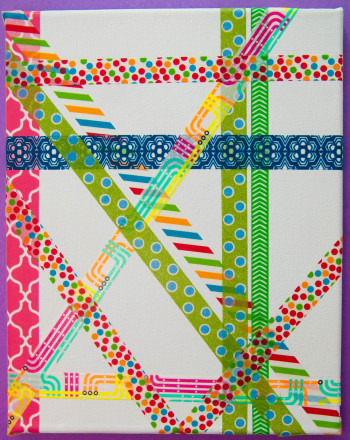
Washi Tape Patterns
Activity
Washi Tape Patterns
Give your kid the opportunity to experiment with color combinations, and how the tape is applied as they make special cards for friends and family.
2nd grade
Arts & crafts
Activity
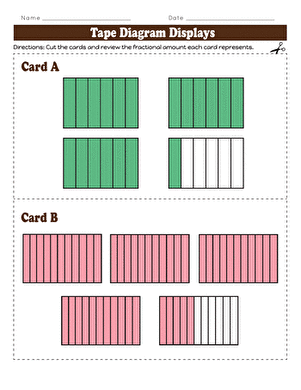
Tape Diagram Displays
Worksheet
Tape Diagram Displays
In this math worksheet, students will examine tape diagrams in the form of mixed numbers.
3rd grade
Math
Worksheet