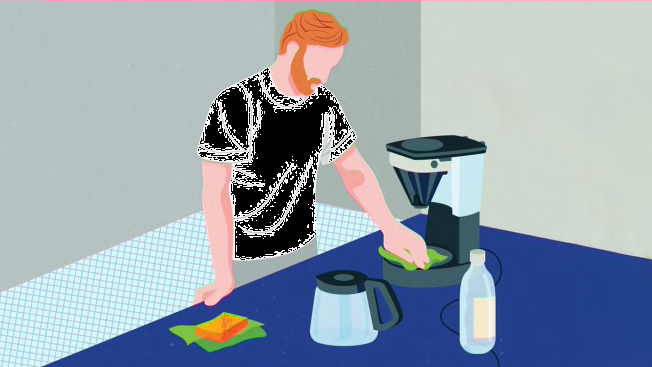
How to Clean Your Coffee Maker
A clean machine will last longer and make better-tasting coffee
When you shop through retailer links on our site, we may earn affiliate commissions. 100% of the fees we collect are used to support our nonprofit mission. Learn more.
If your morning routine used to consist of a quick stop at a local cafe, you've probably come to heavily rely on your own coffee maker in recent months.
It's hopefully brewing just fine as it works overtime, but your machine may be long overdue for its own pick-me-up in the form of a good cleaning.
Without proper care, coffee residue and mineral buildup can wreak havoc on your machine, affecting the quality of your brew and even causing your brewer to malfunction.
“You should clean your coffee maker every three to six months, depending on how often you use it. Check your coffee maker’s instruction manual for a more precise time frame,” says Ginny Lui, CR’s test engineer for coffee makers. “Some coffee makers also have a cleaning indicator, which will light up when it's time for descaling.”
To help you get your coffee maker sparkling clean, we’ve compiled a step-by-step guide that you can follow, regardless of whether you own a drip or pod brewer. Afterward you'll have better-tasting coffee and a machine that looks like new—the better to watch your brewer dispense your caffeinated elixir of life, drip by beautiful drip.
Step 1: Clean the Brew Basket and/or Water Reservoir
If you use a drip coffee maker, you might rinse the brew basket at the sink after you empty it. Now and then, it’s good to go the extra distance by washing it thoroughly in warm, soapy water. This will take care of the oily residues that can leave behind a bitter taste.
Pod coffee makers don’t have a brew basket, but they usually have a removable water reservoir. You should remove the reservoir and wash it with soap and water. Some reservoirs can even be placed in the dishwasher, but consult the owner’s manual to be sure.
Step 2: Clean the Hot Plate or Drip Tray
Unless your drip coffee maker has a thermal carafe, it will have a hot plate that keeps the coffee warm. When the hot plate has cooled, wipe off any spilled coffee. To remove burnt-on coffee stains, scrub the plate with a damp sponge and a little baking soda.
Rather than a hot plate, pod coffee makers feature a drip tray that your mug sits atop. The drip tray can collect a lot of excess coffee and become a haven for germs. Clean the tray with soap and warm water, and make sure to empty it regularly.
Step 3: Remove Mineral Deposits
Minerals in your home’s water can clog your coffee maker’s tank and tubes. If it gets bad enough, the machine could stop working completely or its brewing performance will be compromised; excessive steaming and increased brew cycle times are two telltale signs of trouble.
The removal of this mineral buildup is called descaling. If your machine has a cleaning indicator, it will illuminate when it’s time to begin this process.
For most machines, all you need to do is occasionally run a mixture of water and white vinegar through the machine. Check your machine’s instructions for the proper ratio though, because vinegar can damage some metals and plastics.
Finishing the descaling process doesn’t mean you can start brewing coffee right away, however. “Always run the brew cycle with water a couple of times to get rid of the vinegar taste before brewing coffee,” Lui says.
Some machines, such as those made by Keurig and Nespresso, tell you to use their own special descaling solutions instead. Some brewers feature dedicated cleaning cycles as well, so check your owner's manual for any specific cleaning instructions.
Step 4: Clean the Carafe (Drip Machine)
Whether your machine uses a glass carafe or an insulated thermal carafe, you should always clean the carafe with soap and warm water after every brew. If you can’t remove coffee stains, fill the carafe with a solution of one part baking soda and two parts hot water, and let it stand overnight. Then rinse thoroughly with fresh water.
Easy-to-Clean Coffee Makers
Rather start fresh? Here are four models (two drip and two pod) that perform well in our convenience tests, which evaluates, among other factors, how easy the machine is to clean.

")
")
")
")

")
")
")