So you wanna wear highlighter! Great! But now you have to ask yourself, “What kind of highlighter look am I in the mood for right now?” Some days you might want more of a my-skin-but-better kind of glow, and other days you might be thinking: Roll me around on a plate of glitter, please. Keep scrolling to learn how to apply highlighter, based on the glow you want, in five super-easy steps.
How to Highlight Step #1: Prep Your Skin
The whole point of highlighting is to make your skin look healthy and glowy—as if you actually drank your eight glasses of water a day. That said, the most important step in achieving healthy, hydrated skin is with proper skin prep. But don’t worry, it doesn’t have to be a whole 10-step thing. Keep it simple: Wash your face, swipe on an exfoliating acid toner (provided your skin isn’t super sensitive), and then apply a lightweight moisturizer that layers well under makeup. If you’re a believer in makeup primers, pat on a thin layer of that, too. After all this skin TLC, you might even decide you don’t need steps two through five. But just in case, let’s move on to step two…
How to Highlight Step #2: Apply Your Foundation
You don’t need to wear foundation in order to wear highlighter, but if you do like a bit of coverage, now would be the time to apply it. And if you’re really trying to glow like crazy, mix a few drops of face oil or liquid illuminator into your foundation before applying it to your skin. It’ll make your skin look ridiculously dewy.
How to Highlight Step #3: Choose Your Highlighter Formula
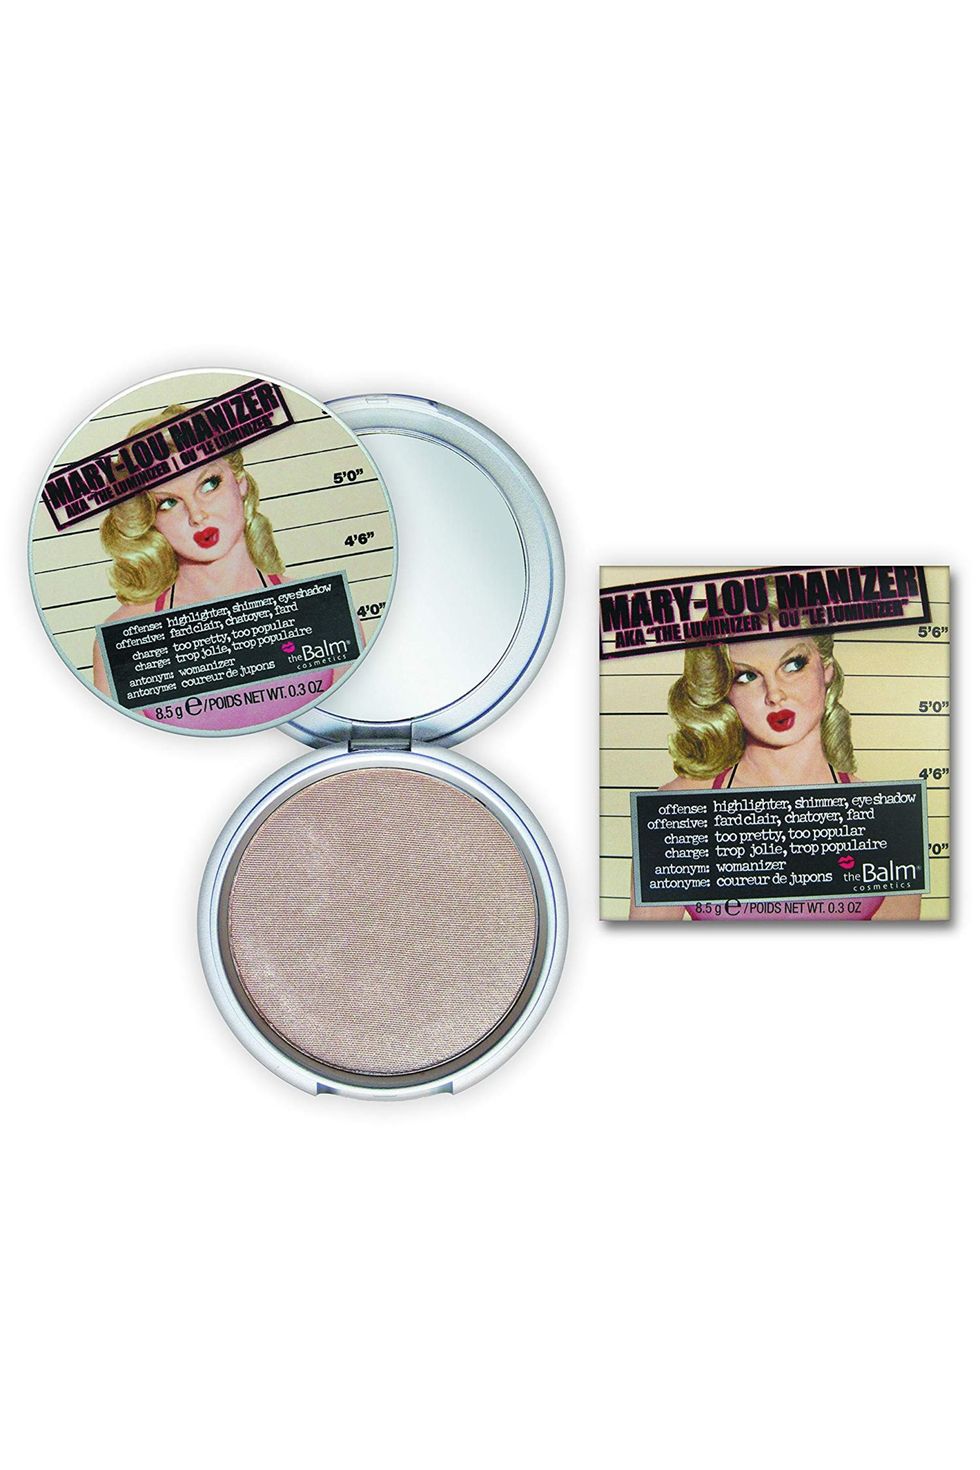
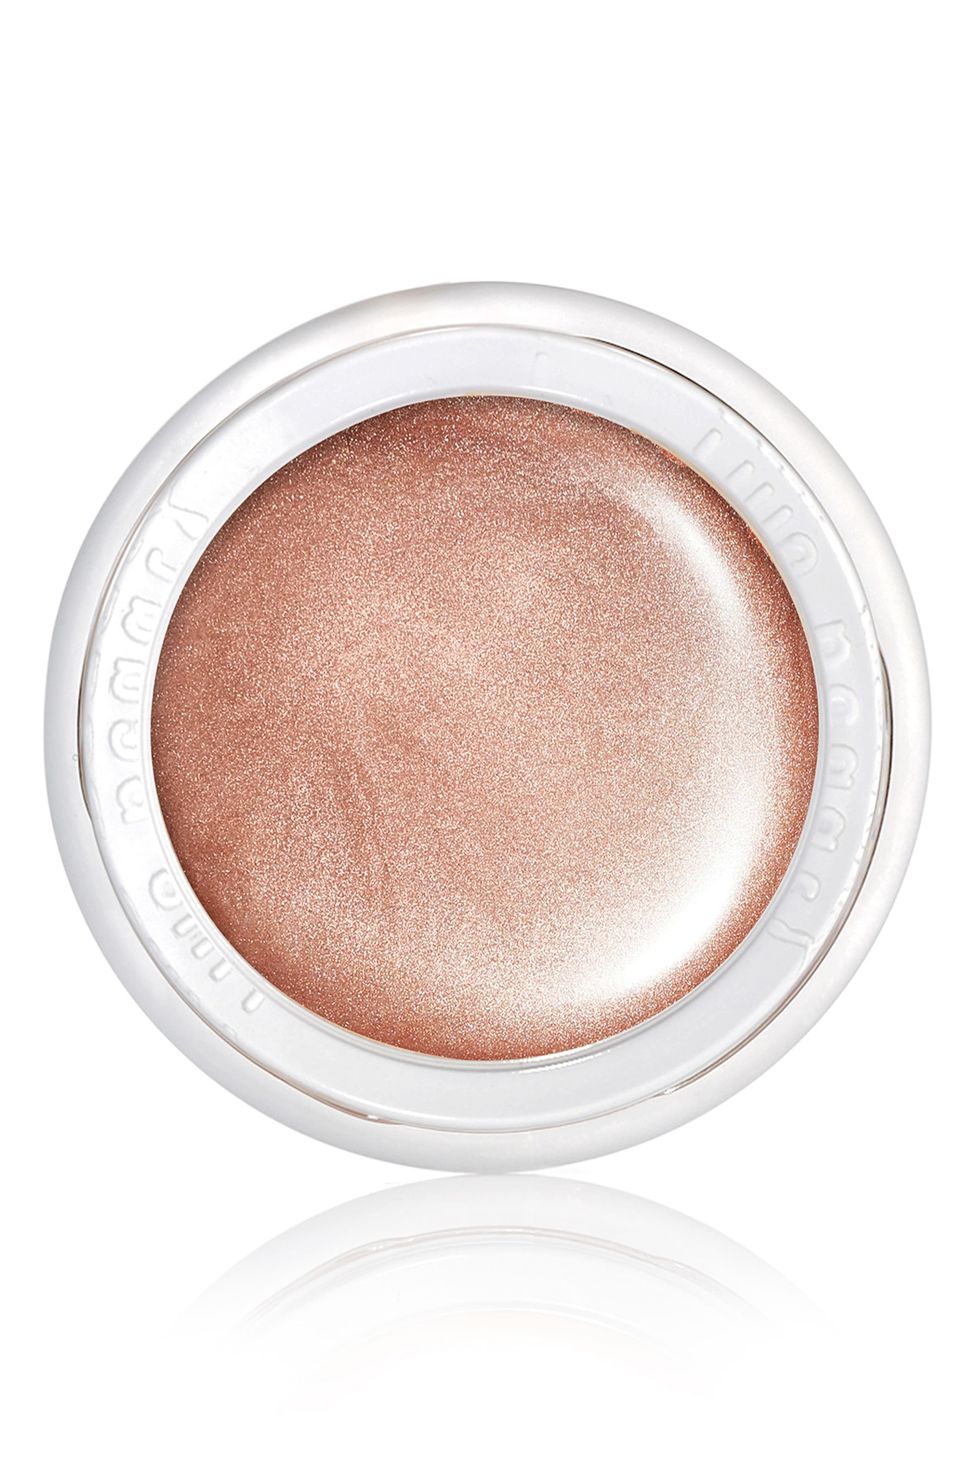
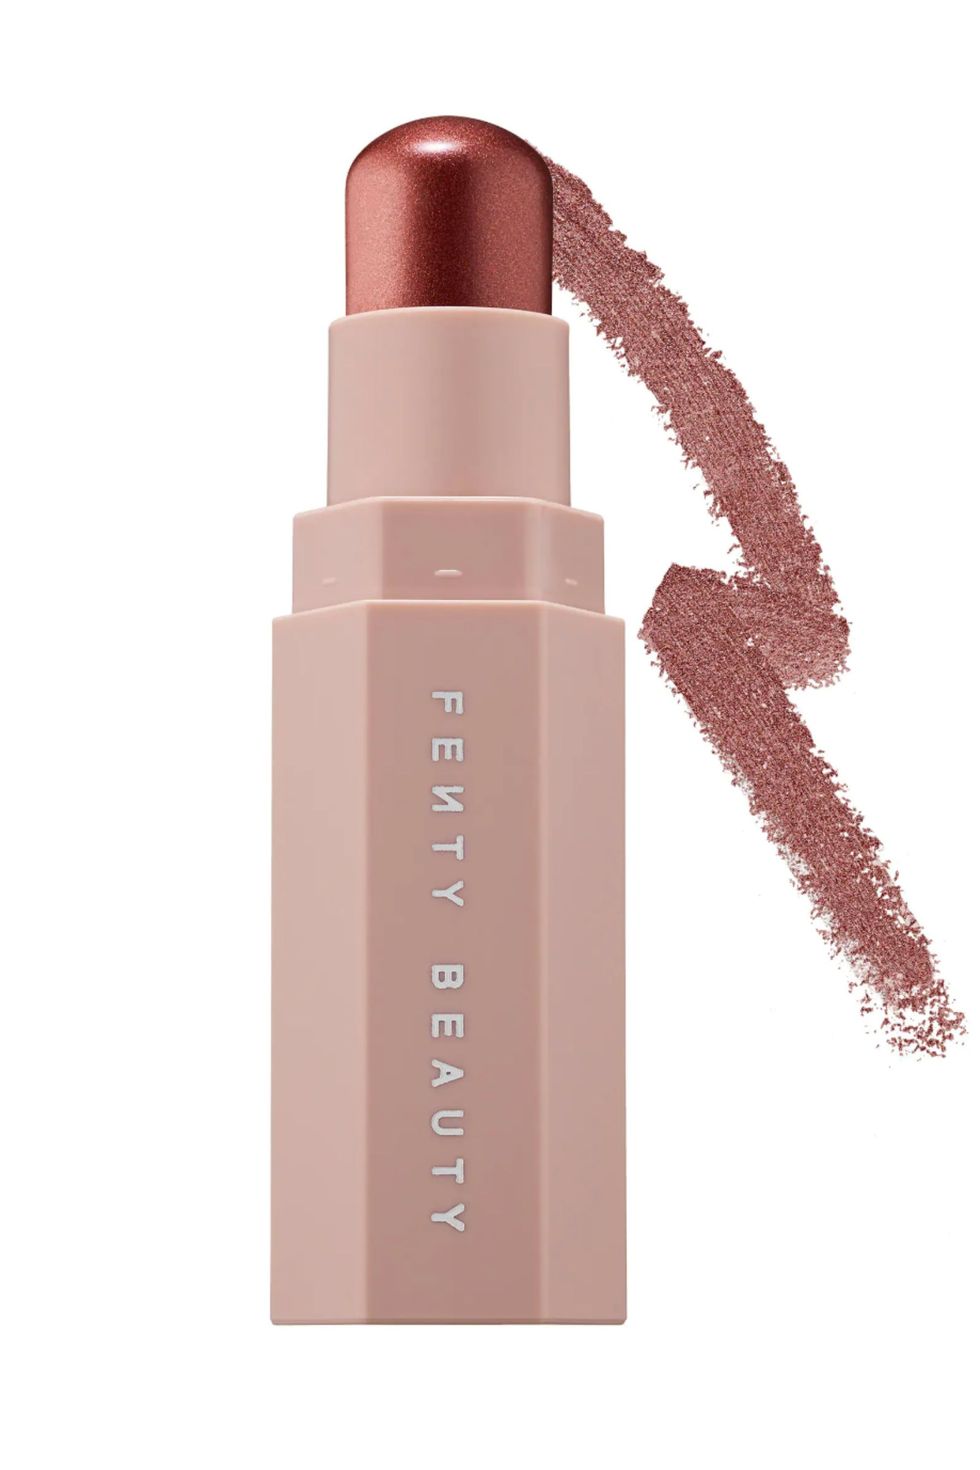
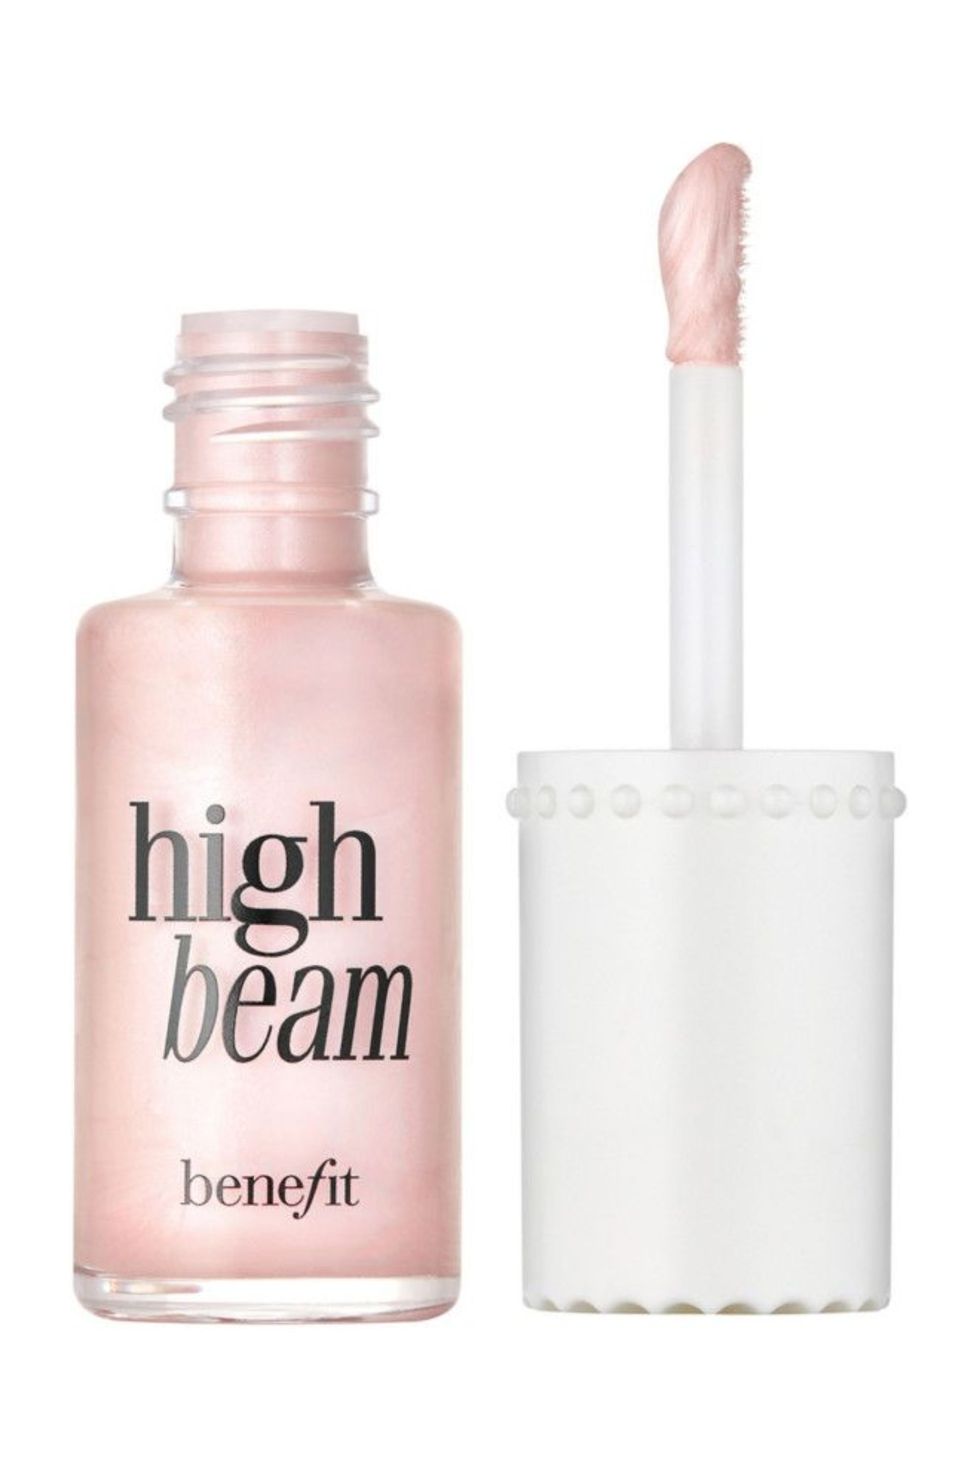
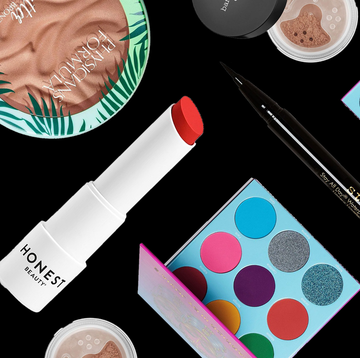
Now that your base is set, you’re ready for the fun part…choosing your highlighter! Finding the right shade and level of shimmer can be a little tricky though, so know this: A creamy highlighter works especially well on dry skin and can be applied before or after foundation. A powder formula, on the other hand, is better for oilier skin types and should be applied as the last step in your makeup routine. Liquid highlighter has a tendency to break up the foundation underneath it during application, so use these before your foundation or just mix them right in with your face makeup for a pretty, all-over glow.
How to Highlight Step #4: Pick the Right Highlighter Applicator
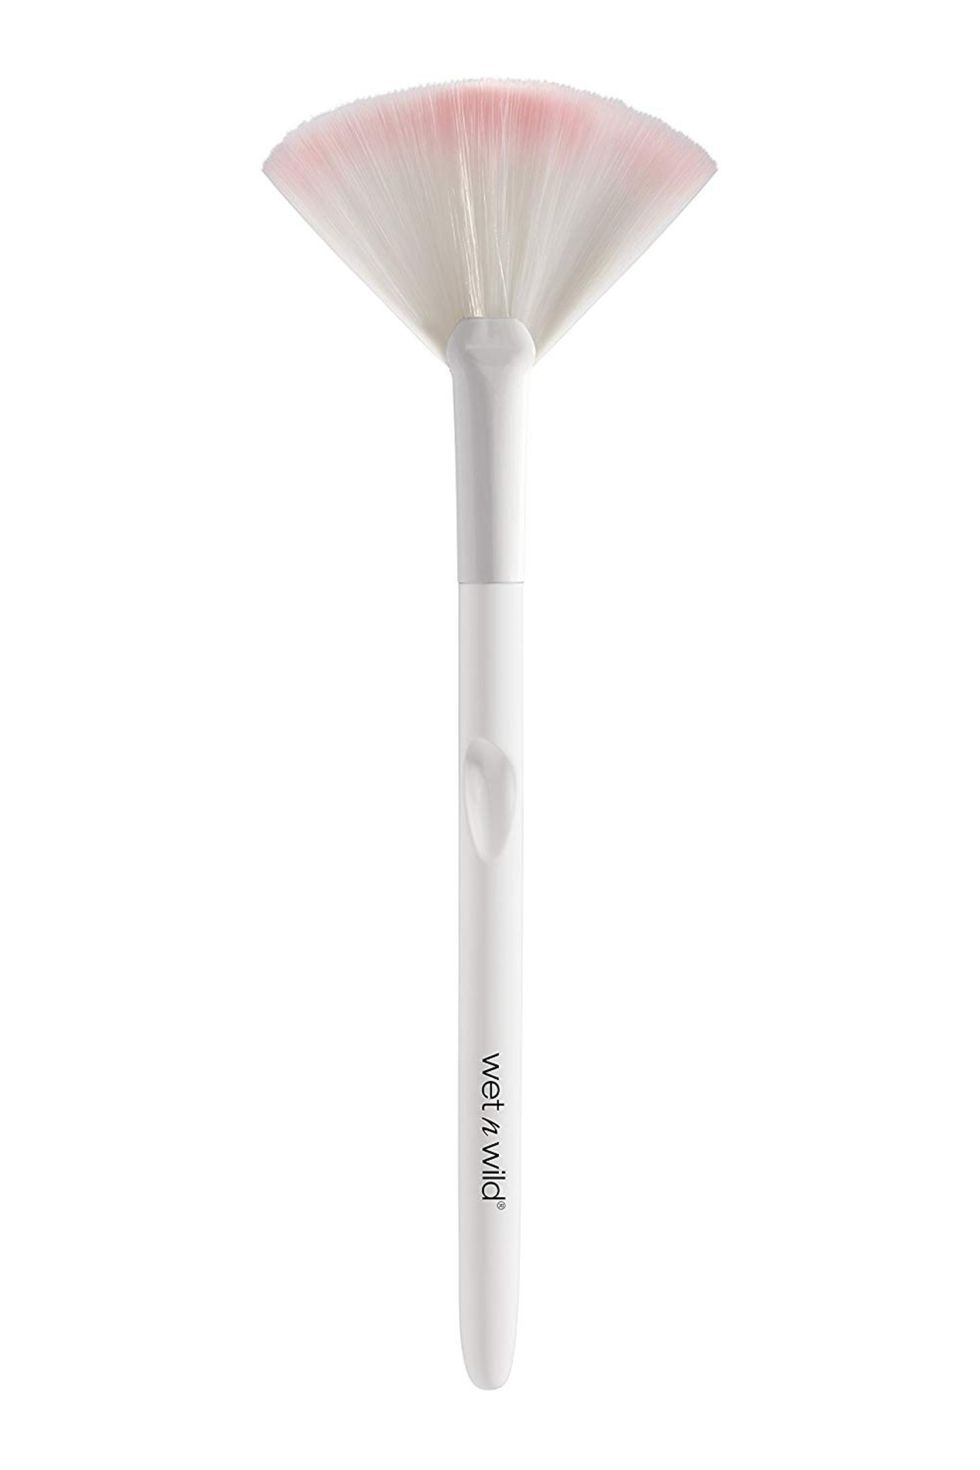
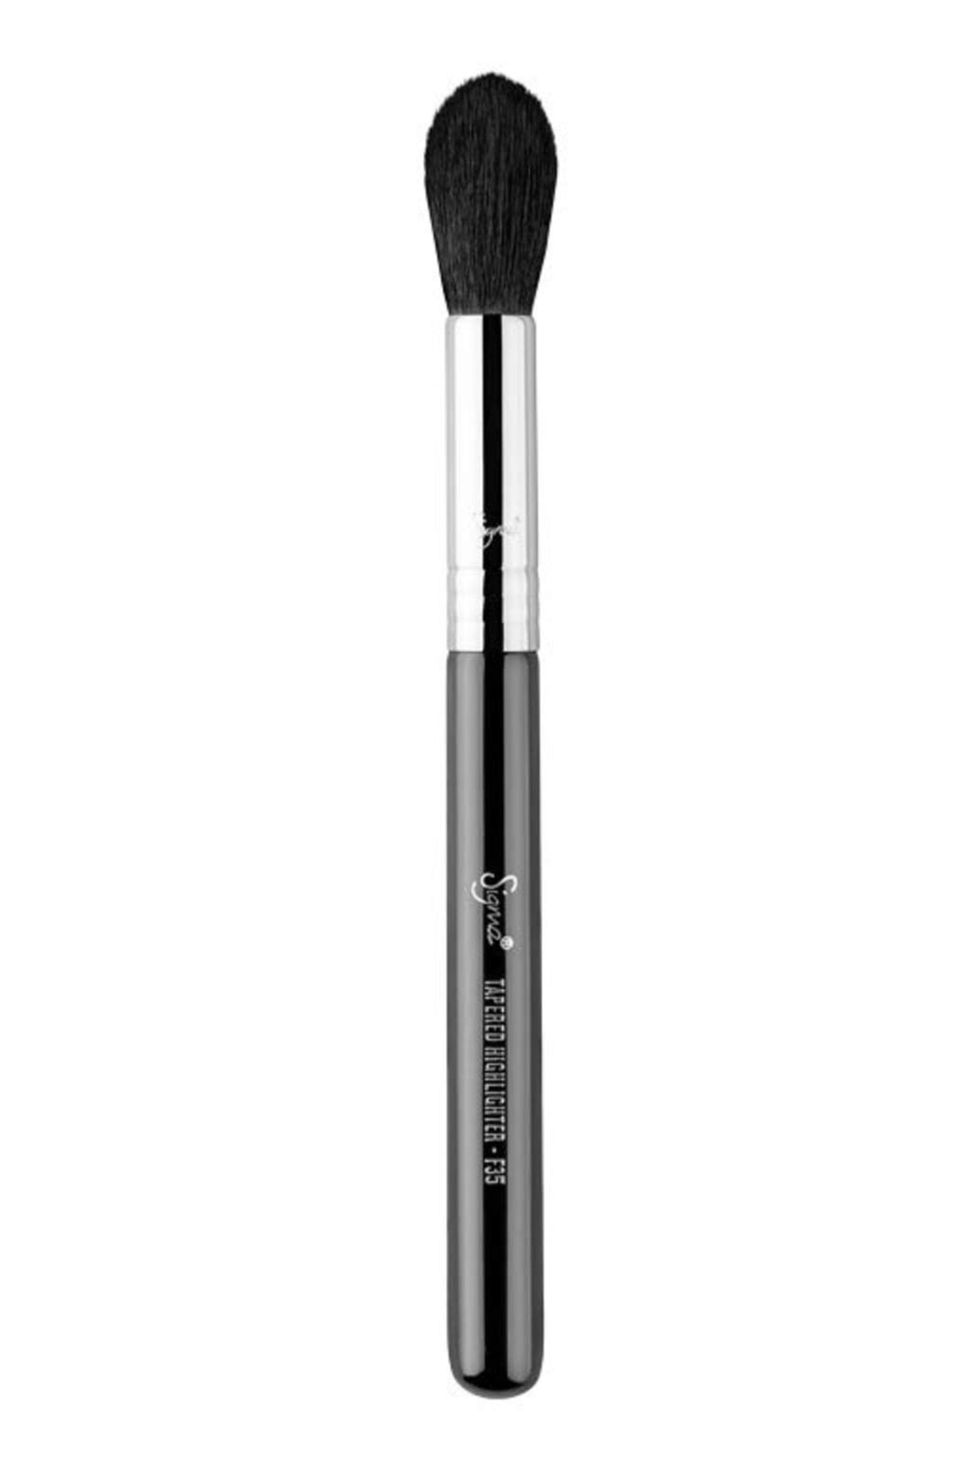
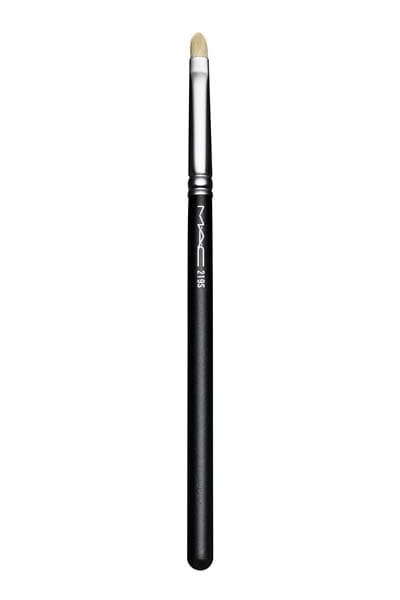
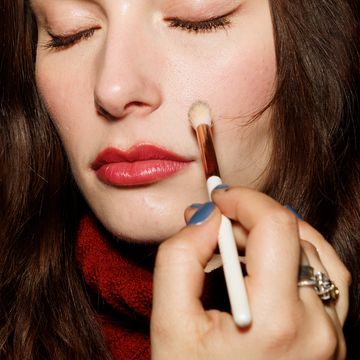
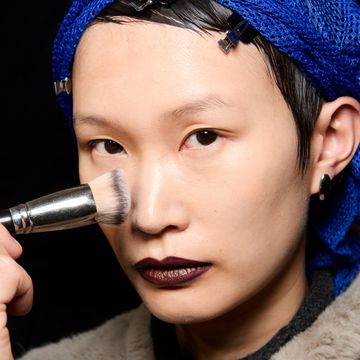
Choosing the right applicator depends on three things: your highlighter formula, the level of lit you want, and where on your face you’re putting it. Creams are best applied with your fingers (the warmth of your hands helps to melt the product into the skin), while powders can be applied either with a brush or a sponge. For the lightest coverage, use a brush with thin, scattered bristles, like a fan brush. For more shimmer payoff, use a denser brush, like a tapered or stippling brush. And for the most pigment payoff, use a dampened beauty sponge. When applying the product in smaller areas (your lips, nose, or eyes), use a small, compact tool, like a pencil brush, for the most precise placement.
How to Highlight Step #5: Apply It to the High Points
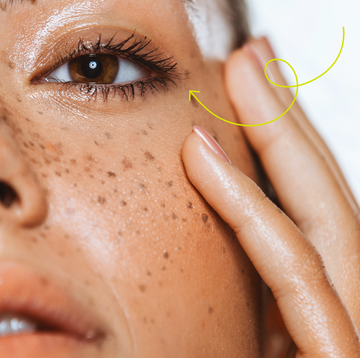
Highlighting is basically the opposite of contouring. The goal here is to bring the high points of your face—the tops of your cheekbones, along your brow bones, the top of your cupid’s bow, and down the bridge of your nose—forward and make them really stand out. Word of advice: Avoid your T-zone (your forehead, middle of your cheeks, and chin) since it's naturally oily and prone to excess shine (any extra shimmer can bring you into disco-ball territory). For larger areas, like your cheekbones, use your brush to sweep your highlighter in a windshield-wiper motion over the skin. If you prefer to use a sponge, you can dampen it with a setting spray and use it to bounce or press highlighter onto the skin. For smaller spaces, like the inner corners of your eyes, your cupid’s bow, and the tip of your nose, use your small pointed brush to press the product exactly where you want it, and blend it out with your finger.
