How to Replace a Double Light Switch
- 1 hours
•
- Intermediate
•
- 30
A double light switch is used to turn two separate light sources in one area on and off. The wiring, in this case, is pretty much the same as a single light switch, but there are some fundamental differences. Here's how to replace a double light switch, either because the original one is old or you want a new style.
Step 1 - Shut off the Power
Working with electricity is not something to take for granted; if you're not careful, you can be seriously hurt. It doesn't matter if you're wiring something simple like a double light switch or as complicated as a junction box, as the seriousness is the same.
Locate the main electrical panel that feeds the entire home. If you're lucky, the breakers in the panel will be identified, so you can easily switch the power off to the area you're working in. If the box isn't properly labeled, turn the main power off for safety.
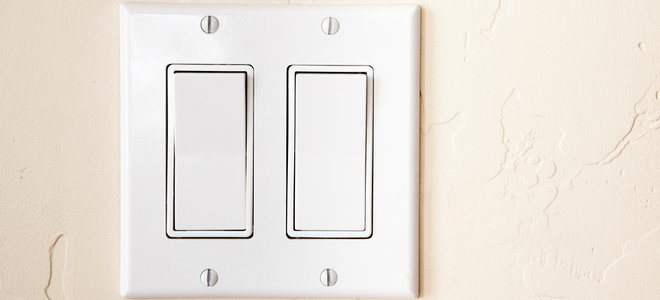
Step 2 - Access the Double Light Switch
Use a screwdriver to remove the screws that are holding the switch's faceplate in place. Before you start working, put the grounding strap on and connect the other end to the bare metal in the box. Then, the circuit tester to make sure the current is actually turned off. Press the contacts to each wire and each space between each wire. If the current is not present, you can continue.
Step 3 - Identify Wires
There are hot wires, neutral wires, and a grounding wire in nearly all electrical wiring. The hot wire is usually red, but can also be black. A wire that is bare, green, or yellow (or green with a yellow stripe) is the grounding wire, and the white wire is the neutral wire.
In a double light switch setup, you will have multiple wires including one set each light fixture and one set that goes to the breaker box. Place a strip of electrical tape around the hot wires so that you can identify them easily later.
Step 4 - Connect the Double Light Switch
Take and group the rest of the like-colored wires coming from the wall box, bare wires with bare wires or white with white as needed; only the hot wires should be left without a group. Next, cut and strip the insulation from the ends of each of the grouped wires. Twist the bare ends together and cap the ends with a wire nut.
Loosen the screws on the double light switch. Then, mimic the wire connections on the old double light switch by wrapping the ends of the hot wires around these screws. Generally, you'll want to attach the breaker box hot wire to the black terminal screw on the common side of the switches, and then the hot wires leading to the light fixtures to the other two terminal screws. When you're done, tighten the screws and secure the switches to the switch box. Finally, replace the faceplate and turn the power back on to test out the results of your work.


