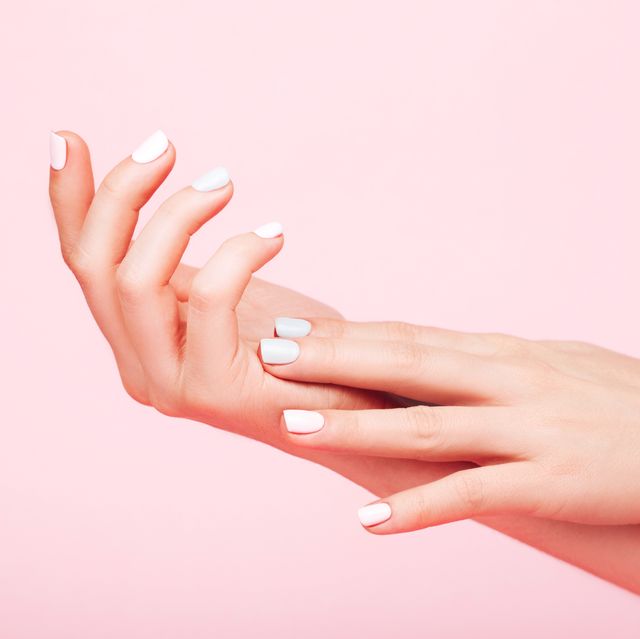
Some people are naturally gifted at growing their nails and shaping them into a perfect oval, layering on polish to glossy perfection, and adding stripes and swirls like a modern-day van Gogh. And the rest of us? Well, picture a toddler jamming her fingers into a jar of finger paint, and you get the idea. But now that blissful afternoons at the nail salon are temporarily on hold, we all need to take matters into our own hands, so we asked nail pros for their best tips for an at-home manicure. “This is a great time to practice and take your time doing it,” says Lyn Lam, co-founder of Kapa Nui Nails, a line of non-toxic, water-based polishes (we love their Sweet Wahine creamy violet polish for spring). “Don’t stress, since if you mess up, very few people will see. And if you do a great job and are proud of it, show it off on Instagram!” Ready to get started? Let's do it:
1. Get the right tools.
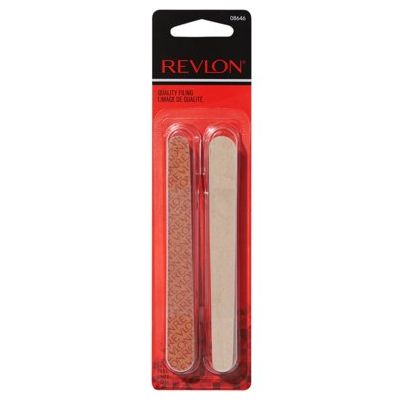
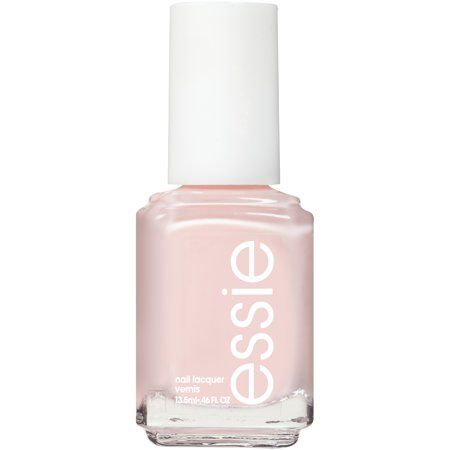
You probably already have emery boards, but you’ll also want to make sure you have a cuticle stick, base coat, top coat, and a fresh bottle of polish. A luxe hand cream, a warm towel, and a pretty bowl to soak your hands in will also upgrade the experience.
What You Need for an At-Home Manicure
2. Choose your color.
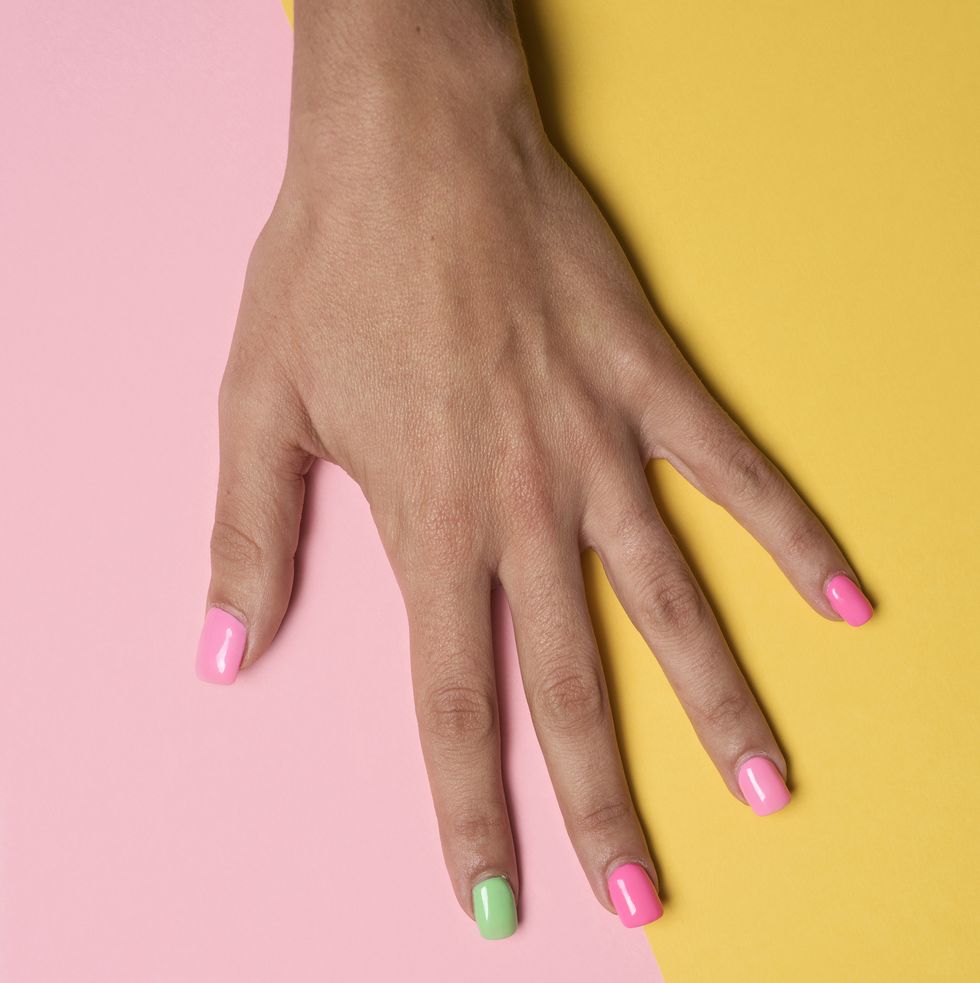
This is the fun part! You can pick any color that suits your mood and style—from a nude, pink, or lavender to a bold magenta or electric blue. If you’re a newbie to home manicures, however, Linda Sweeney, an instructor/consultant and the former owner of the Academy of Nail Technology, suggests you stick with softer, lighter colors: “Smudges, uneven coats, and puddling in the cuticle area are less obvious with lighter colors,” she says.
3. Prep for sitting still.
“The hardest part of a home manicure is sitting still for 30 to 45 minutes,” says Sweeney. But if you rush through your mani and then jump up to unpack groceries, tap at your computer, or go to bed, you’ll ruin all your hard work. Instead, plan for your mani to dry while you’re watching an episode of Tiger King, Grace & Frankie, or any other show you’re currently bingeing.
4. Shape your nails.
After completely removing any old polish and wiping dry, clip long nails if needed, and then file them carefully into a round shape (as you get more practice, you can try shapes with a higher degree of difficulty, like stiletto). But don’t go sawing away like you’re cutting lumber, which can weaken the nail: “Nails should always be filed in one direction, from center to side,” says Sweeney.
5. Soften your nails.
Once you’re happy with the shape, buff the nails, then soak your fingertips in a bowl of warm, soapy water for a few minutes. “This softens the cuticle, making it easier to push it back,” says Sweeney. It also feels oh-so soothing.
6. Push back the cuticles.
Unless your cuticles are in really gnarly shape, skip cutting them, which can potentially cause infection. Instead, simply push them back with cuticle stick. If you need a little more help, you can try a cuticle remover, which gently helps dissolve dead skin.
7. Apply your polish.
First, apply a base coat to protect the nail and get the nail prepped for the color. Next, carefully apply one coat of your chosen color, using two or three strokes down the nail, plus a swipe at the tip to seal the color. Wait a minute or two, then follow with a second thin coat, leaving a thin margin around the cuticle (though Lam says if you’re using a dark cream, you may need only one coat). Finish up with a fast-drying top coat to seal and shine. If you want to try something a little fancier, Lam says polka dots, swishes, and stripes are easy fun and easy to try. For a perfect finish, dip a flat eye shadow brush in polish remover, and carefully clean any messy edges or fingertip smudges.
8. Let your nails dry.
Now that you’ve got that salon-style mani, make sure you give it ample time to dry. If you’re impatient, Lam recommends using a blow dryer (set on cool) to help speed the process.
Support from readers like you helps us do our best work. Go here to subscribe to Prevention and get 12 FREE gifts. And sign up for our FREE newsletter here for daily health, nutrition, and fitness advice.
Marisa Cohen is an editor in the Hearst Lifestyle Group’s Health Newsroom, who has covered health, nutrition, parenting and culture for dozens of magazines and websites over the past two decades.
