
This guide to boosting your Wi-Fi signal will help you make your Wi-Fi signal stronger, improve Wi-Fi reception, and thereby increase the internet speed on your Mac.
By improving your Wi-Fi connection you will be able to use devices further away from your router, in more rooms in the house, and out in the garden.
With a faster connection you should find that web pages load more quickly, YouTube and iPlayer stream smoother, and downloads arrive faster. Plus, a more reliable connection means fewer frustrating dropouts, and fewer instances when your home internet stops working.
These tips will help you get a faster, and more reliable internet. We also look at ways to extend your Wi-Fi range.
If your Wi-Fi isn’t working read: What to do if Wi-Fi doesn’t work on your Mac.
Also, it’s wise to check if the problem is with the website you are trying to access rather than your connection. Run a Ping test to see if there is a problem with the connection to a website you are accessing – read about running Ping on a Mac here.
Do a speed test
Just how fast is your connection? Before you start find out whether you are getting the speeds your broadband provider promises.
The most accurate way to identify whether there is a problem with your Wi-Fi would be to test the speed of your connection, first with your Mac plugged in directly to the router (if that’s an option), and then over WiFi. If there isn’t a big difference between the speeds then you know that the problem is with your broadband connection.
Of course, it’s quite likely that your Mac doesn’t have an ethernet port, so you can only test the connection wirelessly (unless you have an ethernet adaptor). In that case, run the same test beside the router and then in the room where you are using the Mac. In this case, if there is a difference in the speeds achieved then there may be something between you and the router that is causing interference.
If having done the speed test you notice that the broadband speed is not as promised, contact your broadband provider and ask them to help. Or switch to a different provider.
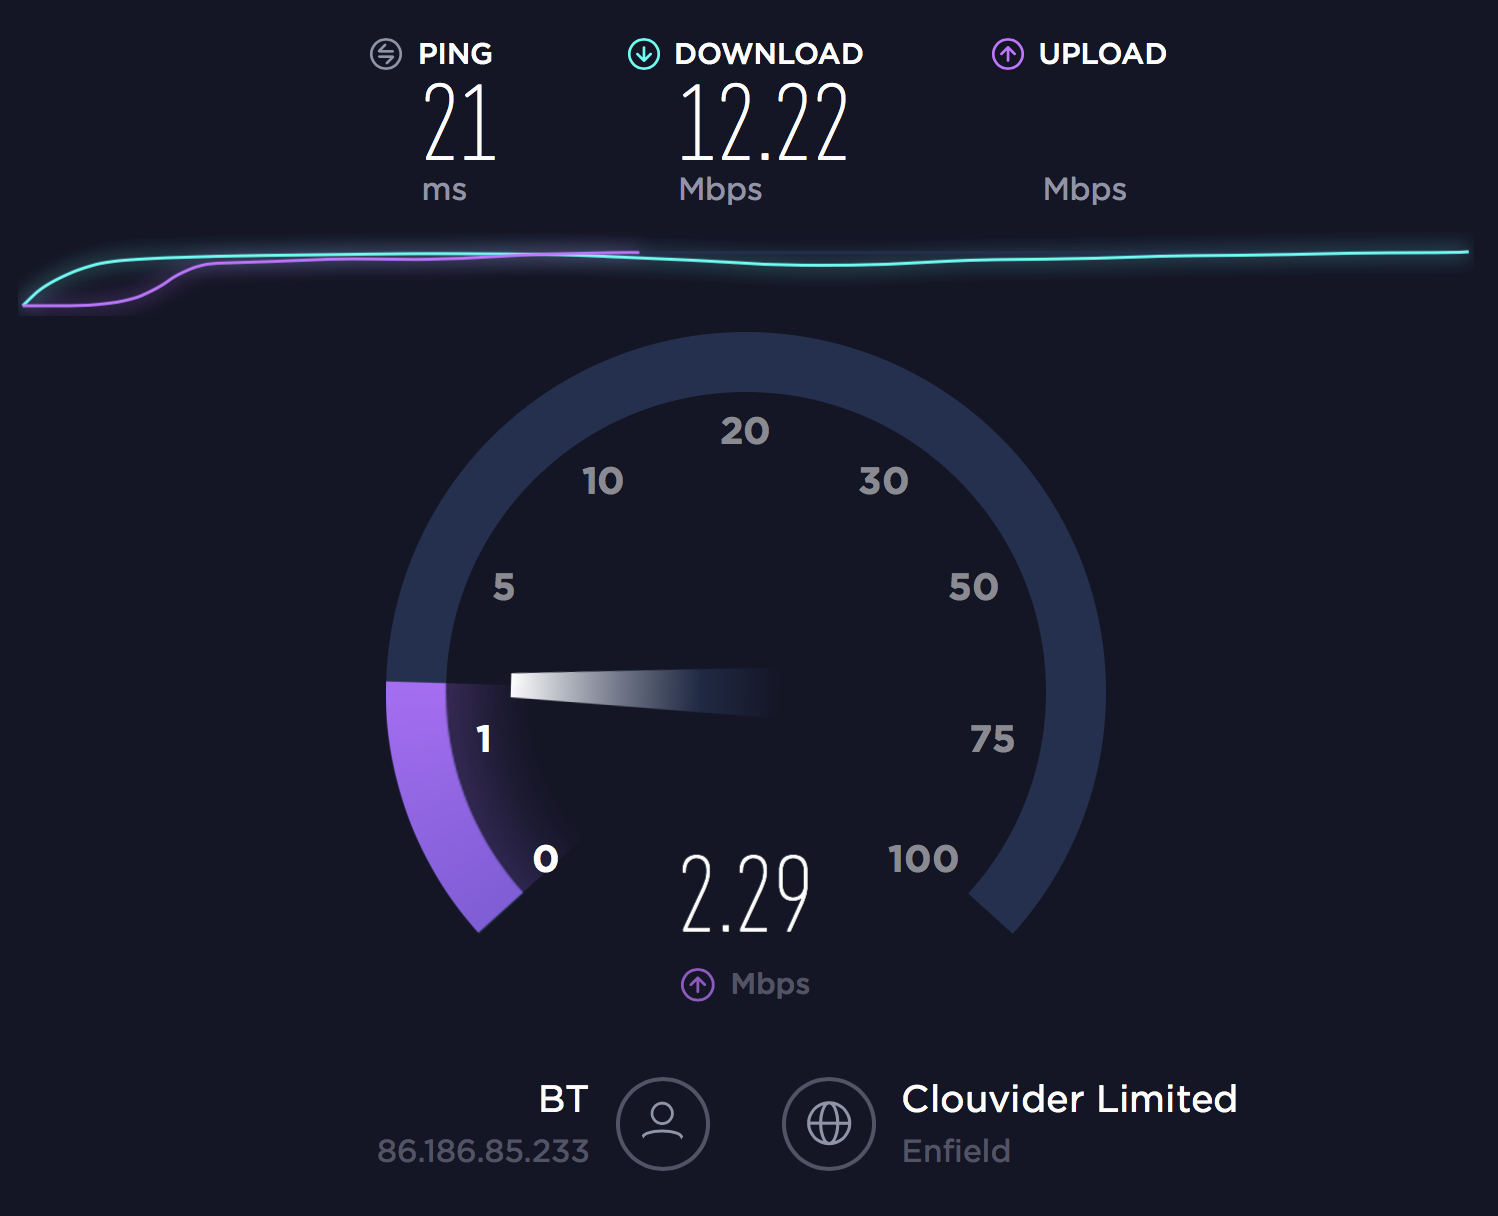
We used Speedtest at www.speedtest.net. Our connection was faster when we stood beside the router, suggesting that something was disrupting the signal elsewhere in the house.
You could also try using the broadband speed test that’s available via your router (we discuss logging onto your router and using the hub software below).
Restart your router
This may well fix your problem as it will force your router to reconnect – and in so doing it will choose the best channel.
If you have lots of neighbours nearby (perhaps you live in a built-up area) it may be that you have a lot of competition on the channel that your router is currently using. More on channels below.
The easiest way to restart your router is to unplug it, wait for about a minute and then plug it back in. You may have to wait a minute or two for it to reconnect.
Find Wi-Fi blackspots
Chances are there are a number of objects in your house that are affecting the strength of the signal. We’ll look at these Wi-Fi disruptors in more detail below.
In the meantime, if you wanted to get a feel for where the signal is strongest in your house or office, you could download a heatmapping app such as Wi-Fi SweetSport ( free, download it here), on your iPhone and walk around your house or office.
Check what areas of your house lack a good Wi-Fi connection, or run the Wi-Fi Sweetspots app for a few minutes in the usual place where you use your Mac, to see if the signal drops out.
Move your router
Suppose that the Wi-Fi is dreadful in the room you use as your home office? Do you need to move? Not necessarily. There are a few options.
Move your router to a more central location in the house. Routers tend to be plugged into the phone line, which tends to be at the entrance to the house (if you ever have a BT engineer in your house upgrading your connection our advice is to get them to move the master socket to a more central location, ideally on an upstairs floor as Wi-Fi signals are better at travelling down and across than up). In the absence of a BT engineer then the best option is to get a twisted pair router extension cable and use that to plug your router in with – but there may be still some signal degradation.
If you can’t move your router into a more central location, you may be able to improve the location it’s in if you follow these tips:
Elevate the router. Raising the router can improve the signal.
Move the router away from an outside wall. If the router is next to an outside wall or window half the signal is being directed outside.
Remove obstructions. Don’t put the router in a cupboard or hide it behind something. It might not be the most attractive ornament you own, but it needs to be free of obstructions if you are going to improve your signal strength.
Adjust your antennas
If your router has antennas then point them up. As we mentioned about, Wi-Fi signals are better at traveling down and sideways than up. You could also try pointing your antenna in the direction of your weak spot.
If your router has no external antennas it probably has omnidirectional antennas built in – these can send a signal in multiple directions.
Remove sources of interference
As we mentioned earlier, various products around your home could be causing interference with your Wi-Fi network. Wi-Fi disrupting items include: cordless phones, baby monitors, microwaves and even Bluetooth gadgets such as headphones. Even fish tanks, halogen lights and fairy lights can cause problems!
Move these appliances away from your router (or at least move them so they aren’t positioned between you and your router). Don’t use the microwave while answering an important email, either.
Remove unwanted devices
Are you vying with other products for your Wi-Fi? Find out what other devices are sharing your Wi-Fi and see if you can free up some of that bandwidth for yourself.
You may be able to find out what gadgets are connected to your Wi-Fi network by accessing the router’s browser. You would normally type in a series of numbers starting with 192.168.x.xxx into a URL. You’ll probably find this address listed somewhere on your router.
Once connected to your hub manager, you should be able to find out how many items are connected to the router. You’ll also be able to see whether they are using the 2.4GHz or 5GHz frequency and which channels are being used (more on this below).
If there are a lot of different devices connected to your WiFi, it may be a good idea to disconnect some of them.

Update the firmware on your router
While you are exploring your router settings, check that the software is up-to-date.
It’s likely that the update process happens automatically, but if not, it should be just a case of pressing the upgrade button in the software interface.
BT Home Hub owners receive updates automatically overnight over their broadband line.
Switch to a 5GHz band
If your router is able to operate in both the 2.4GHz or 5GHz band, you may find that switching your Mac to the 5GHz frequency – If your MacBook was listed under the gadgets connected via the 2.5GHz frequency when you looked at the router software above – will speed things up.
If there are a lot of devices using the 2.4GHz frequency, coupled with your neighbours routers, there could be a lot of interference.
Switching to 5GHz may improve your connection. 5GHz is likely to give you faster speeds because the 5GHz frequency can transfer more data. However, there is a tradeoff, the 2.4GHz frequency may still be better if you have particularly thick walls in your home, as the wavelengths in 5GHz aren’t so good at penetrating walls.
Unfortunately it’s not easy to force your Mac to change from 2.4GHz to 5GHz WiFi. However, if that’s what you want to do, follow these steps:
- In your Hub Manager advanced settings, separate the 2.4GHz and 5GHz bands and give them different names. (Beware that this may cause other devices in your home to lose their connection).
- On your Mac go to System Preferences > Network > Advanced and move the 5GHz network to the top, to be your first choice.
Here’s how to find out whether your Mac is using 2.4GHz or 5GHz. Plus we have a tutorial about How to switch to 5GHz on a Mac here.
Change the channel
If you have discovered that there are a lot of nearby networks using the same channel you may be able to speed things up by switching to a less crowded channel.
Apple makes it easy to see what other networks nearby are broadcasting on, to find out what band your neighbours are using, follow these steps:
- Hold down option/alt while clicking on the Wi-Fi icon in the menu at the top right of your screen.
- Open Wireless Diagnostics.
- From the menu at the top of the screen select Window > Scan.
This will tell you how many items are connected to your network via the 5GHz and 2.4GHz frequencies, it will also indicate the best channels you could be using for each frequency.
You should also be able to tell what channel you are using. To see what channel your network is using, scroll to the right. Notice if the nearby Wi-Fi networks are using the same channel. You will also see a recommendation of which would be the best 2.4GHz and 5GHz channel to use.

You could encourage your router to change the channels it is using by turning it off and on again, as when it connects it should automatically choose the strongest option. However, if after doing that the channel your 2.5GHz or 5GHz is using still isn’t ideal, then you can rescan in your hub manager software.
How you change the channels will depend on your router software. It’s likely to be in the advanced wireless settings. You should be able to click on the wireless channels options and choose the one that you prefer.
Switch to a new router
If your sleuthing has shown that there are a lot of wireless networks around you that are using the 2.4GHz band and you have an older router that isn’t able to use the 5GHz frequency, it may be time to update your router.
All routers use a standard known as 802.11. The old style of router called 802.11g is still prevalent, but it runs much slower than the 802.11n, and the most current, 802.11ac type.
We recommend getting an 802.11ac router if you don’t already own one. One of the features offered by 802.11ac is Multi User-Multiple Input Multiple Output (MU-MIMO) – which means it can send and receive multiple data streams simultaneously to multiple devices without bandwidth degradation. These routers are also capable of beamforming – which allows the routers to concentrate the WiFi signal towards your WiFi devices.
Another reason to get an 802.11ac router is if you do a lot of streaming – and let’s face it, these days that’s most of us thanks to Netflix and the like. 802.11ac is better at alleviating video stuttering or buffering so you should get better results here.
Before getting an 802.11ac router check that your Mac supports it. Go to: Apple menu > About this Mac > System Report > Wi-Fi. Look for Supported PHY Modes: 802.11 a/b/g/n/ac.
Also, don’t rush out and by a new router without first contacting your ISP and asking them for an update. It’s possible that you have been with them for a while and they might be nice enough to update your router for free.
Just a note here to say that the next 802.11 standard – 802.11ax – is expected to arrive in 2019. It’s predicted to have a top speed of around 10Gb/s and should perform better in environments with lots and lots of connected devices (which is basically all of our homes now that we have so many iPhones, iPads, HomePods and other smart gadgets). But note, before you rush out and buy an ax router that your current Mac won’t have the required networking card (perhaps this is something we will start to see appearing on new Mac models over the next year).
See our roundup of the best router for Mac. Apple’s now discontinued AirPort Extreme might be the best looking, but it’s not the fastest or smartest.
Make sure your system is secure
Back when we told you to remove unwanted devices, we didn’t mention the possibility that one or more of those unwanted devices could be an outsider connecting to your router. If this is the case it may well explain your Wi-Fi problems.
Even if nobody is piggybacking on your network, you should ensure that your network is secure. You can do this by making sure you are using a WPA2 password. You will be able to see if this is the case in Wireless Diagnostics > Window > Scan, check under Security.
Other way to protect yourself from Wi-Fi thieves is Coaking. Cloaking hides the name of your network and stops it being broadcast publicly – the flip side it that it means it has to be typed in manually. If you log on to your hub software you should be able to change the SSID broadcast option.
We have advice about how to safely configure a router for Mac and iPhone here.
Extend your network
If your Wi-Fi is limited by factors such as thick walls (a common problem in old houses) or having too big a house (our sympathy), you may benefit from a Wi-Fi extender, also known as a Wi-Fi repeater.
Alternatively, if you have too much competition from other devices on your network (such as someone streaming games or other media), you may be able to improve your connection by plugging those devices into an ethernet network.
We’ll start with the first option. Wi-Fi extenders can catch the wireless signal and then rebroadcast it. If you are struggling to connect to the Wi-Fi when you are upstairs and the router is downstairs, plugging in a Wi-Fi extender on the landing may make it possible to connect to the Wi-Fi from the bedroom.
The problems you might encounter with a Wi-FI extender are signal degradation and the fact that if the extender is placed in a weak Wi-Fi spot it will be pushing out a weak signal.
One option is a Powerline adapter (we have a round up of Powerline adaptors on our sister site, TechAdvisor). Powerline adaptors can create a home network over the electrical wiring in your house. You just plug a Powerline adapter into the power socket beside your router, and attach the router to it via the ethernet cable. Then in another room in the house you plug in a second Powerline adapter. You can either connect to this with an ethernet cable, or, if the Powerline adapter has Wi-Fi built in, you can connect to that via Wi-Fi.

Powerline adapters would be a good option for you if, as mentioned in the second scenario above, someone in your house is hogging the bandwidth for gameplay, or if you are streaming from Netflix or similar. You could plug the games console, the TV, Sky+ box, or other set-top-box straight into the ethernet network via a Powerline adapter.
Get some tin foil
There’s another way to extend your network without spending anything (well, no more than the price of a can or some tinfoil, anyway).
We can’t guarantee that you will get great results from your creative project though!
Because metal can reflect the Wi-Fi signal you can use metal to direct the signal towards you.
You need some curved metal to place behind the router.
You could use a knife to cut the top off a drinks can, then cut down from the top to the bottom, before cutting the bottom off the drinks can (if you leave the bottom of the can attached you could use that as a stand). This sounds like it could be a bit dangerous so please be careful not to cut your fingers!
Alternatively, cut a sheet of foil, wrap it around something curved, like a bottle, or a rolling pin, hold it in place so that it takes on the curve, and then remove it.
Position your curved metal behind your router. Angle it towards the place where you want to connect to the Wi-Fi – but beware that you may be limiting the Wi-Fi connection elsewhere in the house if the metal comes between the router and the connected device.
Share the connection from your iPhone
One last suggestion if things are getting desperate is to share the 4G connection from your iPhone or iPad.
We have a complete guide to turning your iPhone in to a Wi-Fi hotspot here.
Beware that if you end up doing this often you may use up your data allowance. We suggest resetting the Mobile Data log on your iPhone in Settings > Mobile Data so you can keep tabs on just how much of your data is being used if you create a Personal Hotspot with your iPhone.
We have a couple of dedicated articles how to test your internet connection and guide to what to do if your iPhone keeps dropping your Wi-Fi connection.
Author: Karen Haslam, Managing Editor

Karen has worked on both sides of the Apple divide, clocking up a number of years at Apple's PR agency prior to joining Macworld more than two decades ago. Karen's career highlights include interviewing Apple's Steve Wozniak and discussing Steve Jobs’ legacy on the BBC. Having edited the U.K. print and online editions of Macworld for many years, more recently her focus has been on SEO and evergreen content as well product recommendations and buying advice on Macworld.com.