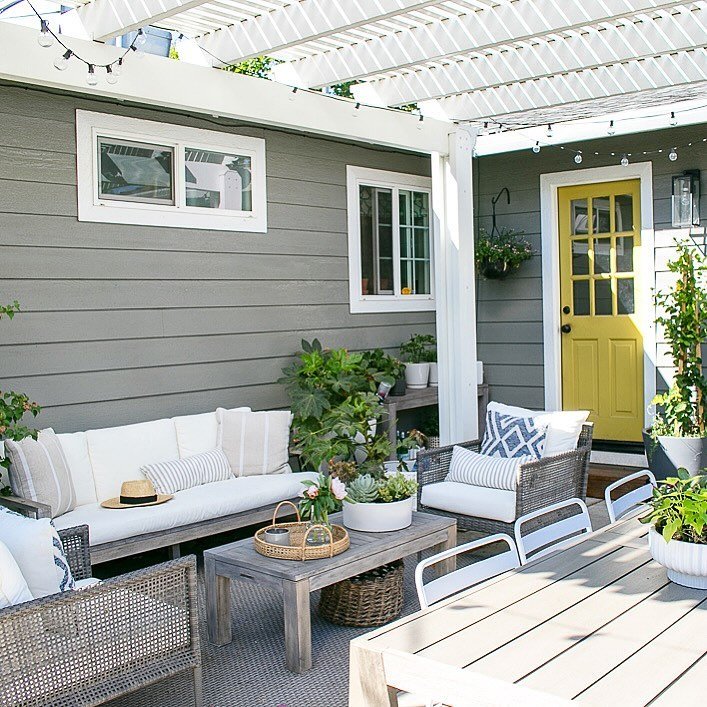
Back in November I officially completed my bedroom for the One Room Challenge and I love everything! I’m so happy with how the bedroom now flows and feels. One of my projects for the ORC was finally hemming my Ikea curtains, in the process, I also took off the curtains & rod in front of my french doors. The whole area looks so much more open and hello more light!

I’ve had the IKEA AINA curtains 50x96 for over a year and for over a year I’ve planned to hem them! IKEA has several affordable options in various lengths and materials. My favorite curtains from IKEA are the AINA curtains, I love they are affordable, only $ 60 bucks for two panels and 100% linen which gives an added softness to windows. I also like the velvet SANELA curtains, great price point!
They looked at hot-mess and were far too long for my 8 feet ceilings. With a few simple tricks you can easily elevate the look fo Ikea drapes. Really you can elevate the of any off-the-shelf curtains with a few simple tweaks!
HOW TO ELEVATE THE LOOK OF IKEA CURTAINS
I hung my curtain rods high and wide to help give the illusion of taller ceilings in my bedroom, about 6 six inches from the ceiling to be exact. And six inches wider than my window, I like my curtain to stack nicely when open. One thing I’ve learned over the years making sure my drapery hardware is good quality, cheap ones can easily bend and often have exposed screws.
I love my Oversized Gunmetal Grey Hardware got from West Elm a few years ago. The drapery rod looks and feels substantial. I added rings to my drapery rod which helps give drapes a pretty look hanging from the rod + makes then easier to open and close. Adding drapery rings to your curtains gives your drapes a custom look making them look elevated.
USE DRAPERY RINGS // When using drapery rings, add drapery pins to the back of your curtains. Most IKEA curtains have a ‘heading tape’ where you can add drapery pins. Adding drapery pins creates a relaxed pleat look, without the fussiness of pleated drapes. If your drapery ring comes with clips, remove the clip so only the ‘ring hoop’ is showing, slide the pin into the drapery hook. I placed my drapery pins about five inches apart allowing for a nice fold.
HOW MANY RINGS TO USE // Don’t skimp on rings! You want your drapes to have folds, using too few rings cheapens the look of the drapes. I used 10 rings on each drapery panel, placing each drapery pin about five inches apart.
DRAPERY FULLNESS // The general rule of thumb for drapery fullness of 1.5 X the width of the window. For example, my window is five feet wide, so each panel needs to be at least 45 inches wide. Each panel on the AINA curtains is 54 inches wide, giving my windows are nice full look. When your window is extra wide add more panels so your drapes stack nicely when open. A pet peeve of mine is teeny-tiny panels on a large window, it looks cray!
“Adding drapery rings to your curtains gives your drapes a custom look making them look elevated”


HOW TO HEM DRAPES // Now that your drapery rings have been added to your drapes, hang them on your rod and fold to the desired length. Since my curtains are so long, I did two double folds and have my drapes slightly skim the floor. To get a nice straight hem, I iron each fold and sewed the hem. You can also use iron-on hem tape. Deep folded hems look more custom than tiny folded hems.


STEAM YOUR DRAPES // This is huge! Steam those wrinkles out of your drapes once hung! I use this Oh Joy! steamer to stream my drapes and it works great on clothing.

I hope all my tips are helpful in transforming the look of basic IKEA curtains into looking elevated and custom without the price!
Let me know if you have any curtain related questions!