My least favorite thing about driving to the beach for a weekend or the ski hill on a powder day is my fear of poorly tied down gear on the roofs of cars wriggling loose and launching into my windshield. To make sure you don’t end up exchanging insurance info with a fellow driver, here are some pointers and a breakdown of how to properly affix everything from SUPs to bikes to the top of your car.
The Basics
Straps or Rope?
Ahh, the age-old debate. While rope has its pros (it’s more durable and forces you to tie knots that could come in handy elsewhere), when I’m not using roof bars or a dedicated rack I’ve always used straps to fix my gear to the top of my car. The little metal buckle is straightforward and tightens easily. Plus, you don’t have to worry if your knot knowledge is less than Eagle Scout–level. Riverside’s 15-Foot Heavy Duty Utility Straps ($16) do the trick.
Consider the Wind and Your Speed
Andrew Pasquella, overlanding expert and director of marketing for Front Runner Outfitters, once said it best: “You have to respect the laws of physics.” The larger or more unwieldy the object, the more you have to keep in mind the massive amount of force the air is going to exert on it as it sits atop a car going 65 miles per hour. An SUP lying flat could become a giant wing if it gets enough lift from the wind rushing underneath it, and that wing could take off if your tie-downs are subpar.
Be Gentle
You want to keep the wind in mind, but you need to respect the fact that yarding down on ropes and straps could damage your gear. I cracked the rails of my favorite surfboard during a trip to Costa Rica after tying the rope too tightly and have dented at least three boats. When in doubt, perform the shake test to see how much whatever you have tied down moves. If it feels like there’s too much play, slowly tighten the straps until your gear stops wiggling.
Manage Excess Strap
You don’t want ten feet of strap blowing in the breeze behind your car as you cruise down the highway. Wrap or tie the excess back to your rack, or tuck the tail end into the car and close the door on it.
Don’t Have Roof Bars? Get Roof Bars.
Sometimes for shorter drives, two foam pads and straps will suffice to keep your gear in place. But if you’re going any significant distance, roof bars afford much more security and have the versatility to accommodate a range of boards and boats.
The Specifics
Surfboard
What you’ll need: Two bar covers, two straps
Place your surfboard with the deck down on something soft to protect the deck from grinding on the bars or roof. My favorite is Dakine’s Aero Rack Pads ($35), which wrap around the roof rack’s crossbars to give your board a soft cushion for the journey—though I’ve also gotten by with cutting a pool noodle open and wrapping it around the bars. You can place the surfboard with the nose pointing either forward or back, but most surfers prefer to point the nose backward with the deck down because the fins can then catch the straps to help the board stay put. Loop the straps across the width of the board—one closer to the front and the other closer to the back—and then snake them under the bars on both sides, making sure to feed them between the roof bars’ stanchions (as in the photo below) so the straps don’t slip off the ends of the bars. Then bring the ends of the straps up and over the board again, feed the loose ends through the buckles, and tighten them, not forgetting to perform the shake test. The straps should run flat along the bottom of your board.
Stand-Up Paddleboard
What you’ll need: Two bar covers, two straps
Strapping on an SUP works the same way as tying down a surfboard, but take extra care to make sure everything’s tight, since, as I mentioned, an SUP’s larger area will produce more lift and drag. If you want something more specialized than regular bars, the Yakima SUPDawg Attachment ($269) is an awesome all-in-one system that takes the guesswork out of attaching your paddleboard. Simply loosen the integrated strap on each bar, slide your SUP onto the rack, feed the straps over the board and back through the integrated buckles, and tighten.
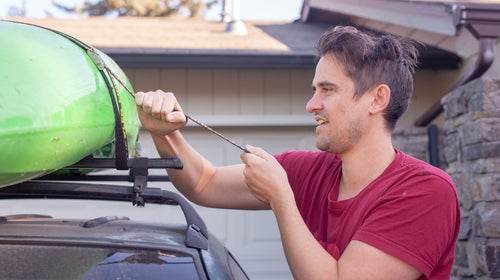
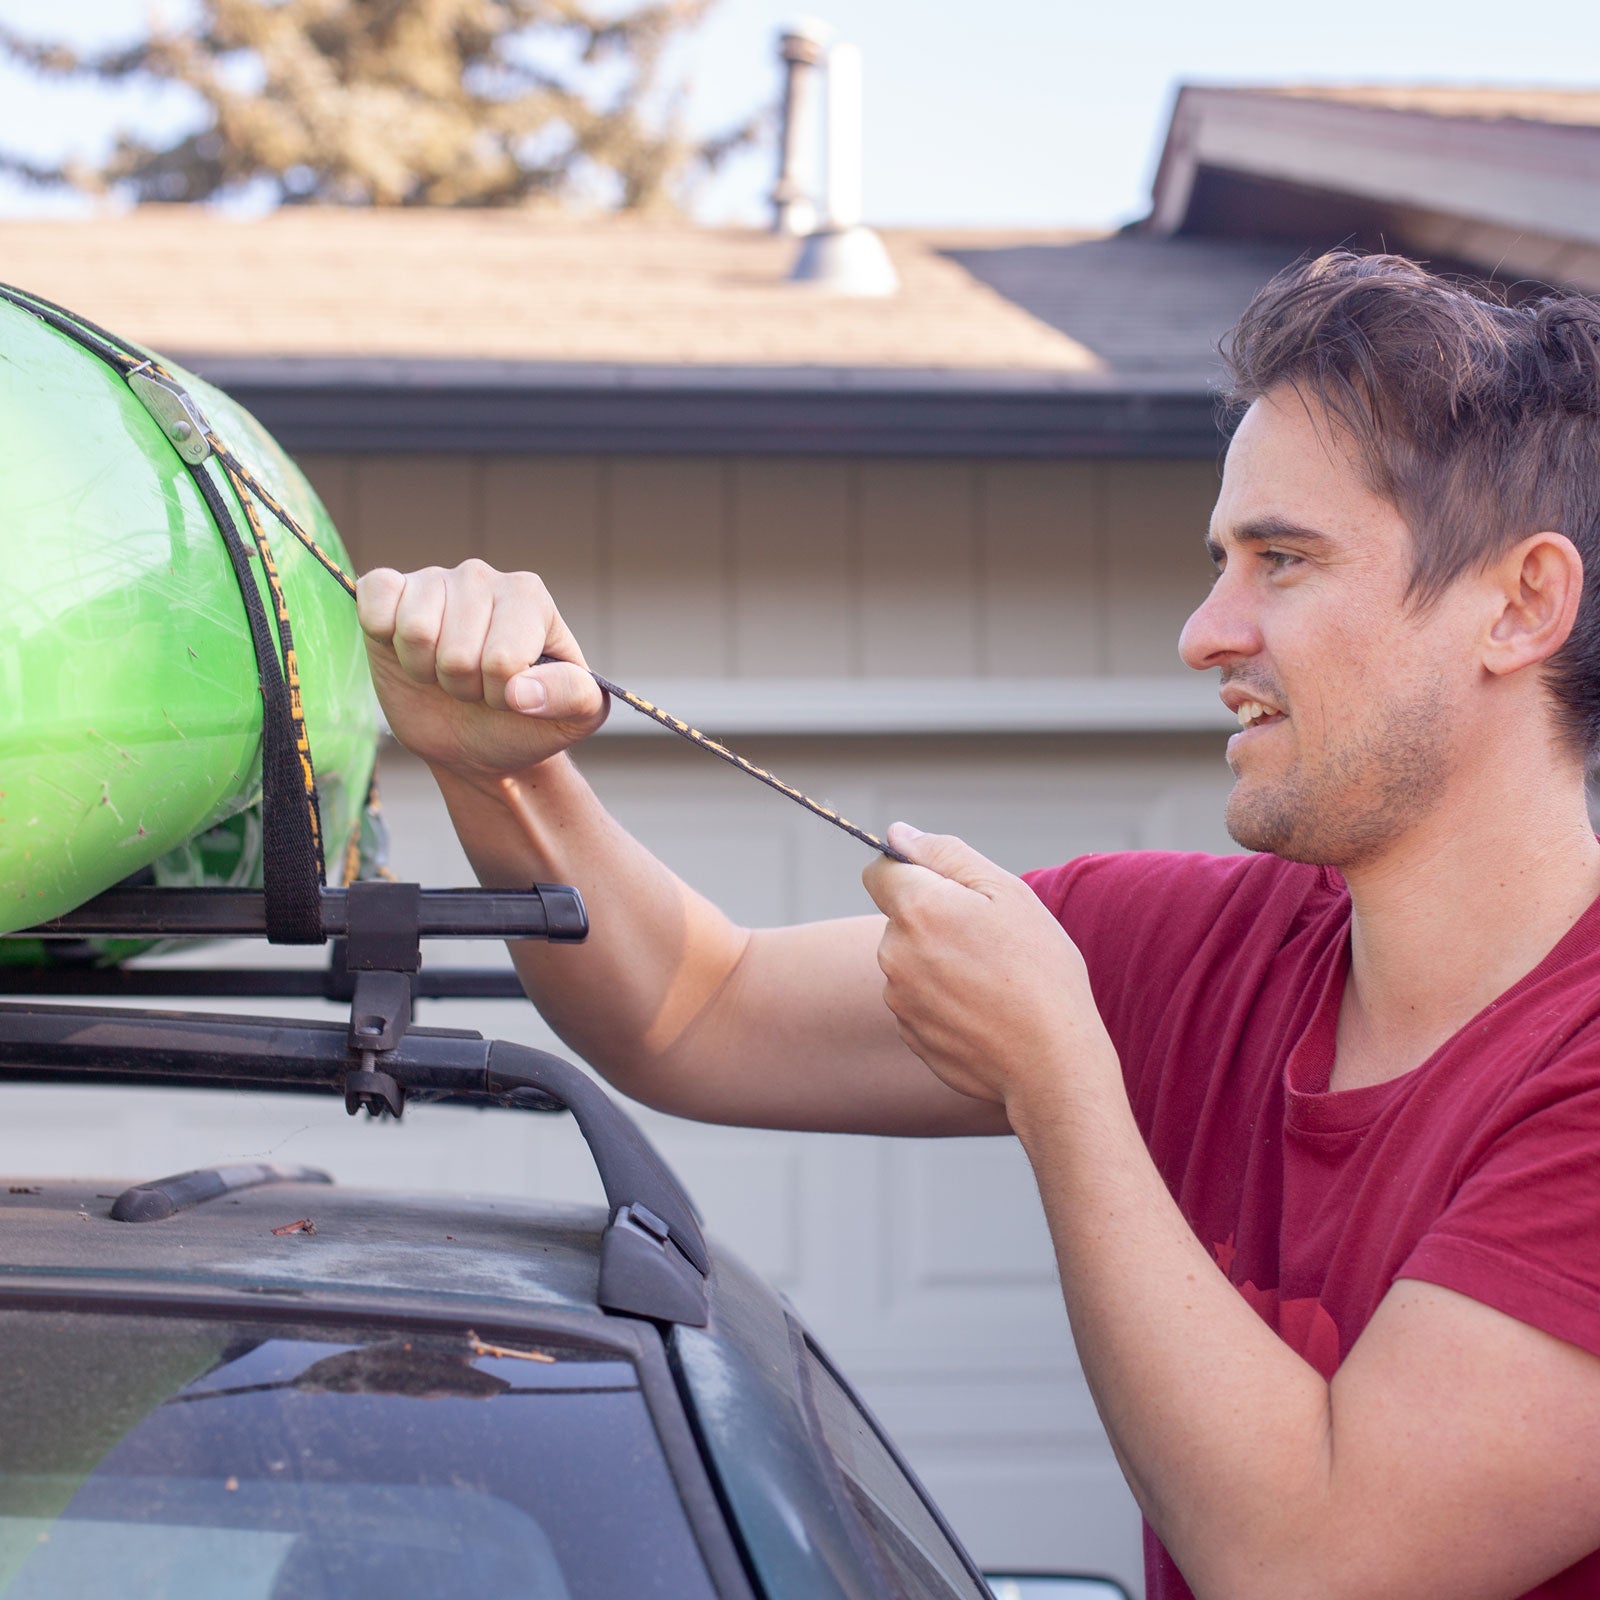
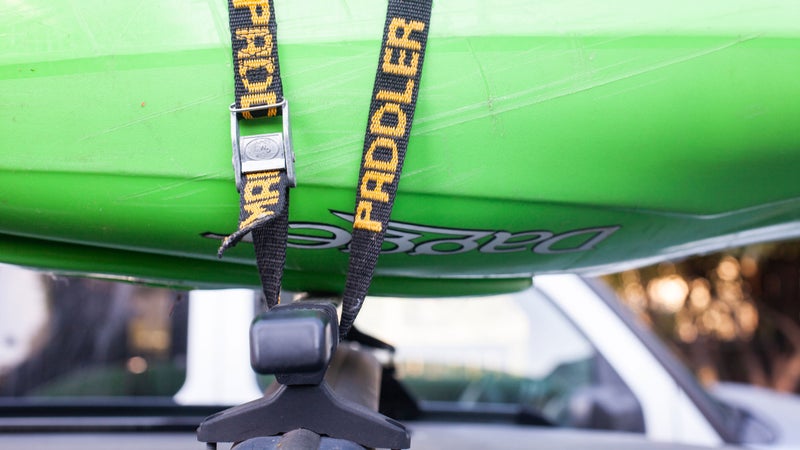
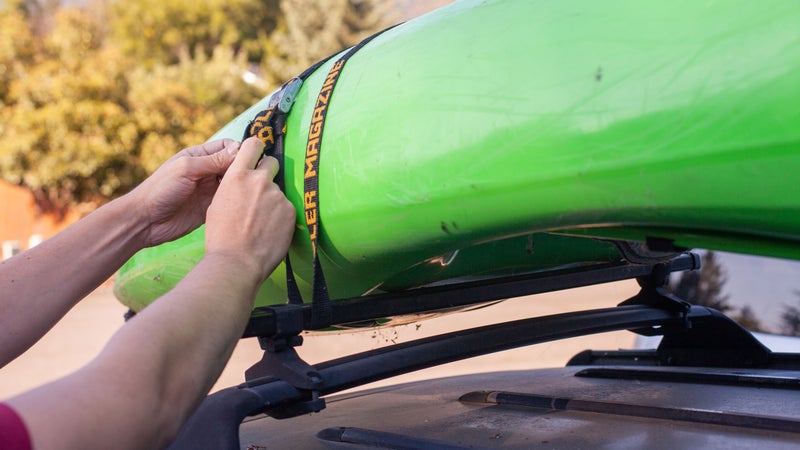
Kayak
What you’ll need: Two bar covers, two straps
Not much different here. I personally prefer to mount my boats cockpit-down and bow-forward. Then I use the same process as racking up SUPs and surfboards, making sure the straps run flat along the hull of the boat.
Skis and Snowboards
What you’ll need: A roof box or ski mount
Do not tie skis or snowboards to the roof—they’re thin and liable to slip out. Either make room inside your car or use a rack accessory. A roof box that attaches to crossbars is simplest, since you can toss skis in there and latch it shut, plus it offers protection from the elements. I use the Thule Pulse Alpine Roof Box ($430), which can fit four pairs of skis no problem and has a low profile for minimal drag. If you opt for a rack attachment, Yakima’s FreshTrack 4 Ski/Snowboard Mount ($169) is straightforward. Just open the top bar, place your boards on the bottom (skis stacked in pairs with the bases touching), and close the top, pressing down until you hear it click shut. Keep their rocker and camber in mind, and clamp the FreshTrack over the flattest parts to prevent squishing.
Bike
What you’ll need: A bike-mount attachment
Don’t try tying a bike to the roof of your car either; you need a dedicated bike mount. I prefer the Yakima FrontLoader Upright Bike Mount ($199) because it lets you keep the front wheel on (some mounts require you take the wheel off and attach the fork to a smaller crossbar). Place the bike in the trays facing forward, and use the simple ratcheting strap to lock down the rear wheel. Flip the two front bars up around the front wheel to finish locking the bike in place.