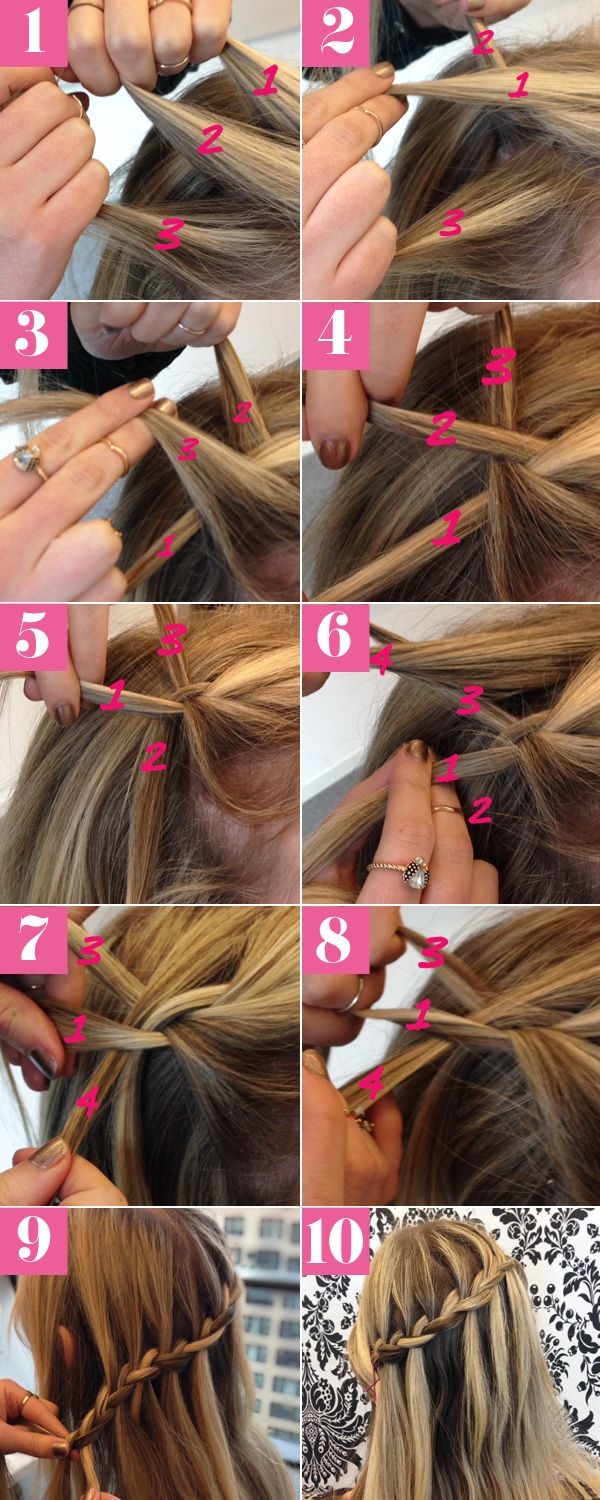
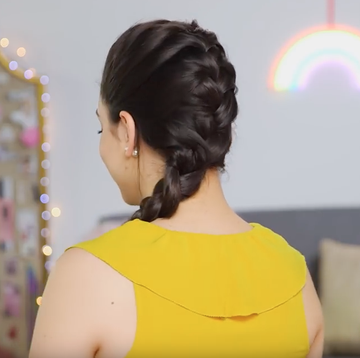
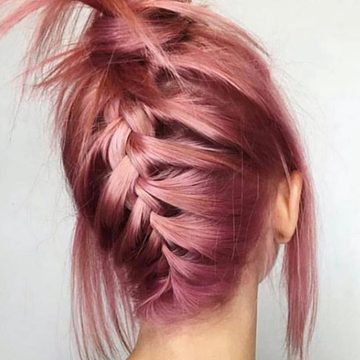
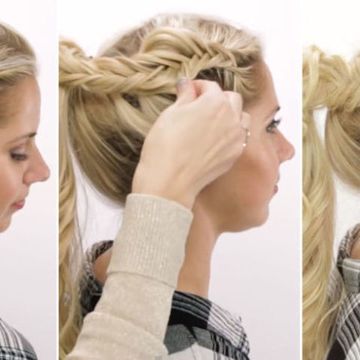
In a brand new tutorial, Beauty Smartie Maria Gomez shows you to do a waterfall braid, the perfect braid for just about any occasion. Now, be warned, the waterfall braid is definitely tricky. It's about a step above a typical French braid. That being said, it might take you a few tries before you really master it, but the final result is so pretty, it's totally worth it. So keep practicing! And if you need a little more help, make sure to check out the step-by-step below.
1. Starting near your hairline, pick up three strands of hair, as if you're starting a French braid.
2. Cross the strand closest to the top of your head (1) over the middle section (2).
3. Cross the bottom section (3) over the new middle section (1).
4. Cross the new top section (2) over the new middle (3), and then the bottom (1) over the middle (2).
5. Drop the middle strand (2) down, so it blends in with the rest of your hair.
6. Pick up a piece about the same size from near your part.
7. This strand (4) becomes your new top section—cross it over the middle to continue the braid.
8. Cross the bottom strand (1) over the new section (4), and repeat steps 2-8 all the way around your head.
9. When you get behind your opposite ear, do a normal, three-strand braid for about an inch.
10. Secure the braid behind your ear with a bobby pin. We used hot pink for a fun pop of color!
Have you mastered the waterfall braid? Tag @seventeen and #goodhairday in your pictures, so we can take a look!
