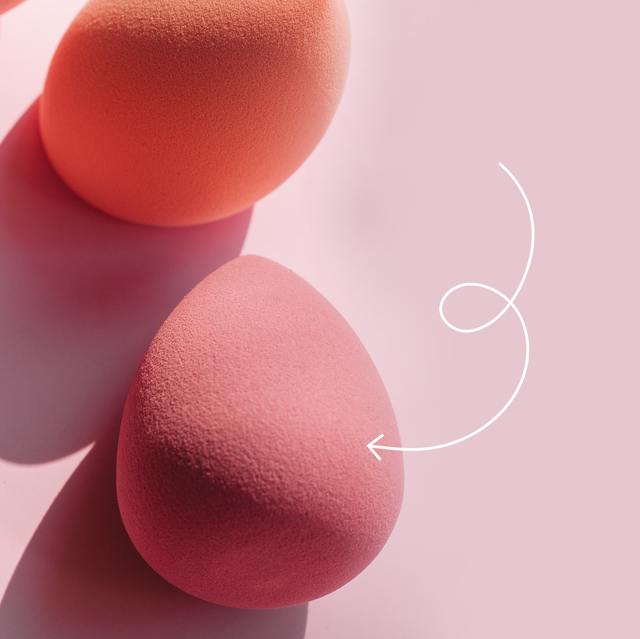
Mmmkay, listen up: You need to clean your Beautyblender and makeup sponges way, way more frequently than you currently do (which I’m guessing is, um, once or twice a year max?). Seriously—take it from me, someone who genuinely hates cleaning my makeup brushes, when I say that actually taking five minutes to just do the damn thing is significantly better than letting your Beautyblender or makeup sponge continue to sit and fester with built-up skin gunk and grime, makeup, skin oils, and bacteria. Yum!
This isn’t to gross you out or scare you (fine, maybe a lil bit, if it will actually get you to clean your sponges), it’s just facts. Even if your Beautyblender or sponge is “antimicrobial,” that doesn’t mean it magically stays clean—antimicrobial properties just make the sponge a less hospitable environment for bacteria to grow. But that doesn't do anything to help the build-up that can lead to breakouts, irritation, and inflammation. Which brings us to...
How often should you clean a Beautyblender?
In a perfect world? After each use. But since that'll never happen, most experts agree that you should clean your Beautyblender or makeup sponge at least once a week. "Ideally, you'd wash all of your makeup tools every single day, but I know this is unrealistic," dermatologist Geeta Yadav, MD, founder of Skin Science Dermatology, has told Cosmo. So instead, stick to cleaning your Beautyblender weekly. "Make it a Sunday-night activity so that you can start your week off fresh," she added.
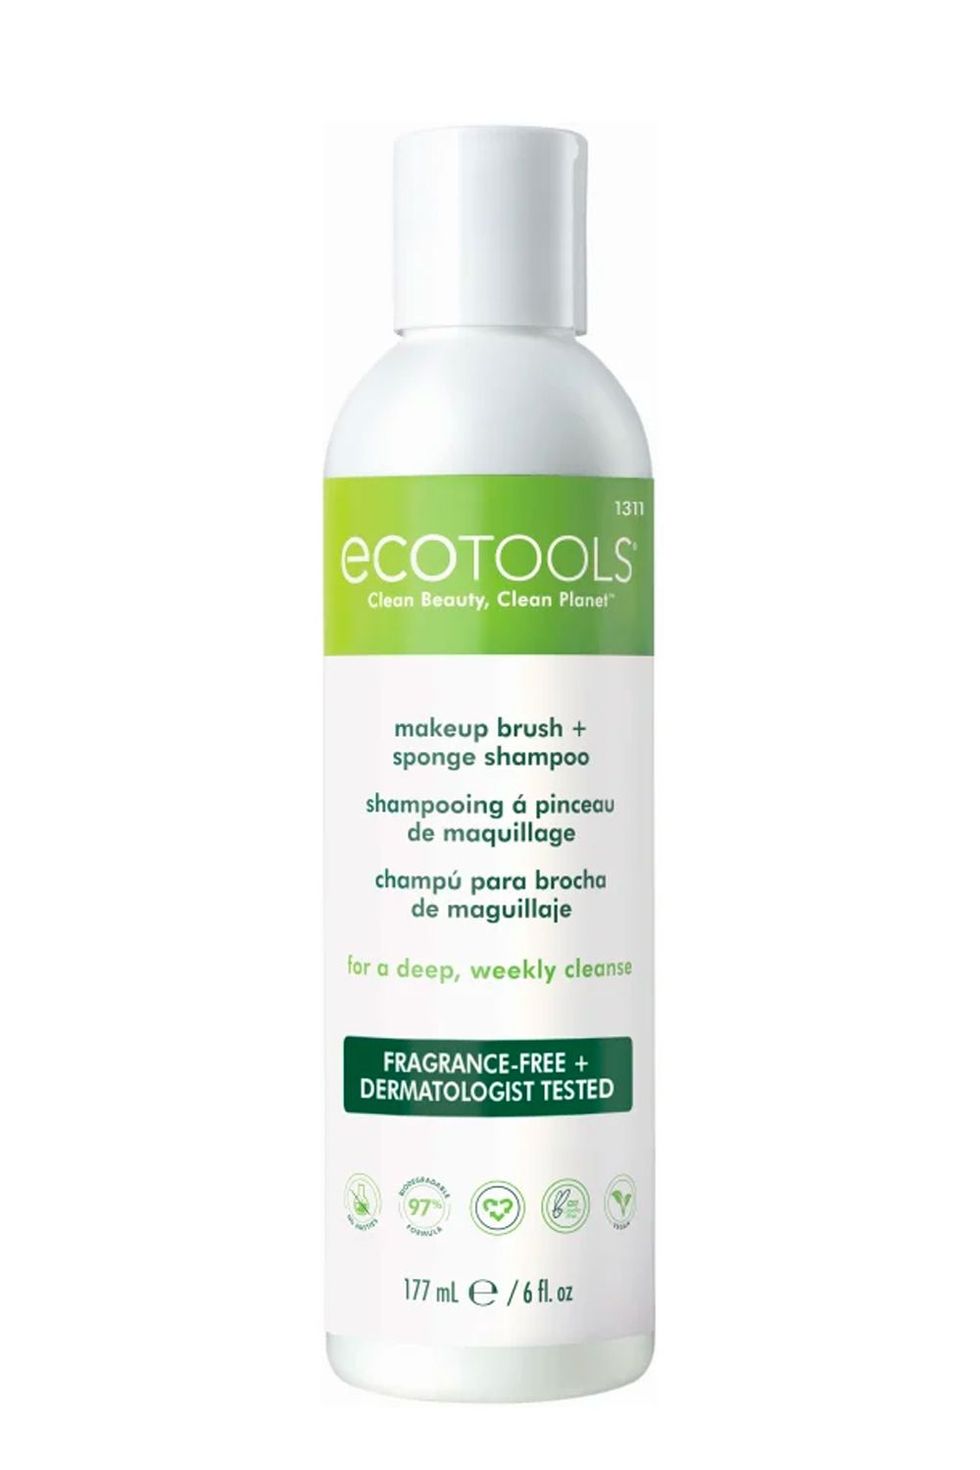
Luckily, washing your makeup sponge really isn't that time-consuming. It's 2021, baby, and there are a trillion makeup brush cleaners and tried-and-tested YouTube tutorials to guide you through the process, whether you're working with a cleansing pad, your hand, or just some dish soap. Keep reading, and please wash your sponges tonight, k?
How to clean a BeautyBlender with a pad
The key to cleaning a makeup sponge? Using enough friction that you actually clean it—but not so much that you damage it (little sponges are delicate, y’all). That’s why I love using a texturized silicone pad—it gives me a gentle but effective surface to deep-clean my Beautyblender without tearing or snagging it. Most makeup brush mitts will do the trick, but my personal faves are Beautyblender’s Keep It Clean (it slips over your hand, so it’s v convenient) and Sephora Collection’s Solid Brush and Sponge Cleaner Mini (it comes with a bar of soap). Here’s what you do:
- Step 1: Wet your sponge. Gently squeeze your sponge under running water until it’s totally wet.
- Step 2: Add some soap. Squeeze a cleansing liquid or rub a bar of soap along the mitt so it’s fully saturated (I prefer a basic, unscented soap like Dr. Bronner’s Pure-Castile Baby Soap).
- Step 3: Scrub and rinse. Run your sponge along the silicone nibs until your makeup stains are gone—no wringing or pulling—and then rinse until the water runs clear.
- Step 4: Dry. Set your sponge aside and let it air-dry with plenty of circulation (psst: drying your makeup sponge in a closed space can actually lead to mildew).
How to clean a Beautyblender with soap
Listen, soap isn't the gentlest option on this list, but it's definitely the strongest and most effective—and, you know, sometimes very, very needed, depending on your sponge's level of dirty. Whether you prefer to use a liquid cleanser or a bar of soap is up to you, but both methods will give you the same squeaky-clean result. Here's how:
- Step 1: Wet your sponge. Squeeze your makeup sponge under running water until it's completely saturated and expanded.
- Step 2: Add the cleanser. If you’re using a liquid cleanser, squirt the soap directly onto the wet sponge and begin massaging, pressing, and pushing it into the palm of your wet hand to work the soap into the center of the sponge. If you’re using bar soap, rub the sponge back and forth against the bar while applying pressure to build up a lather.
- Step 3: Rinse. Squeeze the sponge underneath clean water until the water runs clear, then squeeze the sponge and set it aside to dry.
Just be careful: Soap can be harsh and drying, so doing this cleanse too frequently can start to break down your Beautyblender over time.
How to soak a Beautyblender to clean it
If you’re a perfectionist and a few stains on an otherwise-clean Beautyblender will eat away at your soul, try the double-cleansing method: Soak your sponge in liquid cleanser, then follow with a gentle scrub with bar soap to remove every last bit of gunky residue.
- Step 1: Soak. Squirt a few drops of liquid cleanser into a small bowl with warm water and squeeze/submerge your dirty sponge into the soapy solution. Let it soak for five minutes.
- Step 2: Scrub. Work your sponge into the soap bar to really break down your stains and build-up. Once you have a lather going, use your fingers to massage the soap deeper into the sponge.
- Step 3: Rinse. Once the sponge starts oozing old makeup, run it under clean water to rinse. Give it a couple of squeezes to wash out all the soap. Set aside to dry.
How to microwave a Beautyblender to clean it
If you’d rather risk a bad breakout than spend all that time scrubbing and soaking your sponges, let me introduce you to the microwave method. A quick zap is all it takes to sanitize your makeup sponge. “Microwaving the sponge in soapy water is essentially like a supercharged version of putting it in your washing machine, which uses hot water and soap to cleanse fabrics,” says dermatologist Joshua Zeichner, MD. “The microwave energy will also likely kill any microorganisms that may be growing on the sponge.”
But wait! Don’t just place your dirty sponge on the microwave tray and press start, or you’ll end up with a melted mess. Instead, follow the below steps for a sponge like new.
- Step 1: Make a soapy water mixture. First, mix a few squirts of a mild soap (dish soap or baby shampoo will work) with water in a microwave-safe cup. You can eyeball it when it comes to measurements—just make sure there’s enough soapy solution to cover the sponge fully.
- Step 2: Wet the sponge. Give the sponge a few squeezes in the water to pre-wet it, then fully submerge it in the cup.
- Step 3: Microwave it. Microwave the cup for about a minute, waiting at least 30 seconds for the cup to cool before grabbing it from the microwave. The soapy water will have transformed into liquid makeup residue, and your gross sponge will look just like new.
- Step 4: Wring it out. Once the water cools, rinse and wring out the sponge under running water, then set it aside to dry.

Chloe Metzger is the deputy beauty director at Cosmopolitan, overseeing the editorial content and growth strategy of the hair, makeup, and skin space on digital, while also obsessively writing about the best hair products for every hair type (curly girl here; whattup), and the skincare routines that really, truly work (follow her on Instagram to see behind-the-scenes pics of that magazine life). She brings nearly a decade of writing and editing expertise, and her work has appeared in Allure, Health, Fitness, Marie Claire, StyleCaster, and Parents. She also has an unhealthy adoration for Tom Hanks and would like to please meet him one day, if you could arrange that. Thanks.
Ruby was the beauty editor at Cosmopolitan, where she covered beauty across print and digital. Her work has appeared on The Zoe Report, Fashionista, and StyleCaster. Follow her on Instagram.
