Putting up wallpaper doesn’t have to be a pain! Here, photographer Ruby June walks us through 6 steps that make decorating with wallpaper a breeze.
Here’s the deal: I have been obsessed with wallpaper for as long as I’ve been old enough to understand that patterns were not actually hand painted. Did I ever think I would have wallpaper in my home? Because of the cost and inaccessibility I honestly thought it would be a dream fulfilled in my future six-figure life. I was over the moon, Jupiter and Mars to find out Society6 was offering wallpaper. It felt like someone had just given me a puppy. But alas, like a puppy, I have never been a wallpaper owner and upon receiving it I was too excited to check online for any tutorials that might explain how this new toy could really work. I couldn’t find any that were simple enough, so I took it upon myself a total newbies guide to wallpaper. So here’s what it’s REALLY like to put up wallpaper with little to no experience! If I can do it, so can you!
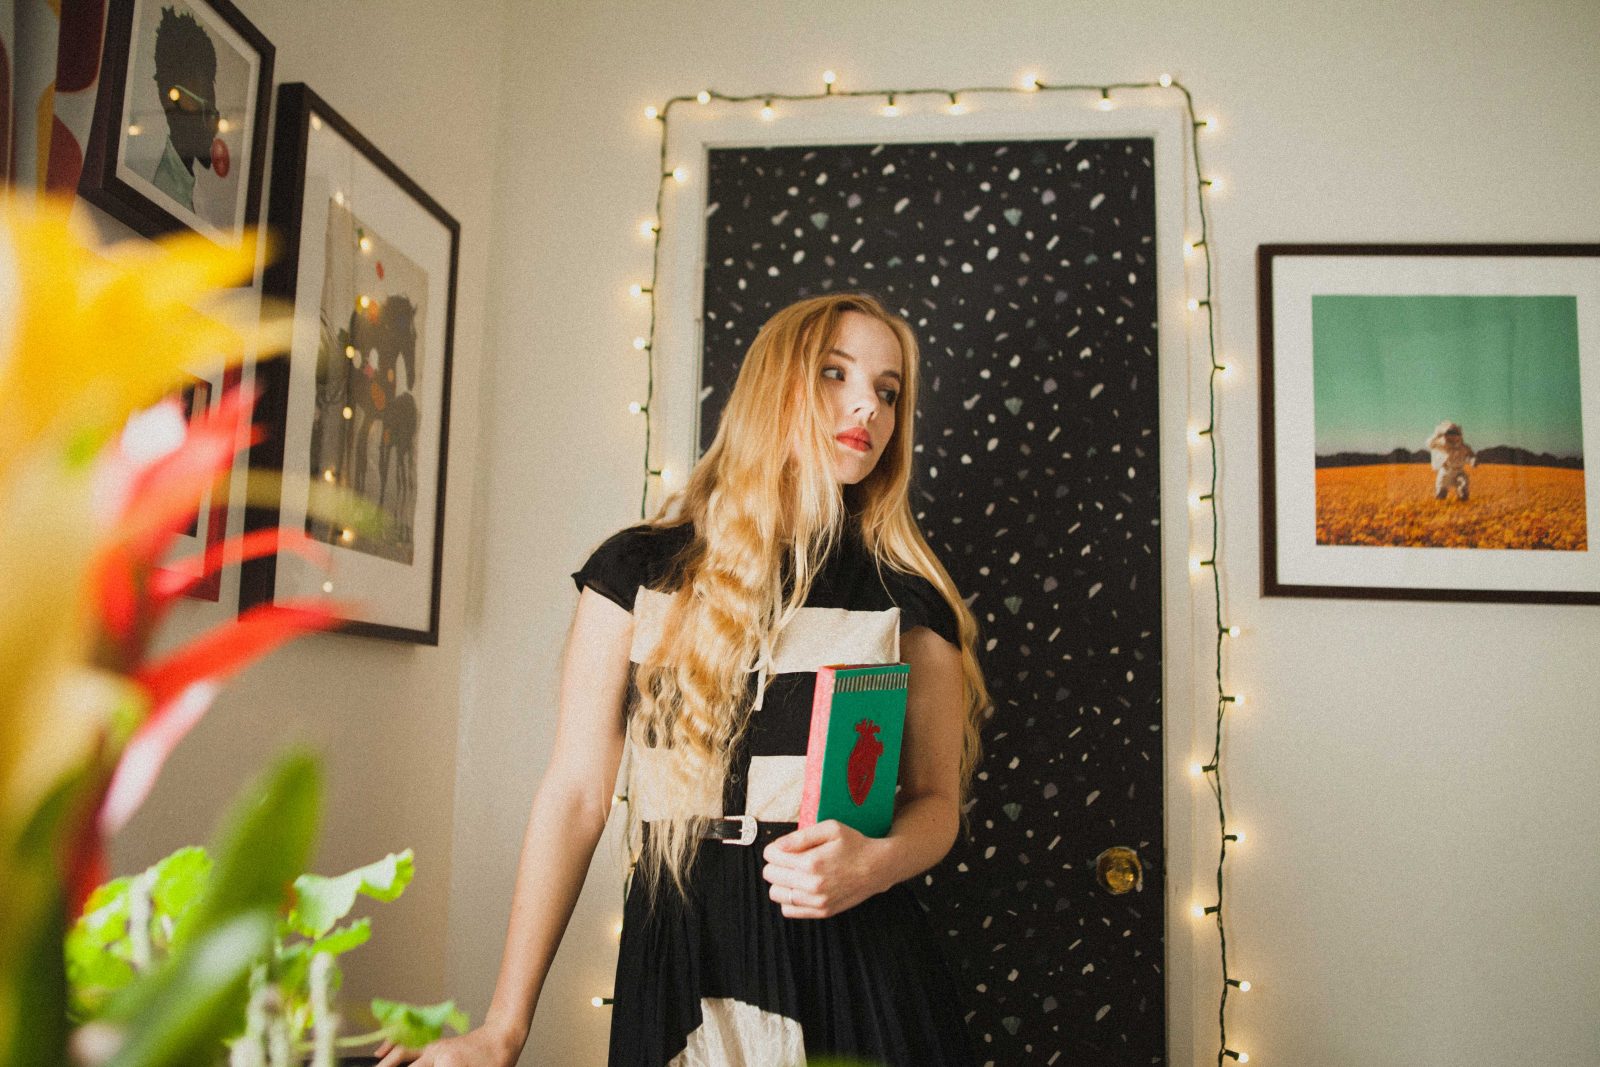
Step 1: Choose Your Surface
And when I say wall I mean wall or table, or door, or nook, or cranny, or notebook or desk. I went for the path of least resistance. IE: as few door knobs, electric outlets, hanging pictures etc. I also now would inspect the surface to make sure it’s fairly smooth. (The door I ended up choosing had a lot of bumps and scratches and it did kind of show through the paper.)
Step 2: Choose Your Wallpaper
It is difficult to imagine wallpaper in a home that has never had it. I opted for taking low quality cell phone photos of my rooms and then photoshopping the pattern in. This would have been easier if I had taken a straight photo to begin with. It was by no means perfect, but it did give me a better idea of what looked hideous in my space, and what looked perfect. (You don’t realize how much the floor you’re stuck with effects the wall paper clash/match ratio.)
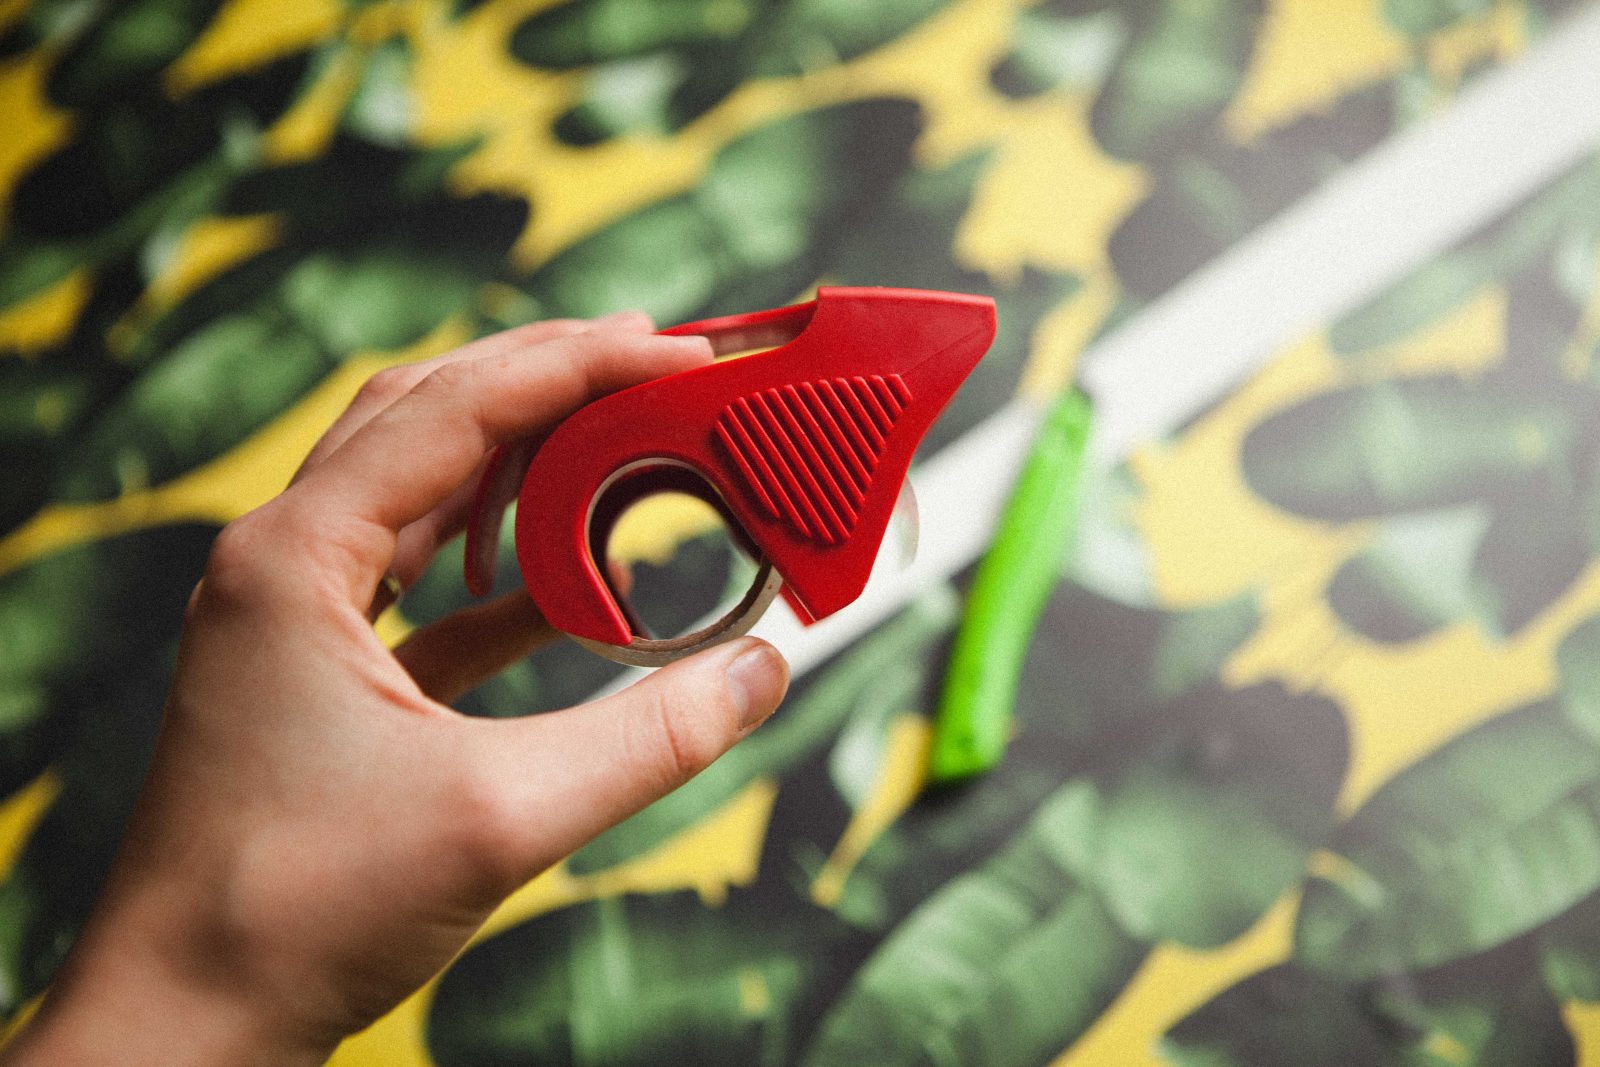
Step 3: Gather Your Tools
The things you don’t think about till your precious wallpaper has arrived and you can’t put it up.
- A sharp blade or x-acto knife: (scissors simply won’t cut it for this endeavor)
- Tape: To be used later in my semi-effective method
- Ladder: Really didn’t think about this one, but if your ceiling is too high to reach while standing on your kitchen chair then borrowing a ladder is probably/definitely needed
- A Friend: This operation would not have been possible without a helping hand.
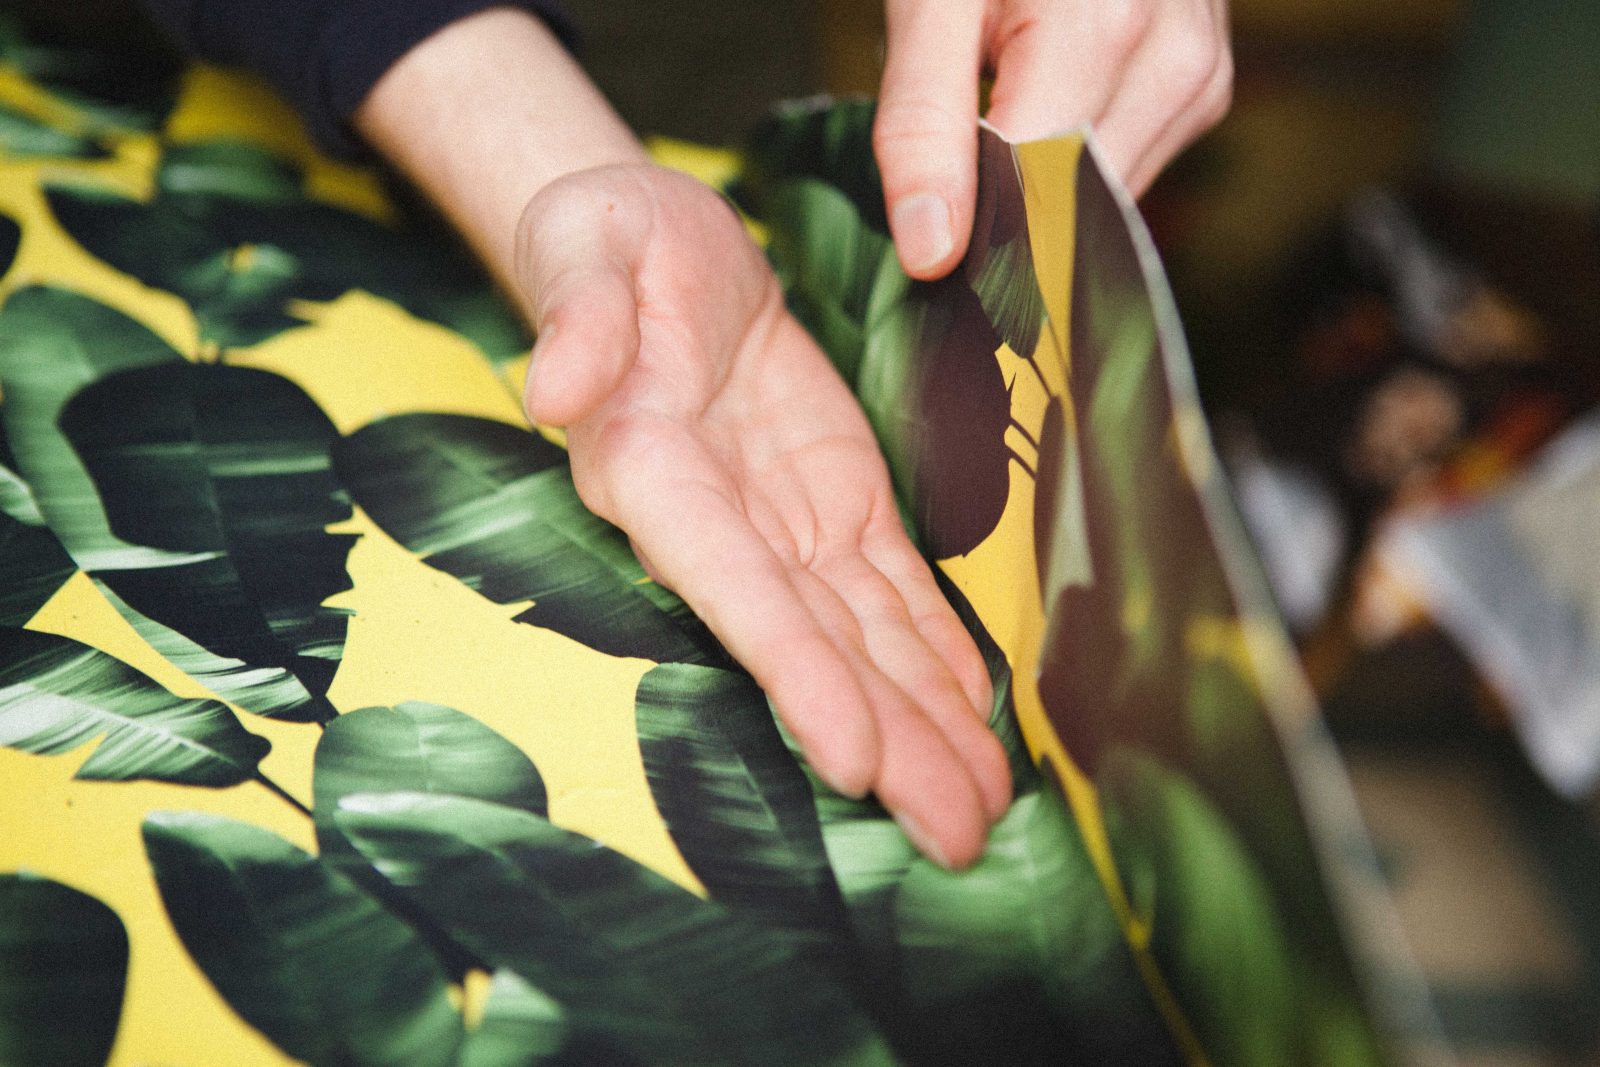
Step 4: Slap it on (Carefully!)
I wish I could tell you it was just like slapping on a scratch and sniff sticker from the doctors, but it was a little more advanced than that. If there are straight lines involved then lining up the corner and getting the angle right the first time is very important. Whatever trajectory you begin with you have to follow otherwise you will end up with lots of bubbles or a crooked line. I ended up with a little of both but I am fairly low on the spectrum of perfectionism.
Step 5: Focus on the Seams
Having very limited sewing experience I figured some simple sewing techniques might help me here. I lined up the seam and taped it together from top to bottom like I would if I was pinning fabrics together. This ended up being helpful only for the beginning, the tape just ripped off as I got further down into pulling the wallpaper from the back of the sticker. But it did help with getting the seam to initially line up.
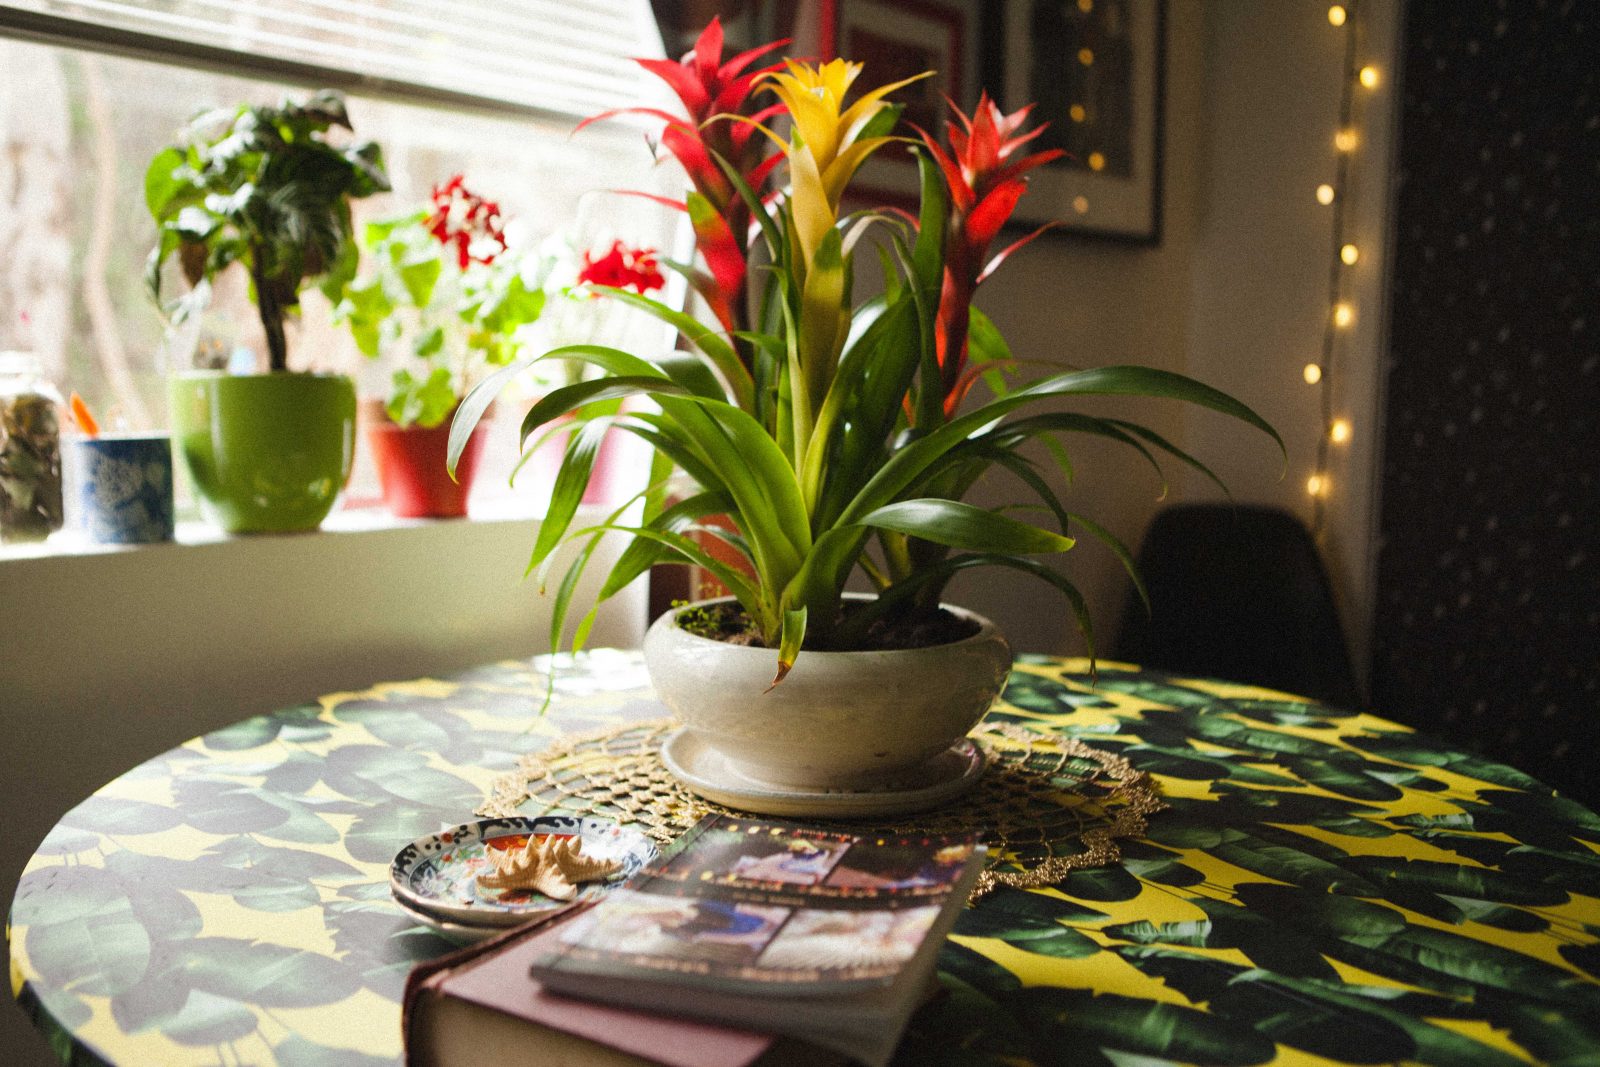
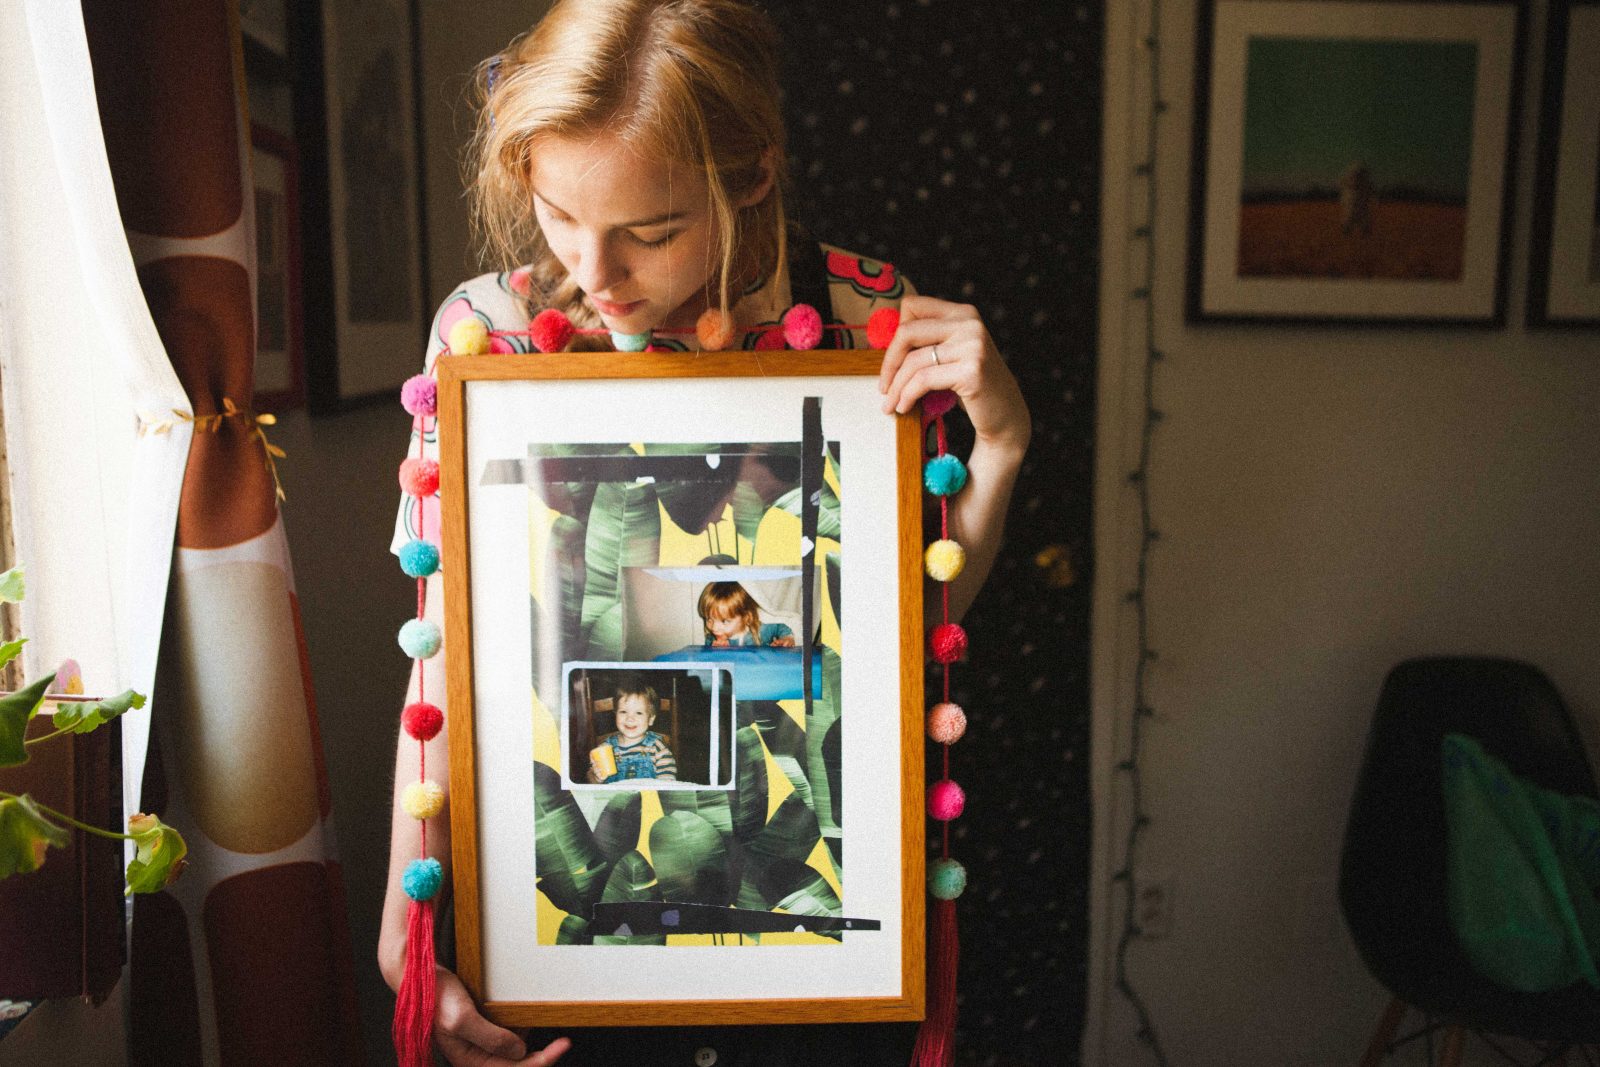
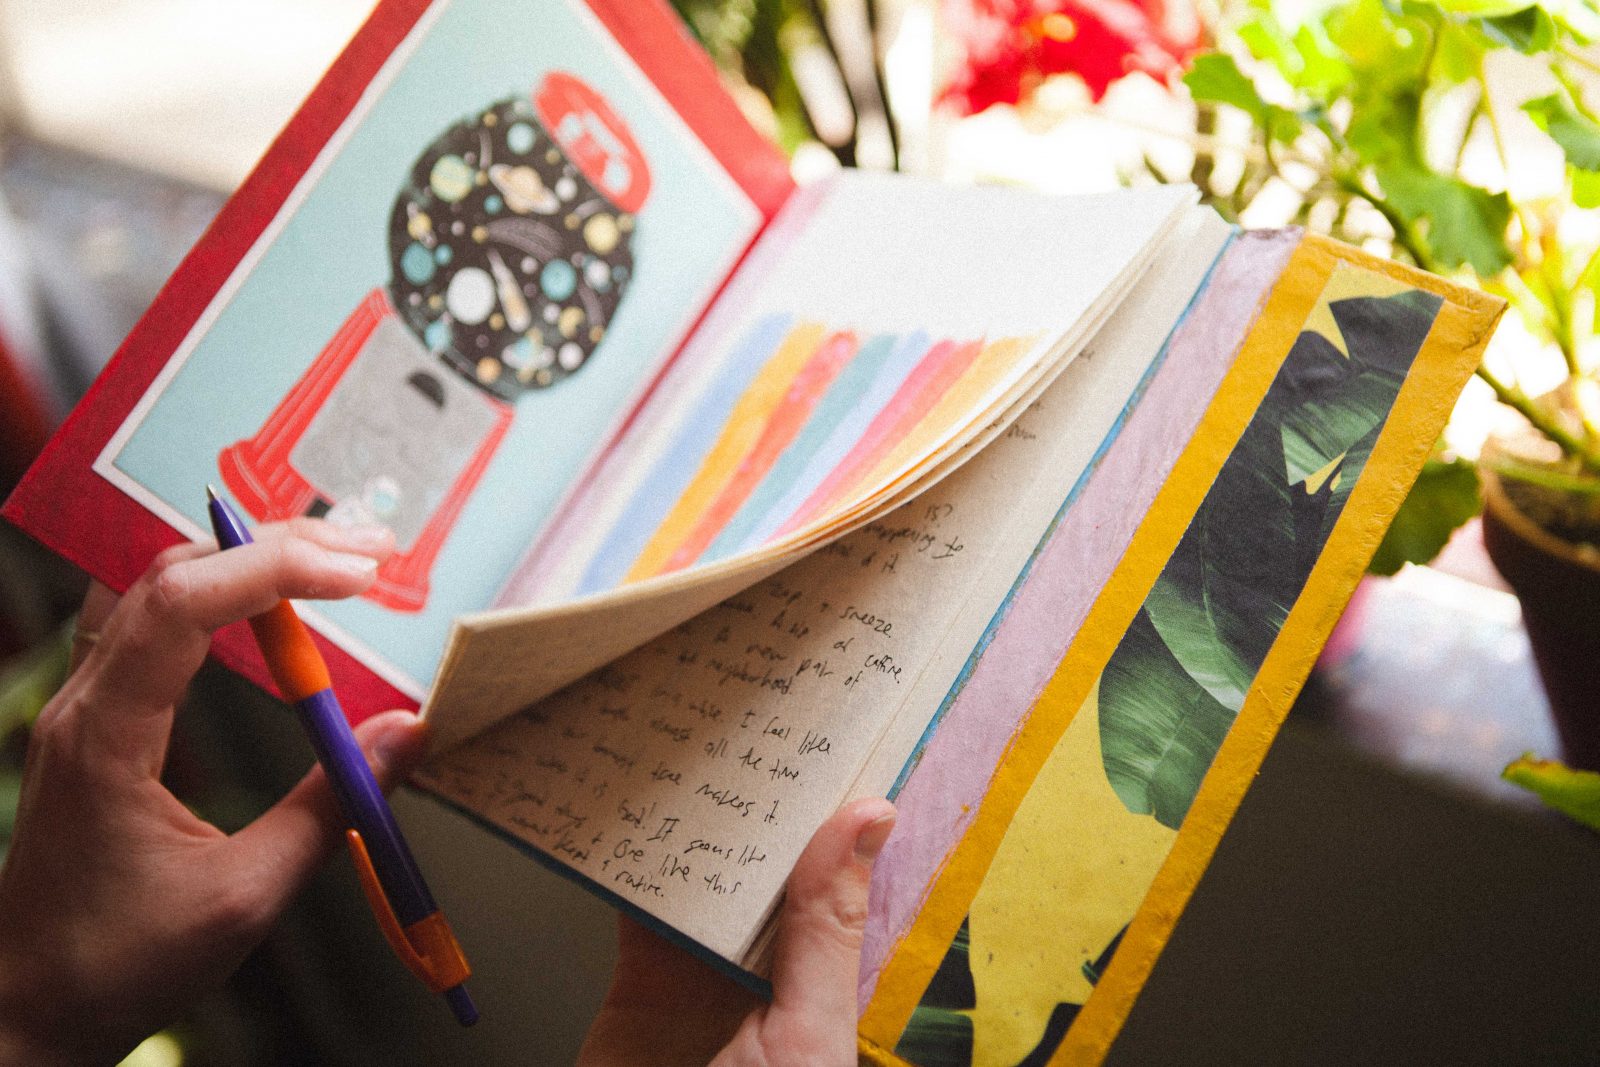
Step 6: Get Creative
After we knocked out the larger surfaces we were on a roll, just looking around for what else we could spruce up. We covered window sills, the inside of trays, used scrap paper for collages, to decorate journals, you name it! We found the most joy in some of the more unconventional uses of the paper. Using the wallpaper as a tablecloth has been amazing because it’s a lot more water resistant and easy to clean than a piece of fabric. It really gives the room a pop. Since the paper is so easy to put on and remove it really opens up a world of possibilities! Don’t be afraid to try something new.
Fast Facts, Dos and Don’ts!
- Do: Rub the edge of your own hand back and forth in the edge of where you’re trying smooth the paper down.
- Don’t: Use a credit card to smooth out bubbles. It ended up scratching the design and did not help.
- Do: Trim your paper to roughly the right size prior to putting it down.
- Don’t: Cut out doorknobs and light switches quickly (You’d be surprised by how off your sense of space is and how easy it is for your blade to slip around those slippery curves)
- Do: Remove light switches and doorknobs whenever possible prior to starting.
Photos by The Maxwells: Philip and Ruby June
Comments