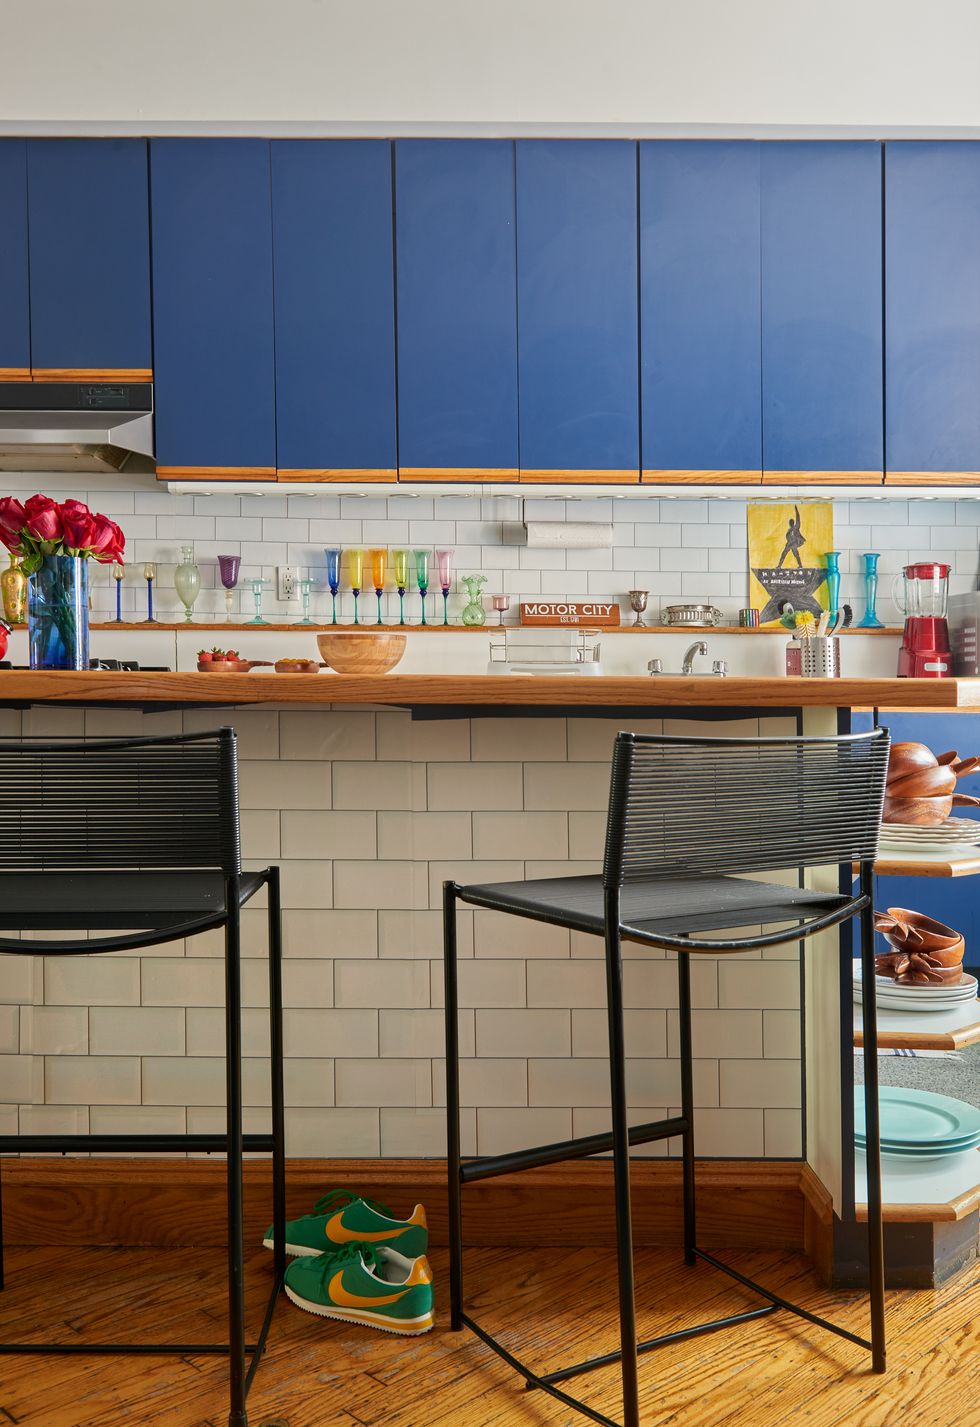
It's safe to say that peel-and-stick wallpaper has swiftly solidified its place in the DIY space—and it's not had to see why. A wide array of options, easy installation, and mess-free removal make it ideal for both short and longterm use. But have you ever heard of peel-and-stick tile? The material is an affordable yet aesthetically charming option for those hoping to revitalize a space with a new backsplash.
"The good thing about peel-and-stick tile is you don’t have to commit too much as far as aesthetics go," says designer Sheyna James. "You will have to be careful with peeling back the tile, but if you find you don’t love it, you can remove it."
The best advice James can give? "Do your research, select a tile that will handle the type of environment you want to use it in and think about where you want it to be placed [to ensure the measurements will work]." Although a fairly simple DIY project, peel-and-stick tile does take patience and attention to detail. A few tips and tricks can also make for a much smoother experience. Here's what to know before embarking on a peel-and-stick tile DIY of your own.
Choose the right tile and supplies
Many a DIY project has sent people scrambling to their local home improvement stores with the hopes of an exchange because the item didn't work. Before tackling your DIY backsplash, be sure to choose the correct peel-and-stick tile. You'll want to make sure the kind you select will adhere to what you plan to stick it on top of (are you covering existing tile, or a wood wall?) and that the pattern and size work with the measurements of your backsplash (pro tip: better to buy a bit extra to leave some wiggle room!). Peel-and-stick tile comes both in individual tiles and swaths of smaller sized"tile," so select which is best for you (this may depend on measurements as well as DIY ability and patience!). Additionally, you'll need several tools for completing your DIY job:
- Utility knife
- Measuring tape
- Straight edge ruler
- Scissors
- Wallpaper smoother (a plastic tool used to minimize air bubbles and create a smooth surface).
Prepare your walls
Before you quite literally splash your walls with the peel-and-stick tile of your choosing, be sure to wipe them clean of any dirt and grease. Similar to a standard wallpaper job, peel-and-stick tile works best when you're working with a clean surface. Gentle soap and warm water works best for this step. Also, be sure your walls are completely dry before adding your peel-and-stick tile.
Apply
Take a deep breath because applying peel-and-stick tile as a backsplash takes great care and concentration. Before applying your peel-and-stick tile, measure your surface to determine how many tiles you'll need. Be sure to remove any outlet covers or switch plates before you place the tile.
The exact application will depend on the type of tile you have; if you're working with individual tiles, you can lay them row by row (remember to offset subway tile—you'll need to cut your starting tile in half!). If you're using sheets like in the video above, cut a straight edge at one end and begin applying from one side. Assuming your sheets aren't the exact height of the backsplash, you'll want to carefully measure and cut additional layers to fit—always using a straight edge to ensure an even edge. Then, measure, fit in, and trim the edge of the far side.
If you're using a larger roll, begin by peeling about three inches of the backing and sticking it to the top of your backsplash. Gradually work your way down, peeling and smoothing using a wallpaper smoother. Repeat this process and rid any excess peel-and-stick tile surrounding outlets or other barriers using a utility knife and a straight-edged ruler.
Reattach switch plates and voilà—a whole new look.
Follow House Beautiful on Instagram.


