I have to tell you that today’s recipe goes against everything I believe in and that is using boxed cake mixes in baking. I have used them maybe twice in my life and it was only because my kids begged me to. Does that make me a cake snob I wonder…
Even though they have a nice light and moist texture and they keep for such a long time unlike most home baked cakes, I find them to be very artificial. If I do come across a recipe, and one of the ingredients says “one boxed yellow cake mix”, I run as fast as I can.
So when my friend Mary offered me some of her home made biscotti with my tea, my eyes lit up until she said those dreaded words!!
“It was such an easy recipe Georgina! It calls for one boxed cake mix…….” and everything started fading after that. My ears shut out the rest of the recipe, and my nose wrinkled and I just nodded and smiled as though everything was ok in the world.

But I felt I owed it to Mary to try them out because she did make them especially for me…and was prepared to politely say something like…
“Mmm, nice Mary”…
…but instead found myself actually saying…
“OMG…these biscotti remind me of the Ottijiet we used to have in Malta growing up…please please share the recipe”
So now I am a snob no more and you will find at least three boxed cake mixes at any given time in my kitchen.
Today was a rather cool day and I really felt the need for something sweet with my nice cuppa tea. Something to dunk…whatever it was, it had to be strong enough to withstand a three second dunk in my hot beverage and not fall apart before it makes its way to my mouth.
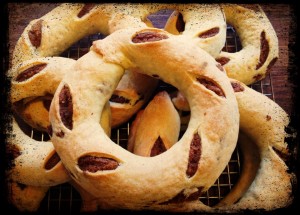
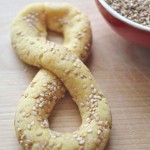
Ottijiet, which translated means the figure eights are perfect for such a deed. They are hard and crunchy Maltese type cookies and can be dunked with success every time. I used to make these Ottijiet using the Figolli dough but have since converted to using this recipe. The original recipe is used to make biscotti but I’ve adapted the recipe to make these lovely dunkers.
Ottijiet
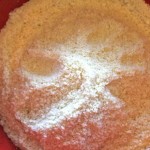
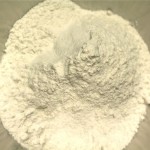
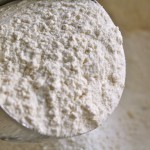
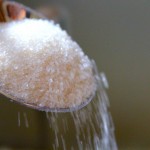
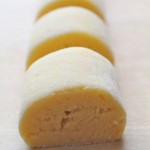
1 package yellow cake mix
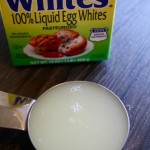
2 large eggs
1 egg yolk
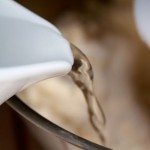
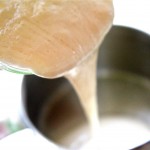
8 tbsp cooled melted butter
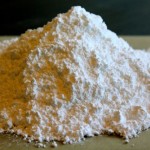
1 cup all purpose flour
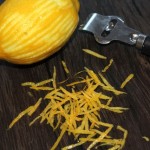
zest of half a lemon
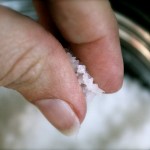
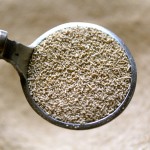
sesame seeds optional

Preheat oven to 350 degrees
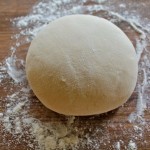
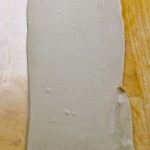
Form the dough by putting all the ingredients together and forming into a ball.
Let rest for half an hour.
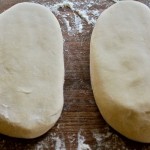
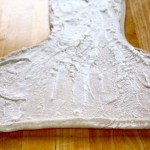
Cut the dough in half.
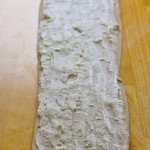
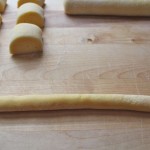
Form into 2 equal rolls.
Cut into two inch sections.
Form each section into a foot long thin rope.
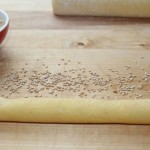
If using sesame seeds, sprinkle some on the cutting board and roll the dough over them so they will stick and not fall off.
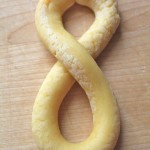
Form into the figure 8
Bake for about 18 minutes until golden in colour
Makes 2 dozen 8’s